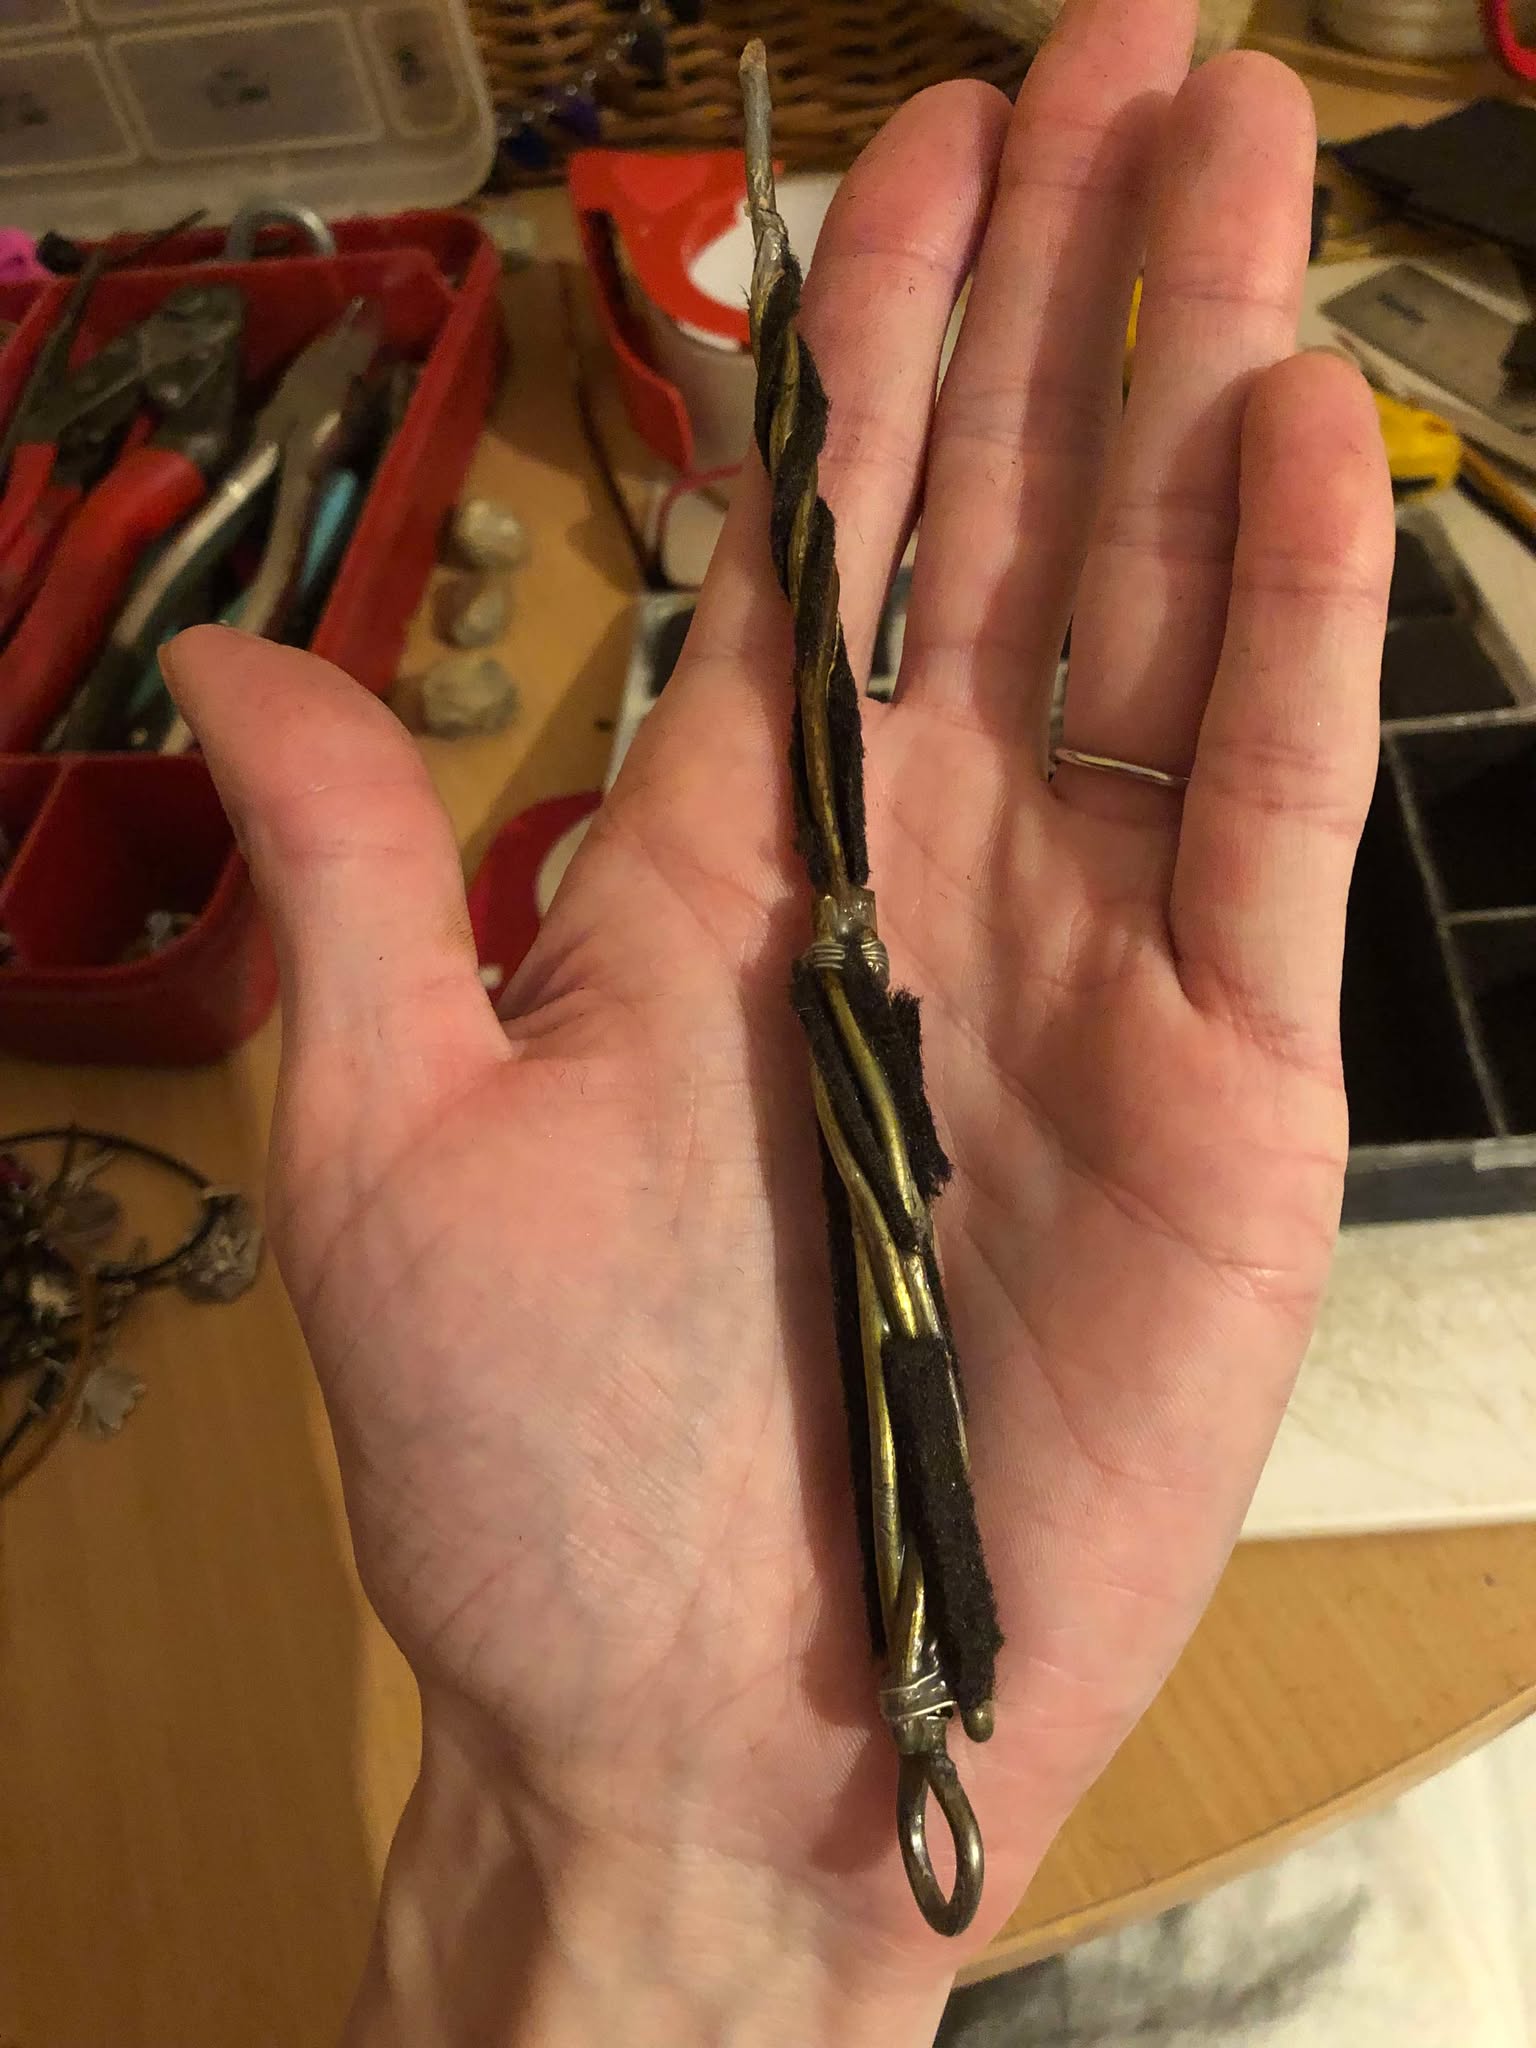
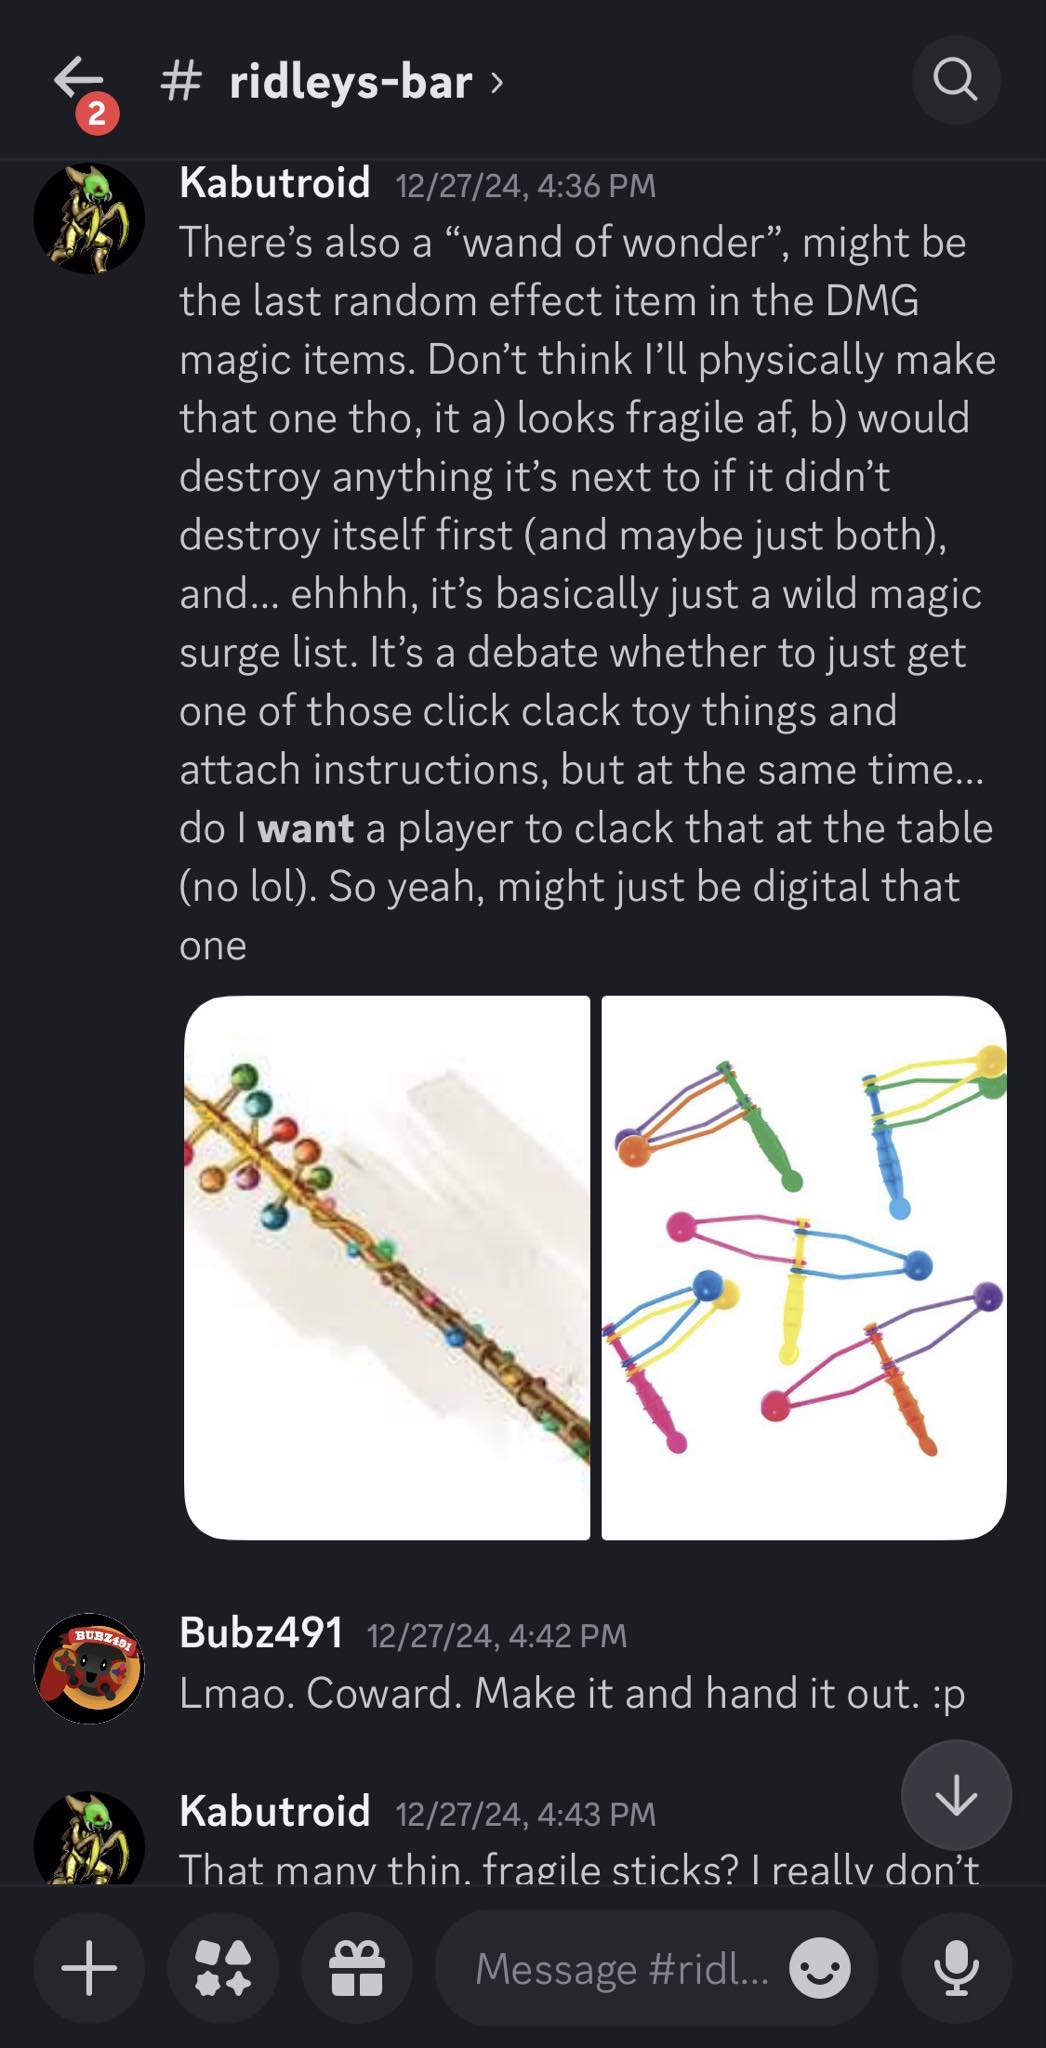
But so the item! I was talked into making it... how do we make it? Good ol' coathangers, the mouth-ring of my dragons, my very first chainmaille glove, the concept-stage of many a project, good ol' coathanger wire. YOU'LL be strong! And I can kinda poke through little pieces of that wire through the doubled coathanger for the upper prongs, pony beads for the coloured balls, aw yus it's coming together, thank you Bubz! And so a project was started. We took that coathanger, bent it into a mangled shape of thicker at the bottom and thinner at the top, and also made it somewhat small, so it would be able to fit into my waterproof sacks where I keep my card decks to keep them from getting musty in the damp English weather (with silca gel packets inside, I'm paranoid about these things getting damp lol). Yah, I didn't want a big, giant thing that's a pain to haul around and doesn't fit anywhere, I'll miniaturize it slightly to fit in with the rest of things. Once I had that bent up coathanger to shape, I dipped the entire thing in glue to cement it all together, and let it dry.
We filled the gaps between the wires with some of the extra strips of fabric material from the minis box, and then dipped it in glue again to set all THAT into there solidly. When that was partially dry, we wrapped the entire thing in ribbon to press those strips of fabric closer to round, and generally bring me up to the point where, after it's dried rock-solid over the week, can be shaved and sanded to as close to round and smooth as possible. In the meantime in getting to this point, we printed off the instructions for this item in liiiiittle tiny text, and arranged that across three long, thin plastic sheets (double-sided), to match with the long, thin nature of the wand itself, which will be attached with a string to that loop we left at the bottom of the wand for exactly this.
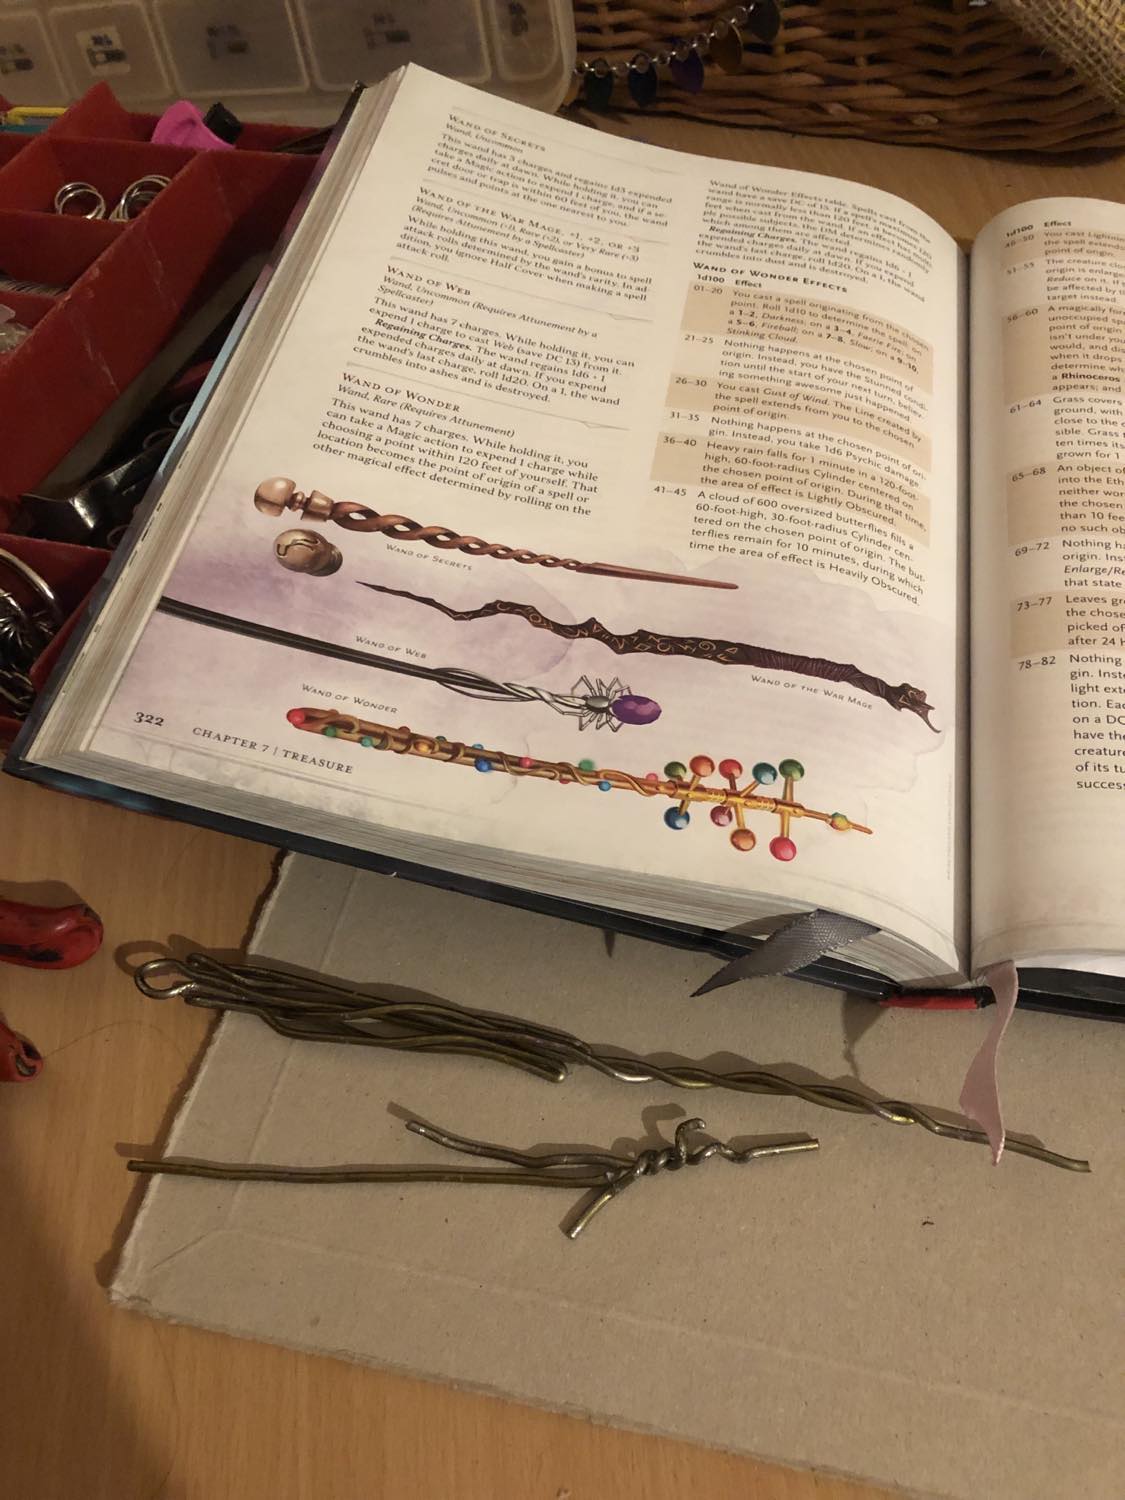
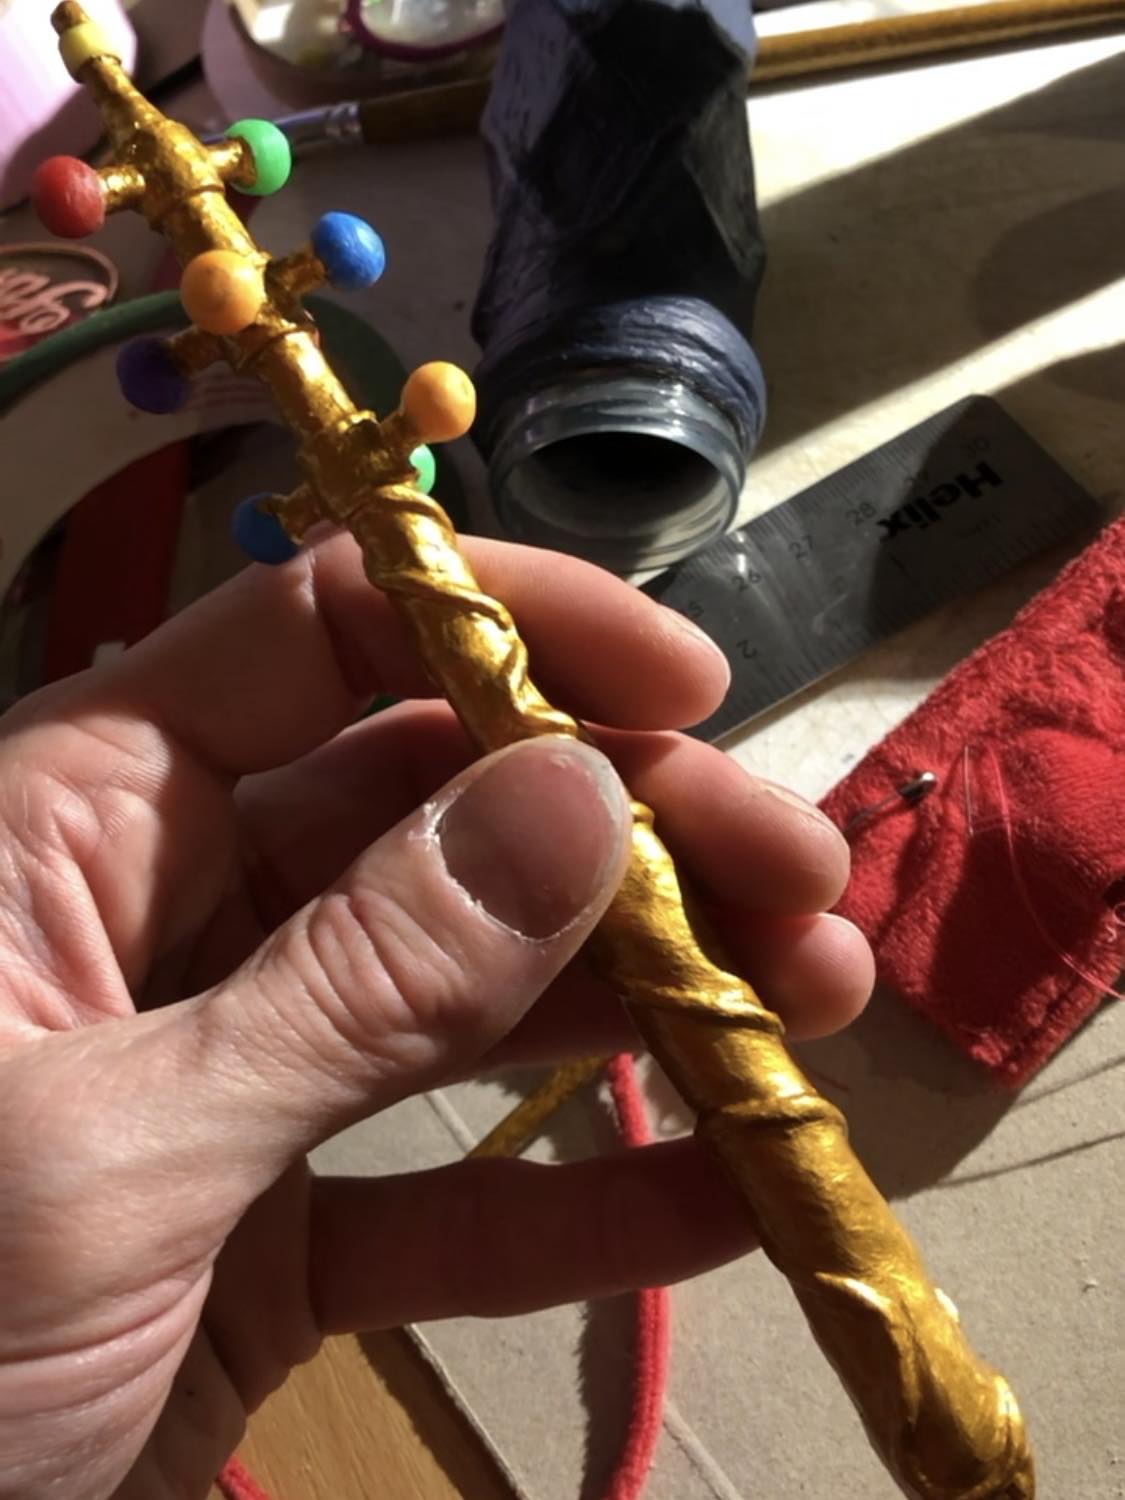
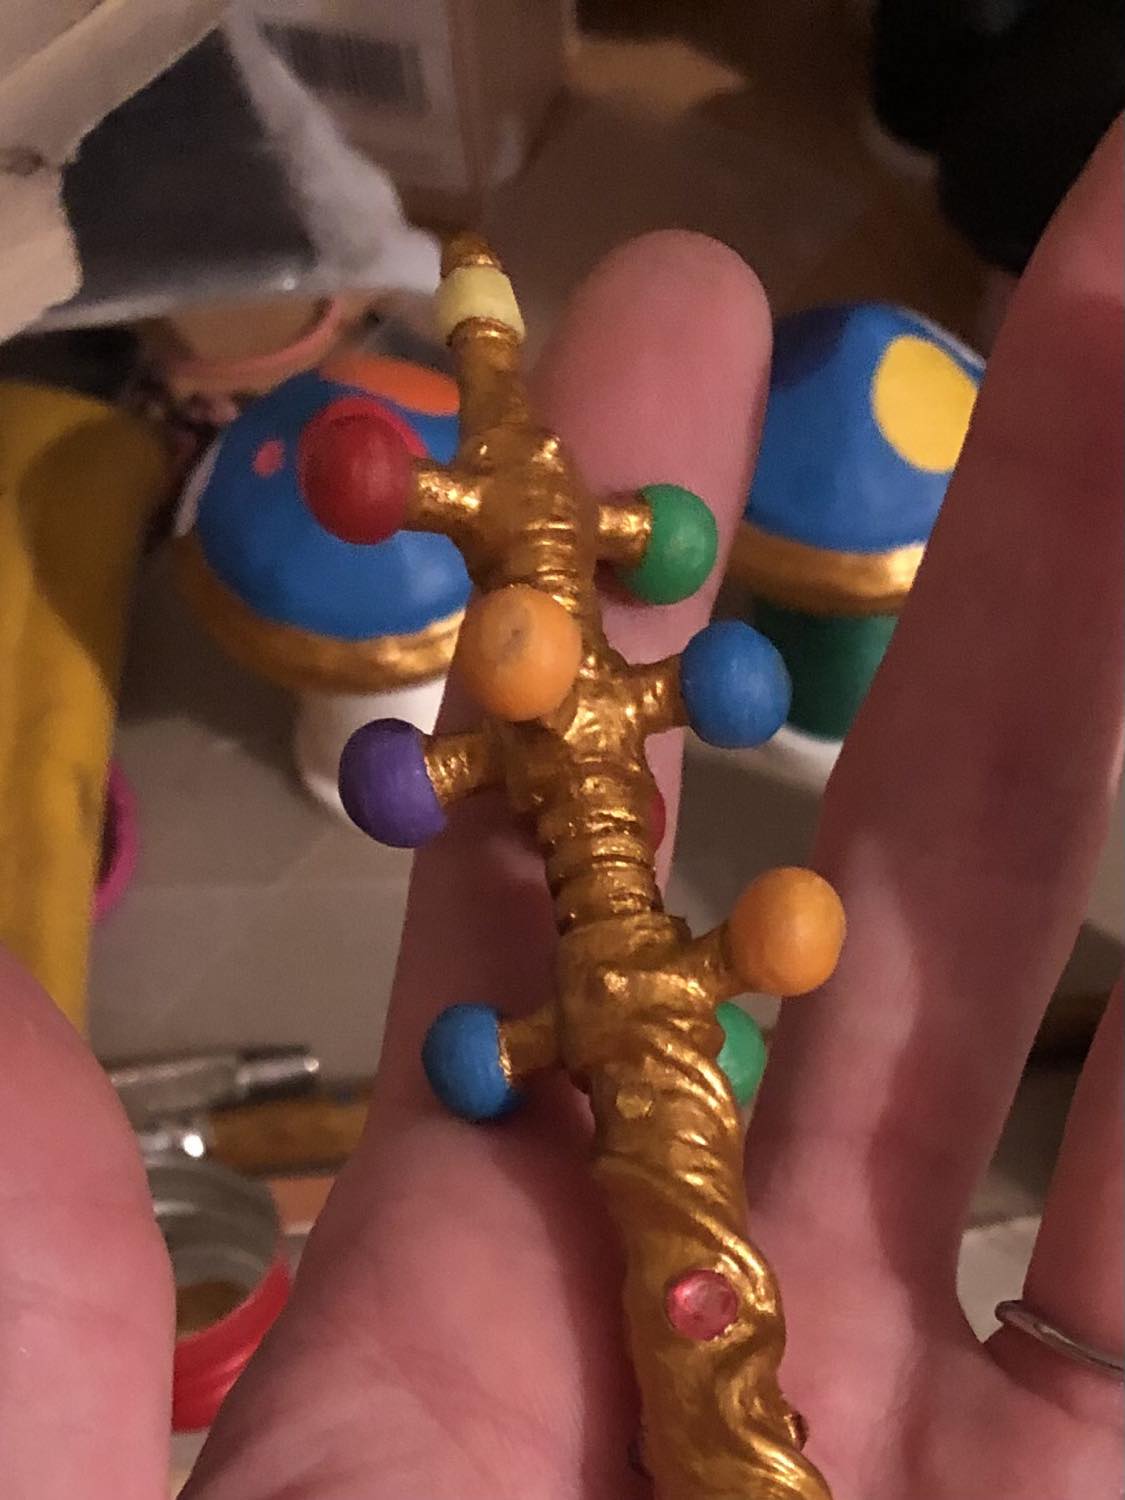
After the sanding/shaving process, we filled in the remaining dents keeping it from roundness, glue-dipped that thing one more time, and then drilled holes between the doubled wire to make it so we can create those little prongs that come out near the top of the wand, which took a fair amount of time bending those little pieces of wire around, because I can only drill the holes at angles that go between the two wires, and since in the 3 and 4 prong parts, the holes are basically right beside eachother. So after much little bending (and for the 3-prong, just bending the 'empty' side up at 90 degrees and filing it to the thickness of the glue and ribbon coating), we actually succeeded in making all of the prongs line up, sit 90 degrees from eachother, and getting slowly smaller from the tip down (as seen in the picture in the book). Also, we made sure that the longest two-prong section will fit into a case much like the one I made for the scroll of titan summoning, since I wanted to both protect the prongs from getting squished in my D&D bag, and equally keep the prongs from damaging my books and other things in said bag.
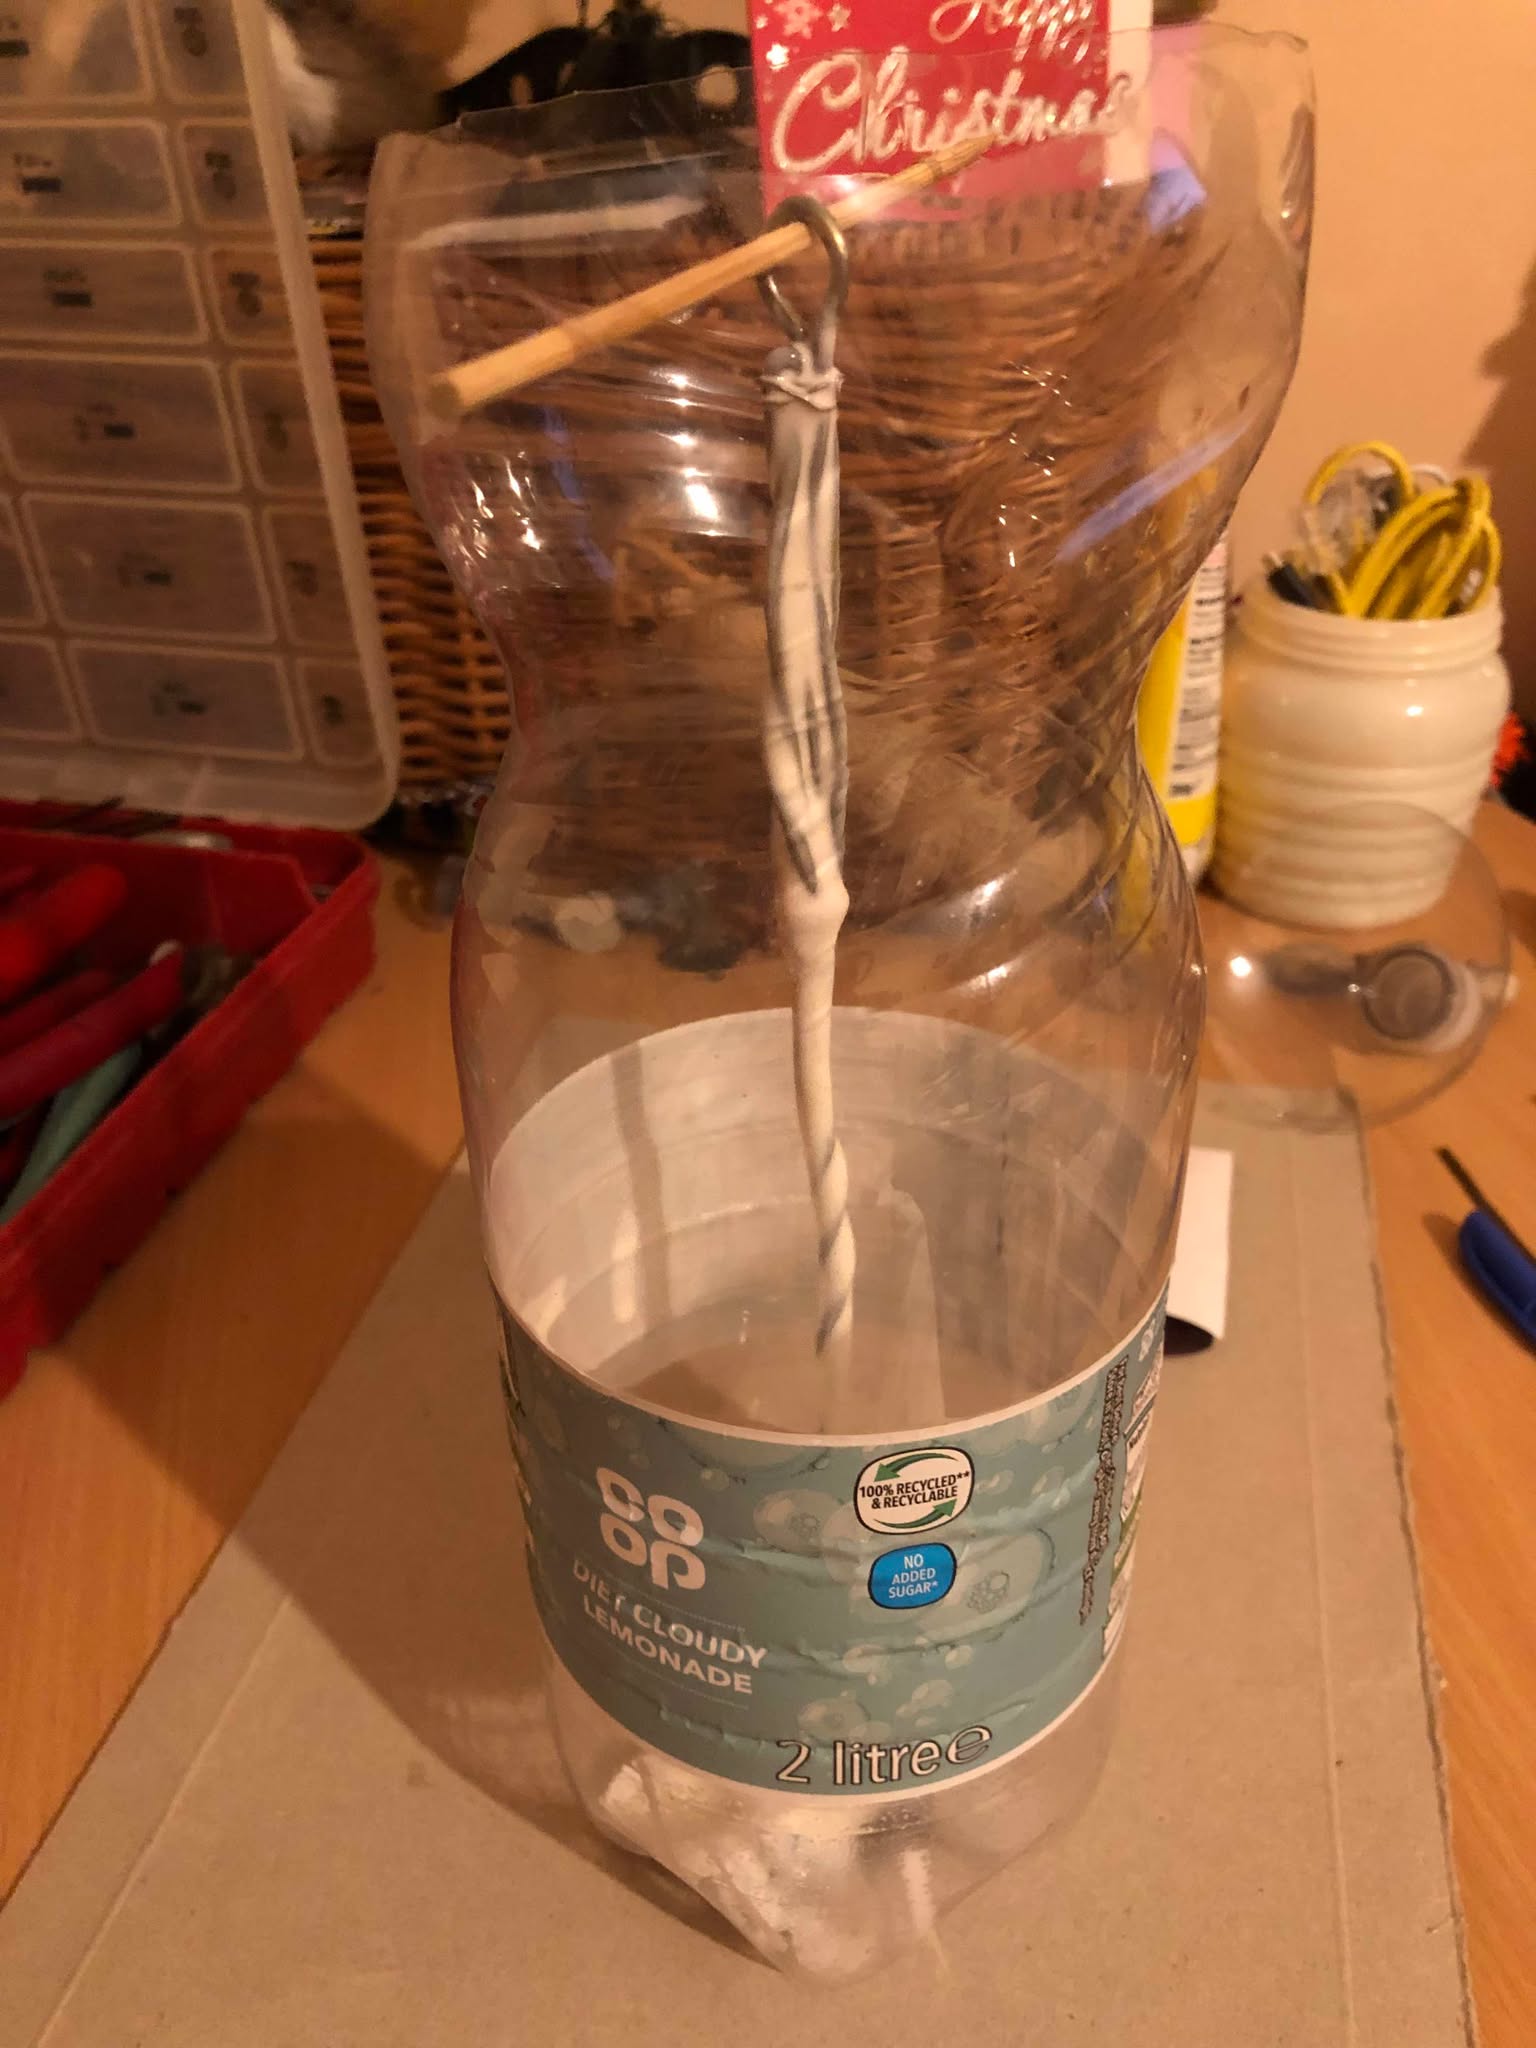
So at the same time as making the wand, we made a case for it, using two wide-mouth iced tea bottle lids, and a coiled up plastic sheet for the body (the same sheets used as covers in my pdf printouts). And yes, made sure the prongs will fit inside the bottle openings, which will shortly be tipped with coloured beads to complete the look. Said beads were made by putting a pony bead on the end of a dremel tool, and spinning it against a sheet of sandpaper to turn it round, which had the added effect of melting the plastic and moving it above the top opening of the bead, making it a capped round bead with a hole only in one side, perfect! It was spun against a finer sandpaper as well, 320 grit, but any finer and it just discoloured the plastic, so it's slightly rough in this form, but the topcoat will smooth it out some.
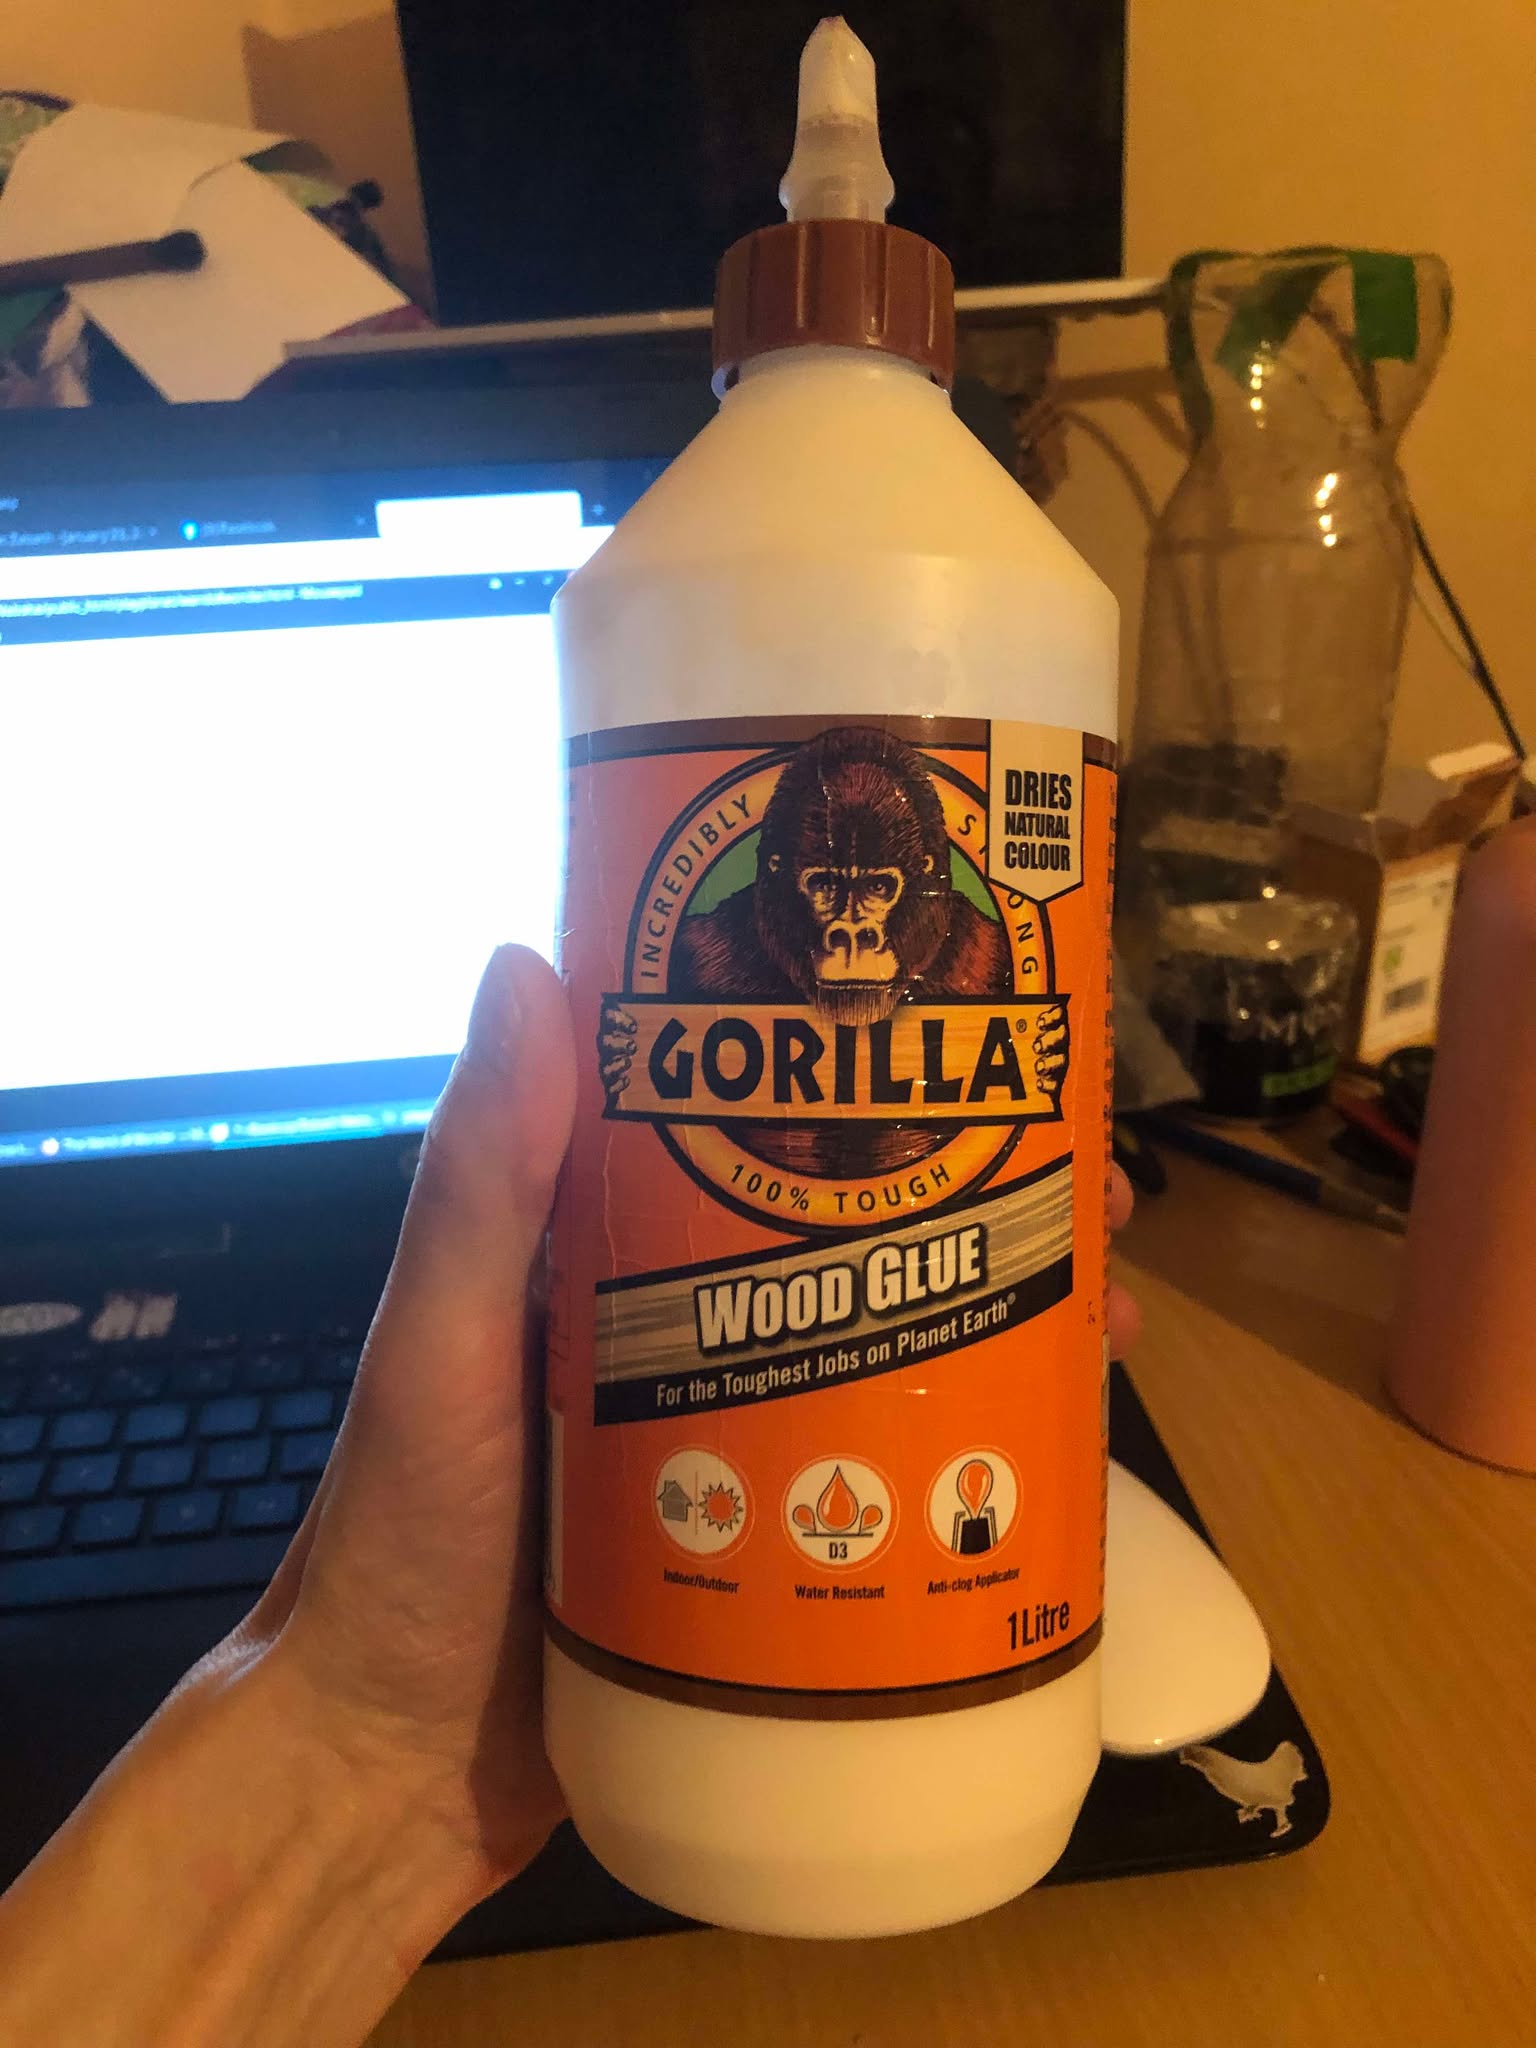
The case has like... 8 layers of glue-dried fabric mache (like paper mache, but with fabric) to give it rigidity and strength, and while those layers dried, we bounced back to the wand, adding string to the handle to make the curvy linework, and little cardboard strips to make the "sleeves" around the prongs as per the illustration. Because as-if attaching the prongs in that manner wouldn't be cripplingly weak (aside from that magic items in D&D are generally not breakable per-se), but we simulated the bands with cardboard, and that looks pretty amazing. So with the only things left with the wand needing the prongs filed down to take into account the unexpected surprise of the pony beads melting a cap onto themselves, we as well finished up the design of the case. We coiled glue-string (good ol' wood glue, you're useful for everything!) around the ends to cover up the straggly ends of the fabric where it met the main ridge near the end of the cap, and wound that down around the other side of the ridge as well, to bring it close to where the cap will close down to. This gives it a nice rounded end for design, hides that now scraggly lip of plastic, and makes a gradual curve down to the tube itself. And now having enough layers of gluefabric for my liking around the tube, we hot-glued some shoelace down the sides to make a somewhat interesting, random linework, to go with the random nature of the wand, and covered the whole shebang in hot glue to hide all the fabric seams, texture, and match with the smooth created by gluing the string on.
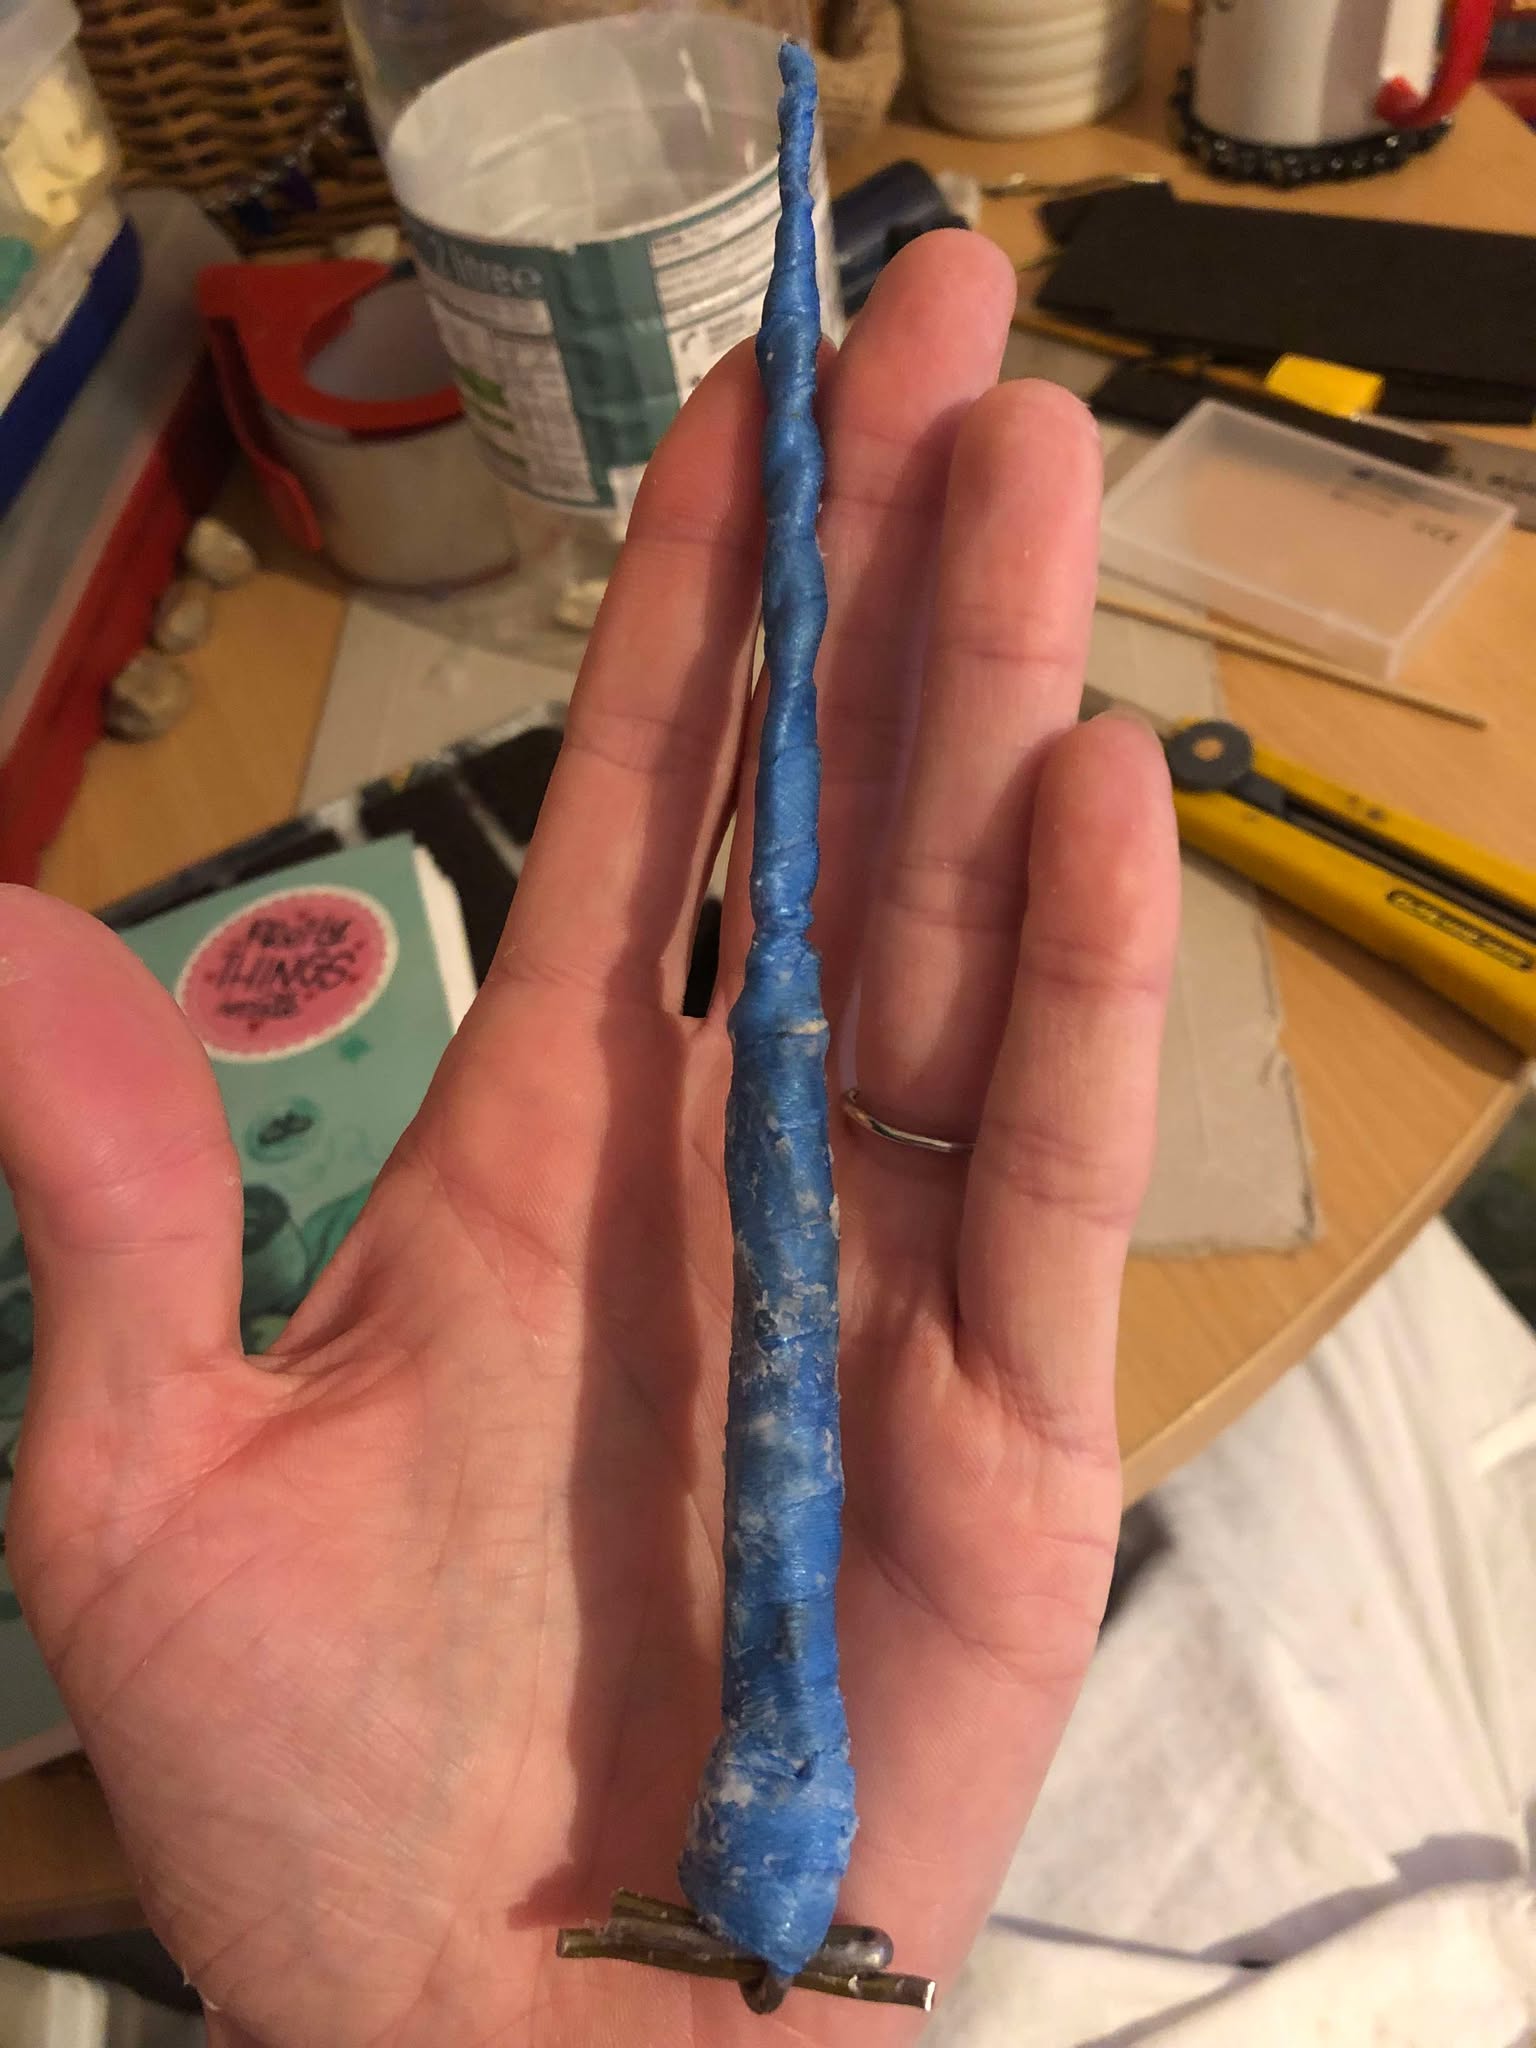
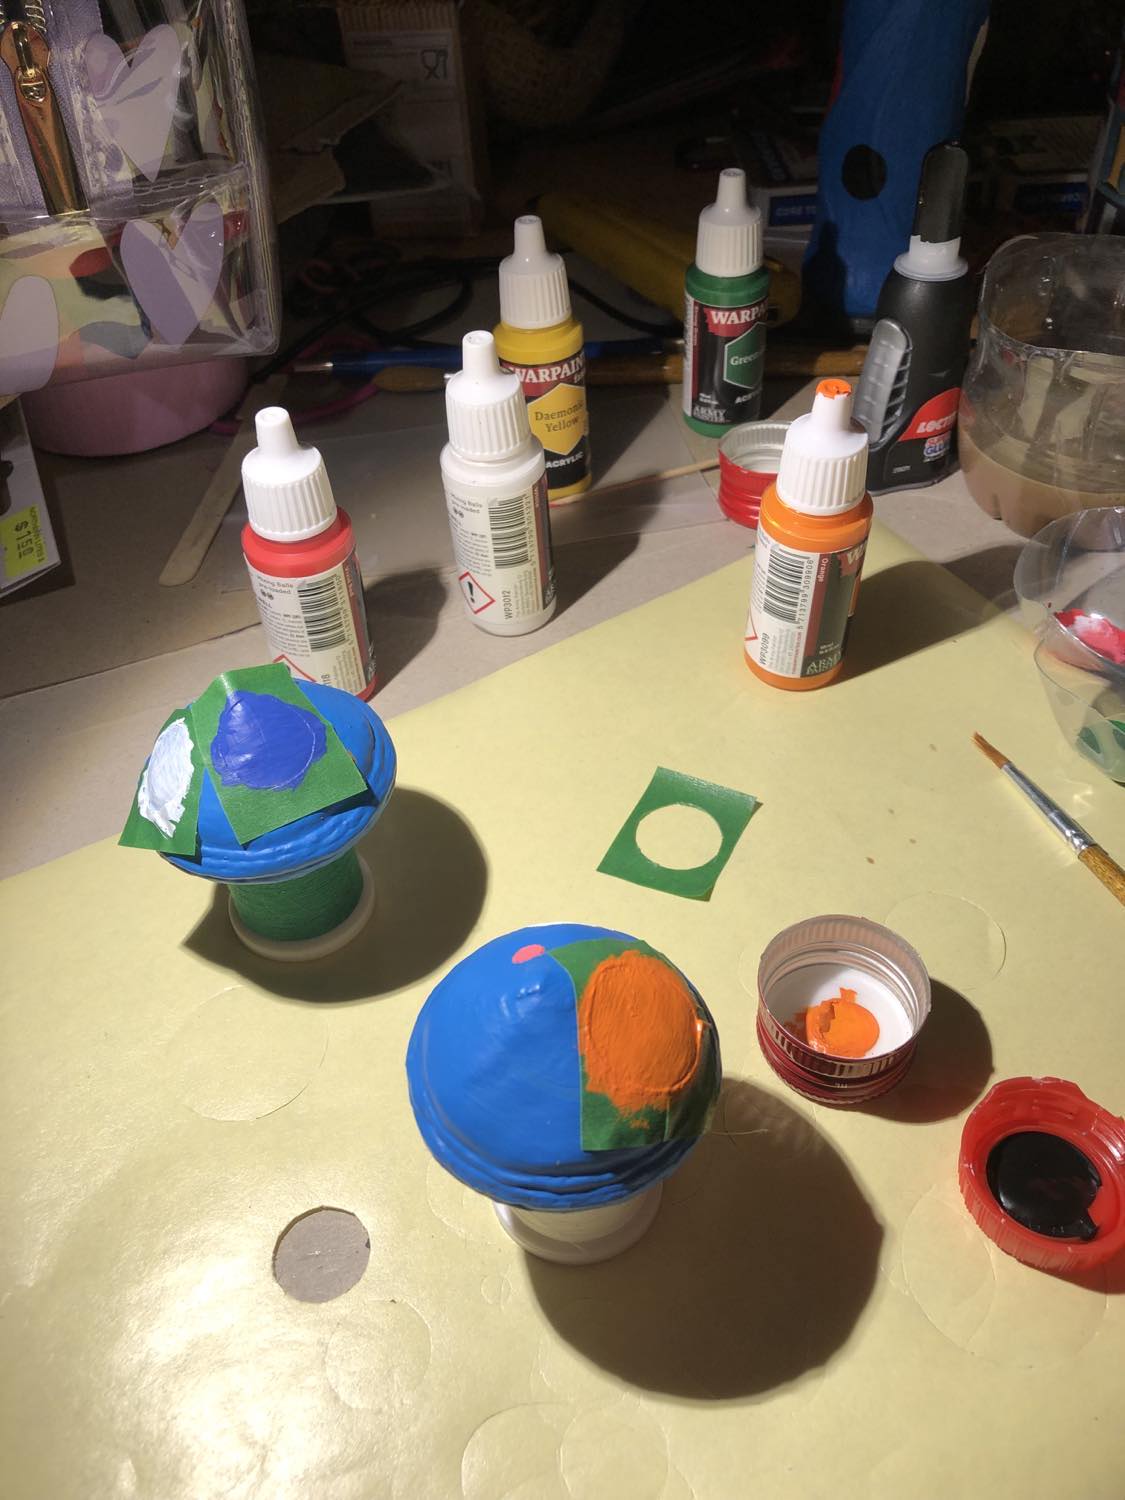
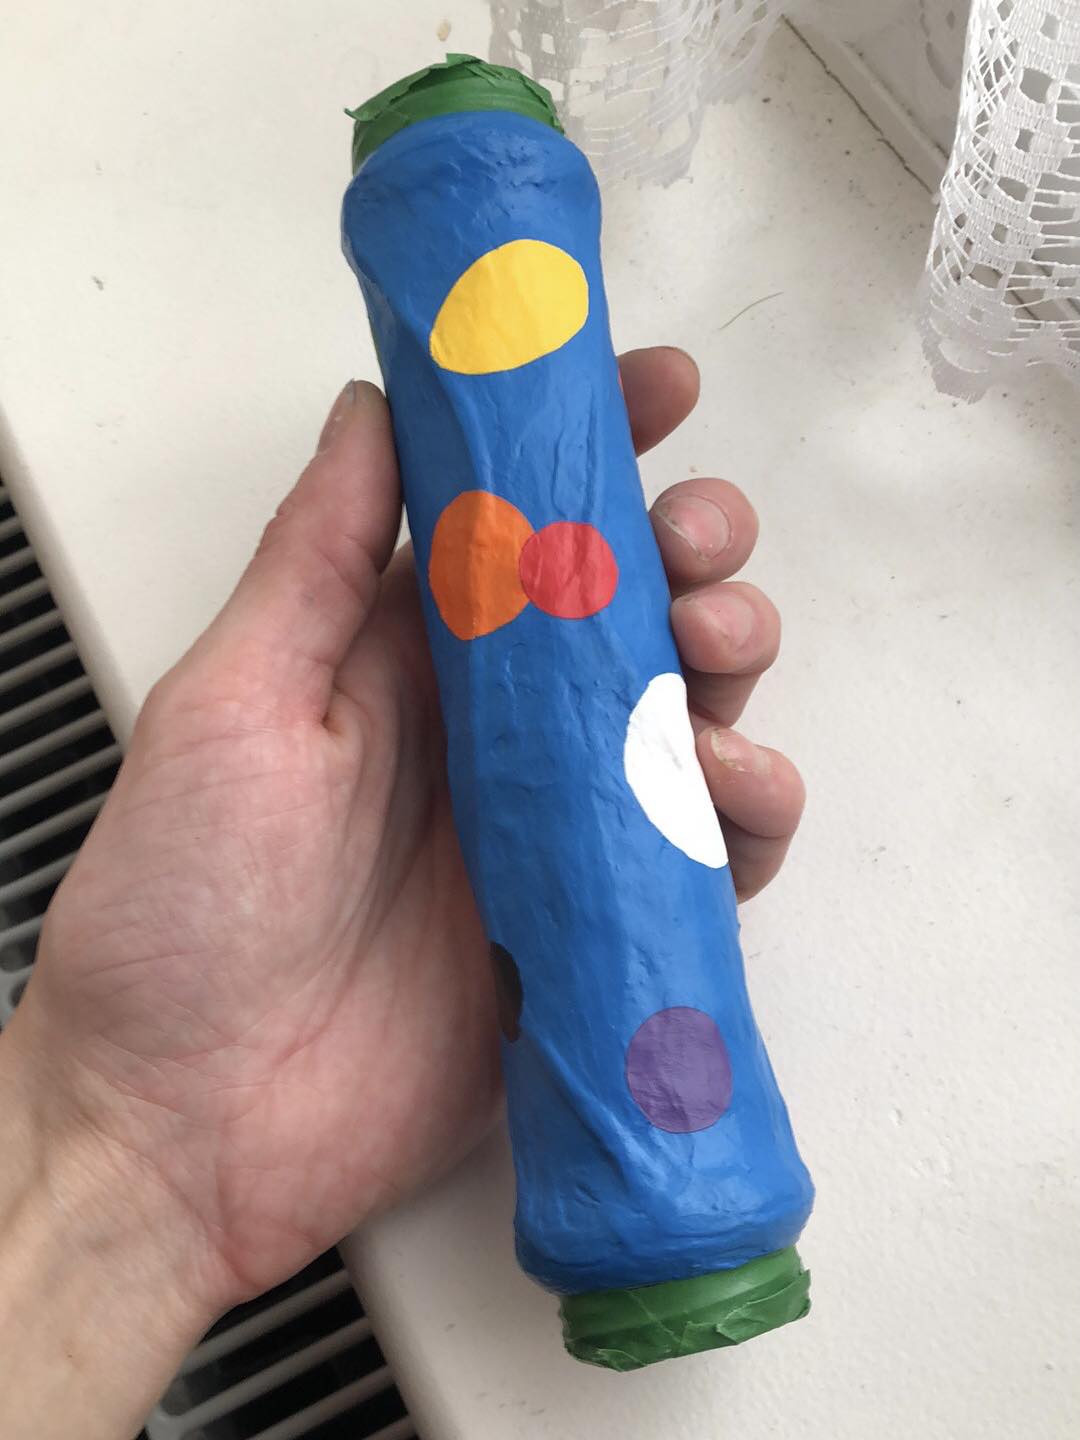
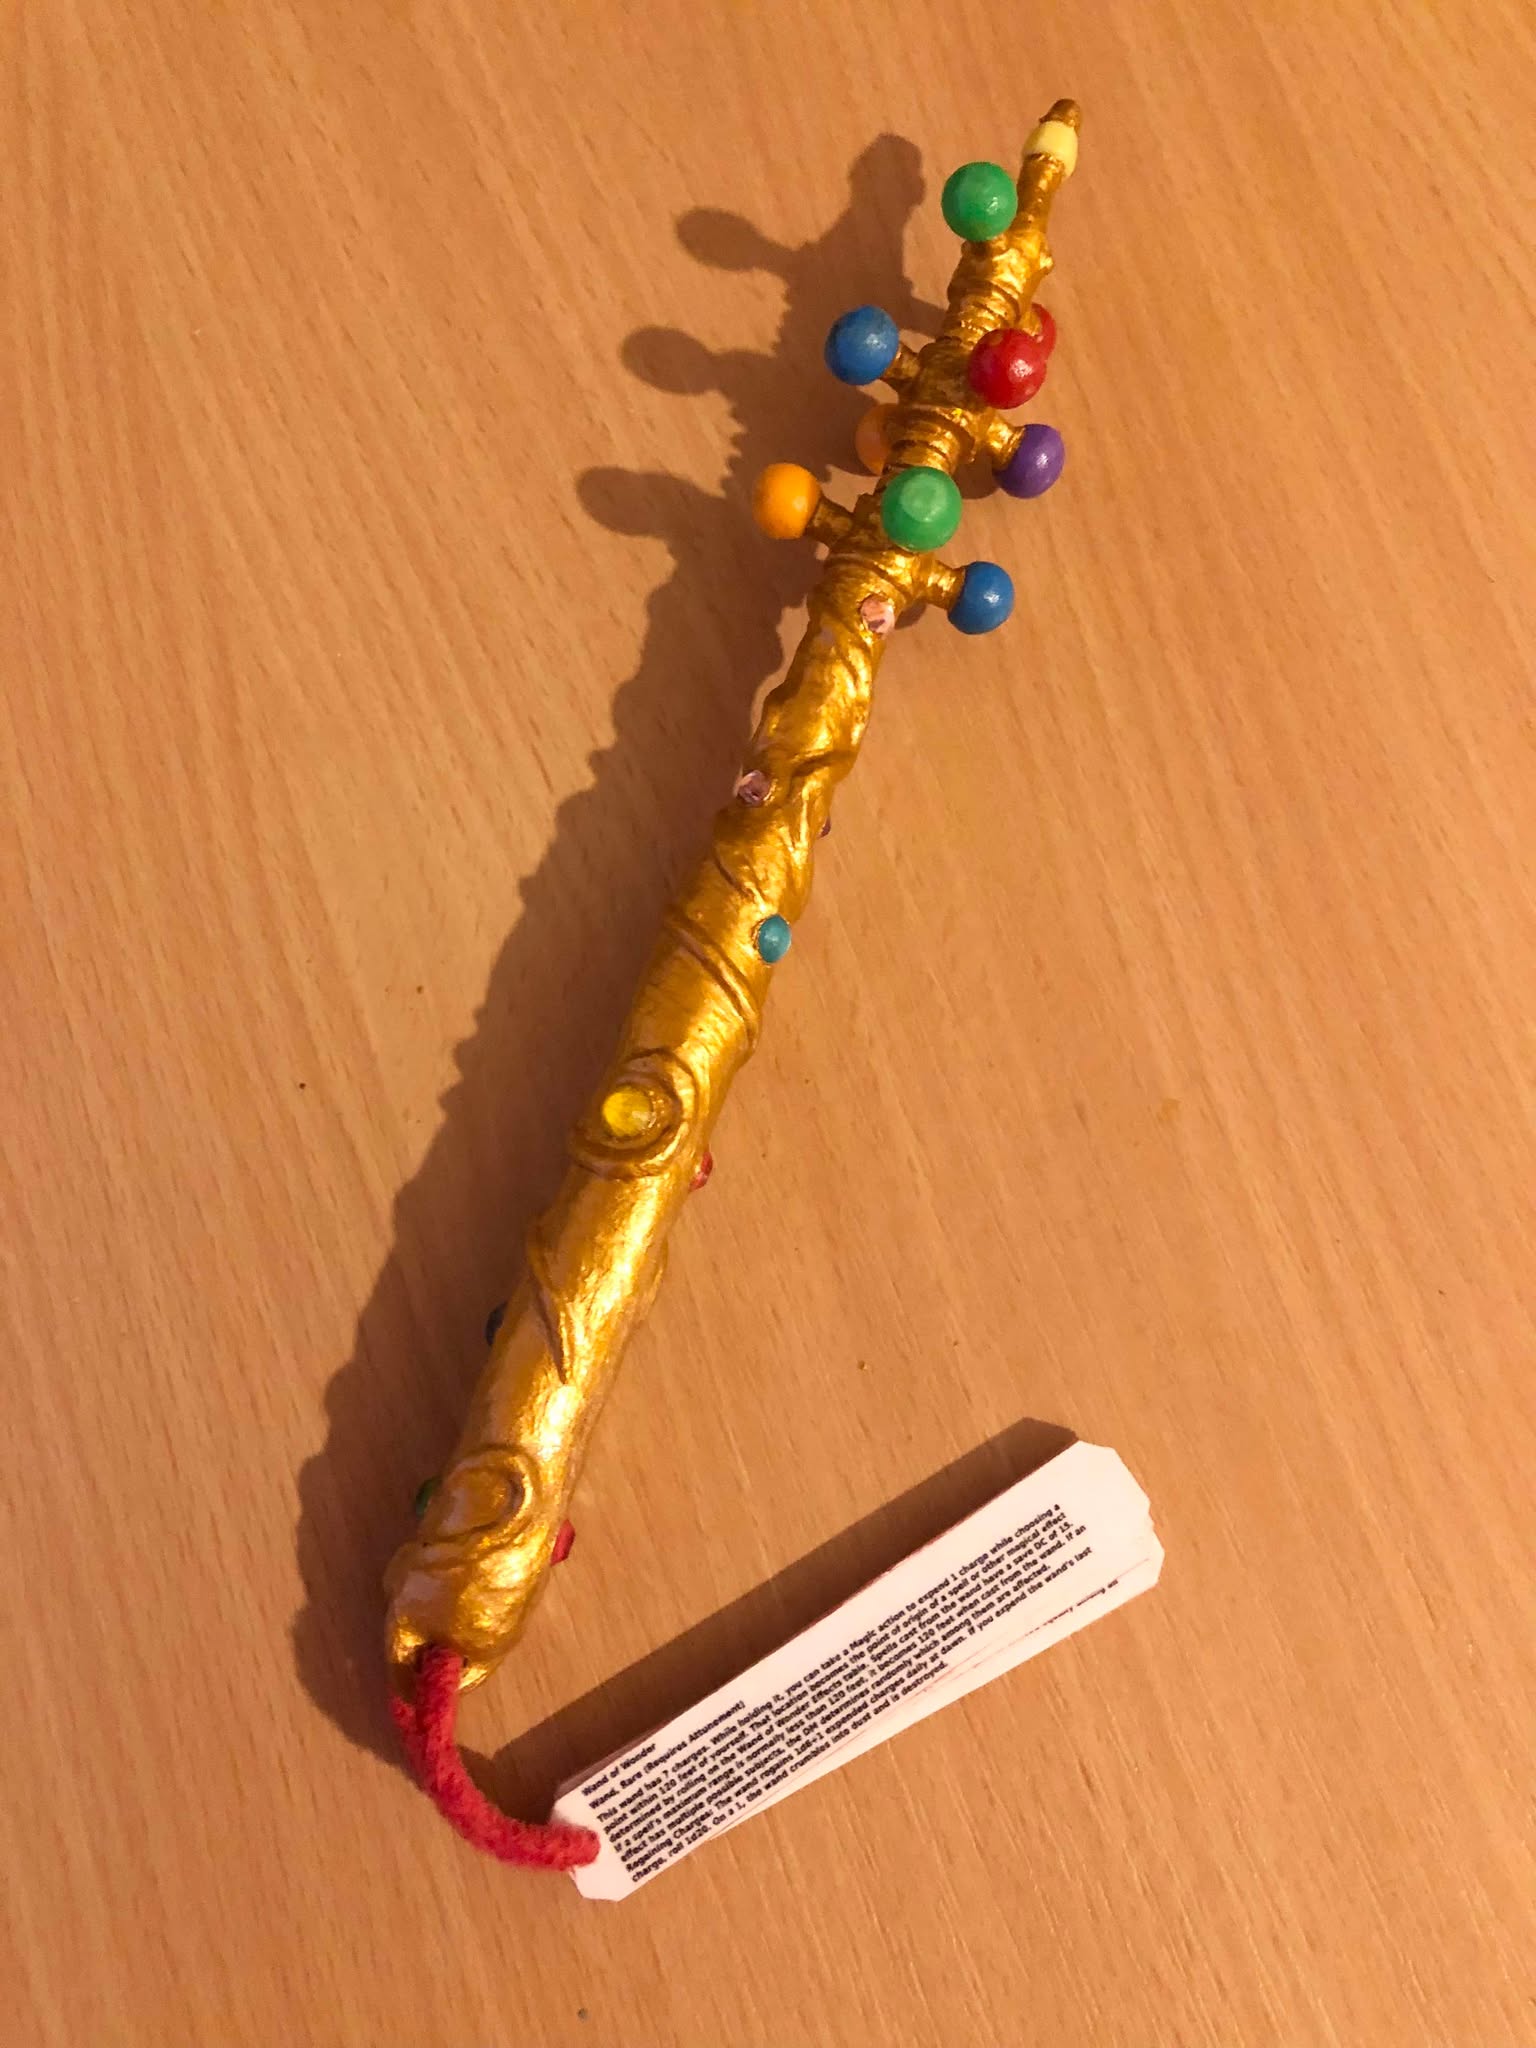
The wand tips had their beads attached, making sure that it will fit inside the case, and then given a coat of gold paint. Two coats technically, to saturate the coat. Next up is beads on the wand and painting on the case, which was given a whimsical light blue base colour to start, followed by polka-dots of various sizes made by tracing various coins and other round things onto painter's tape. And the beads, I figured that since the wand is illustrated as having a big red bead at the bottom, I would use a red bead inside the loop at the bottom to attach the instruction tags through. The rest of the beads we more or less tried to match with the illustration, and we winged it otherwise. We had found facetted crystal stickers in the craft bin (from the Merasty family) that worked well for this, the sticker portion removed, a groove being traced and cut into the handles for them, and then crazyglued them into place. Also, small facetted stickers were used to make the rivets on the upper prong bands, and as best possible, thread was used to create the double-lines on the wand between those bands.
Well, the thread idea didn't work (except for the tiny bands around the uppermost bead), so I chose to instead carve grooves into the necessary spots, and that looked a lot better (and obviously repainted it gold again). And with the wand complete except for final enamelling, I turned to the case. I painted a few too many tiny circles on the caps for my liking, so I dolloped a big dab of blue paint overtop of them, to give the impression that more polkadots were being born in the caps, getting ready to 'pop' into creation, which actually looks kinda cool and works. I gave it a spray of matte varnish just to protect the paint before giving it a coat of gloss varnish overtop. For the wand, we used the spray enamel (the same toy-safe enamel used in dice tower and Kabutroid figurine), which glossed up the prong beads, and as well helped lock in the handle beads more. Also I had painted the bottoms of the gems with the appropriate colours to make them pop more.
Finally, after leaving the varnish/enamel to dry for a week, we attached the instruction tags with a little bit of red fabric to match the bead there (which is actually still more fabric from the harrow bag et al). And lo, the Wand of Wonder (and associated case)... was complete :D
Finished February 5, 2025
Cast the Wand?


