
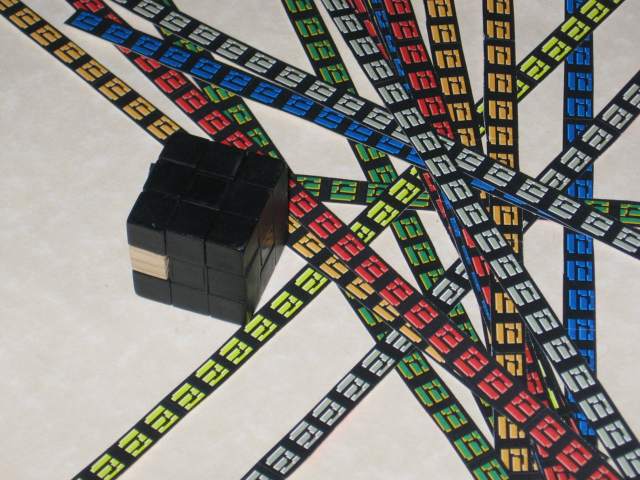
| As I've posted elsewhere, I had finally gotten around to remaking a cubie out of wood for my old, original keychain Rubik's Cube. However, it having lost all its stickers over the years, I decided that with its newfound re-emergence, I should re-sticker it too. It crossed my mind to just cut down actual replacement Rubik's Cube stickers, but I wanted something a bit fancier. Thus, I used floor tiles from the NES game Metroid (used frequenly in the comic), and created a few new colours to round out the 6 needed. Since the only adhesive backed paper I had was for making labels (Avery label template 8162 to be specific), I just printed a whole crapton of them on the sheet, since I figured I'd lose a number of them to the edges of the labels. In the end, I apparently only needed less than a single row of each colour. Oh well, no loss, I printed it at work (don't tell the boss). | 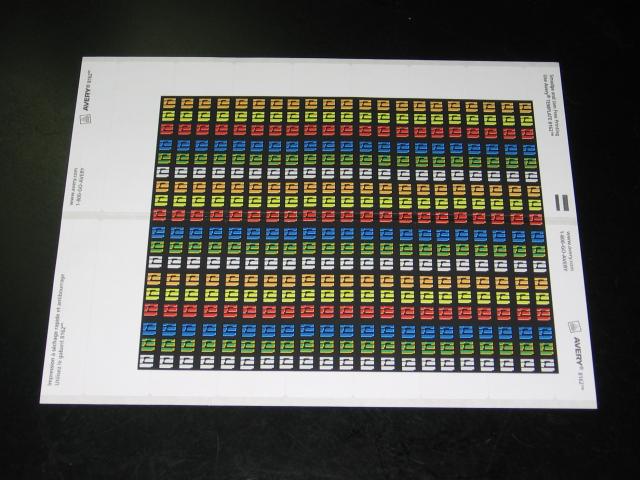 |
| First things first though... since I don't ever plan to attach this to a key, and will moreso just drop it in my pocket to pull out and play with at any time (unhindered by hanging keys), I decided to fill in the old keychain holes with that wonderful product I've been using so much lately... JB Weld. A little bit of packing, a lot of drying, and a little bit of shaving it down with a knife (didn't want to use sandpaper... the JB Weld seems a lot stronger than this particular plastic itself), and we had a filled in corner. Time for stickers! | 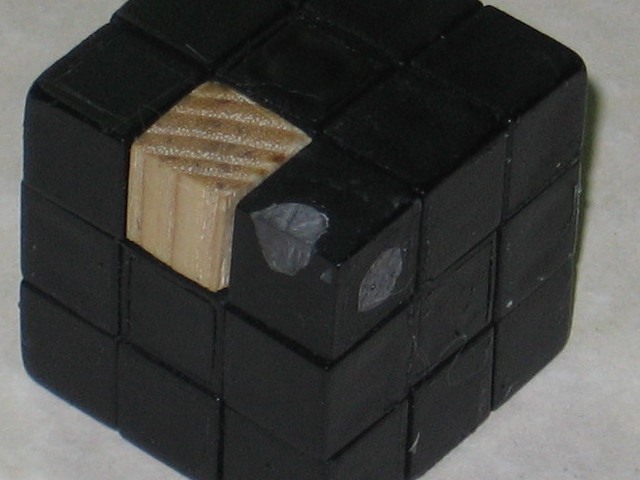 |
| Again, not bothering to have actually looked closely at the sticker sheet to see how many un-ruined ones I'd get, I just cut all the strips apart into their separate colours. The rest of the trimming around the edges of the tiles I'd trim with a ridiculously sharp utility knife. I noticed that it tends to leave a cleaner edge than if I were to cut this with scissors. And as an added bonus with this type of sticker, it becomes a bit of an extra challenge to solve, since now the center square needs to be aligned the correct way too. | |
| I forgot to take a picture after putting on the tiles, but before "laminating"... oh well. After cutting and putting on all of the squares, I covered each side in clear packaging tape and used the utility knife to trim off the excess tape around the stickers. Thus, it's laminated to avoid the colour rubbing off... which it did VERY easily, being a black background... had to be careful when putting them on. There's a slight white edge around each of the stickers, that being the cross-section of the paper itself. I was debating whether or not to run a fine-tipped felt pen around the edge of each sticker, but it's unlikely I'll bother. I'm afraid it would soak in and weaken the paper and make it peel off or something with my luck. But otherwise... operation complete! | 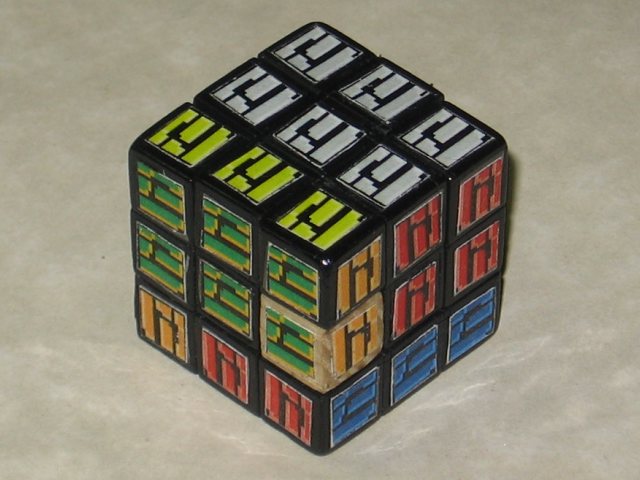 |
