
| I had found an instructional video not long ago on Youtube which illustrated how to build a 3x2x1 Rubik's Cube from spare parts. I was quite intrigued by this prospect, however I lacked... well... most of the tools and materials, as well as any scrap Rubik's Cube parts. The tools and materials I planned to figure out a suitable replacement along the way, but as for the scrap cube... to the thrift store! $1.99 later, and I have myself an unknown-brand Rubik's Cube of questionable quality... but hopefully it'll do. It also came with a Cribbage scoreboard, a ludicrously lower quality Rubik's Cube (we're talking something you'd find on sale in a dollar-store), and some toy globe... also from a dollar store. The latter most of that went straight into the garbage, but I've now got me a spare cube! | 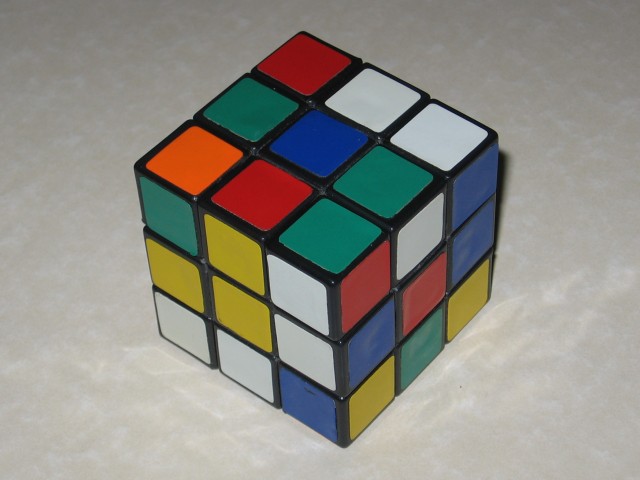 |
| First step... remove all the stickers. Thankfully, since this is some random, lower-quality cube, the stickers were just that... stickers. With quality cubes, the colour squares are actually glued on, and thus very hard to remove, and once they're off, they generally stay off. At least with this, I can re-use the stickers for the time being, since I've misplaced my additional stickers that came with my Do-It-Yourself cube. | 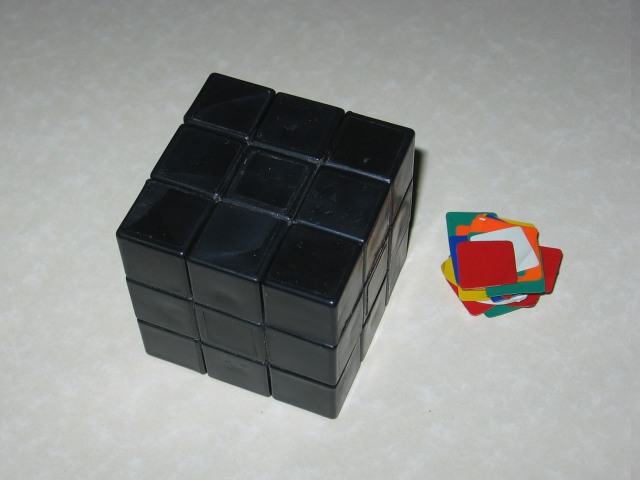 |
| It was a fairly tight cube, so it actually put up a fair fight taking it apart. Buuuut, a little bit of effort, and not particularly caring about any minor damage done to the cube, and it fell apart in minutes. After all, I only need a few of the pieces, not all of them. Although, having the rest around will be quite useful in case of mistakes. | 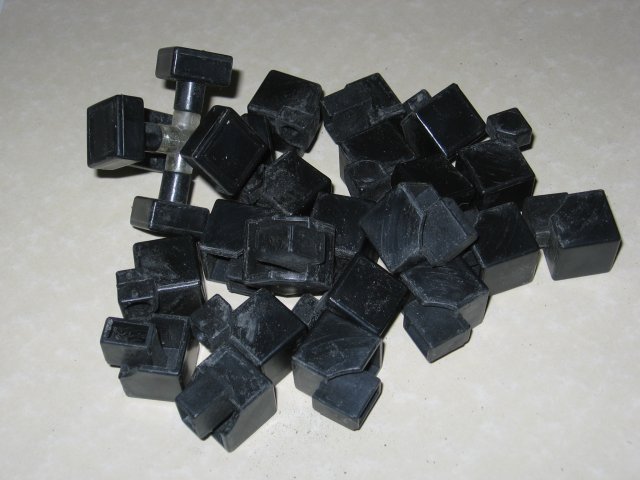 |
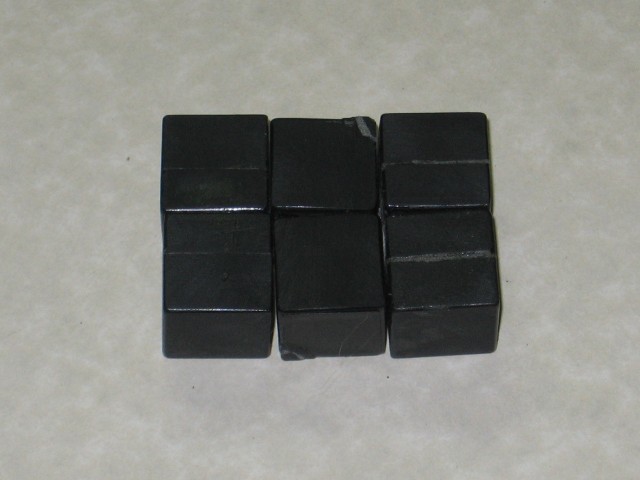
| Here's the primary pieces I'll need. Four side pieces, and two corners. Now I've got to modify them to fit my current needs. | 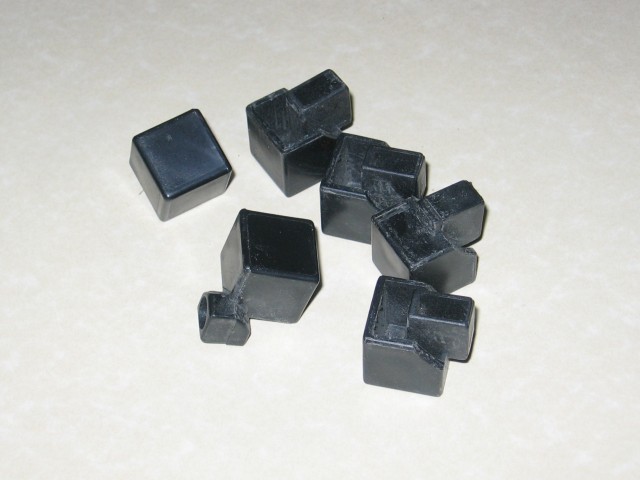 |
| As you can see, my first step is to remove the out-jut from the corner pieces, and hack off the 'prong' portion of the side pieces to be even with the bottom of the cubies. Gotta say... having a Dremel definitely helps about now. | 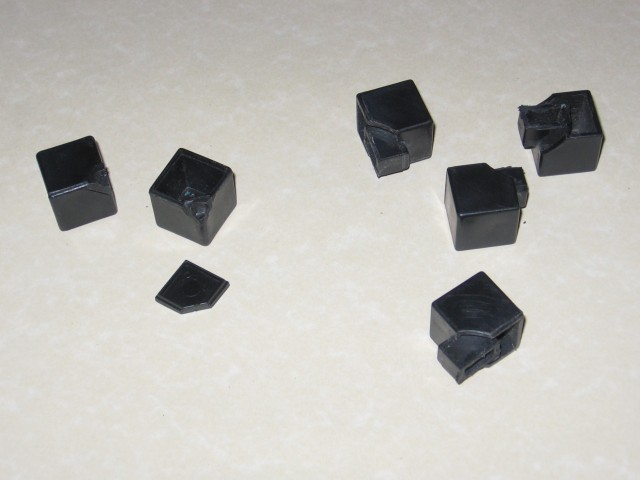 |
| Now, in the instructions it had me filling in the side pieces with "Apoxie Sculpt" to basically make them solid plastic. I don't have such a product around, so I opted to take the flat part of the middle-cubies, and modify them to fit onto the remaining half of the side piece. This will fill in those angled corners, and turn it into an entire cube. Well, with that added out-jut on one side. | 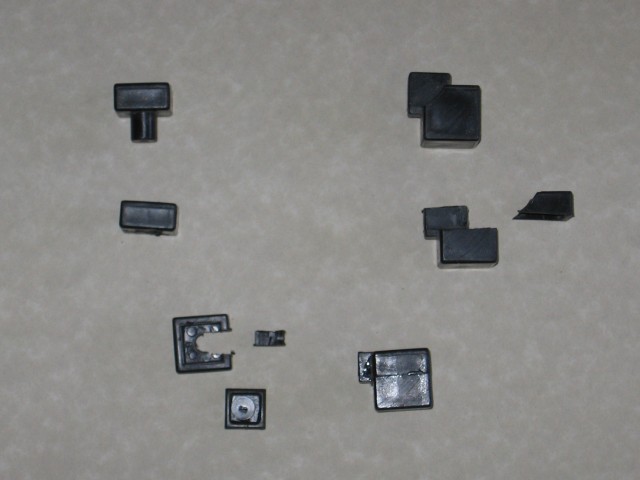 |
| For the corner pieces, I decided to just use Gorilla glue to glue a small chunk of plastic over the missing corner. As you can see, once that dried it can be sanded down into the shape of a corner. Thankfully, with this particular cube removing the out-jut didn't leave all that much missing from the corner. Ideally, I'd have preferred it to not need ANYTHING glued onto it... but beggers can't be choosy. | 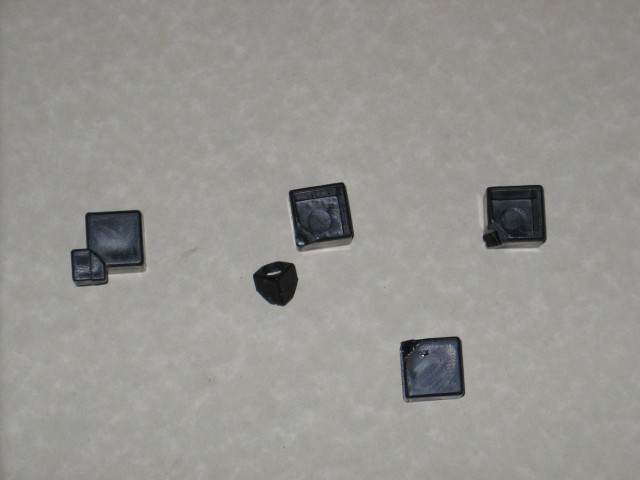 |
| Let's jump ahead here. Here's what the mostly-completed pieces will look like. The corner pieces had a hole drilled through the center, two slots cut, and a semi-circle drilled onto either side. This is to allow the tabs from the side-pieces to rotate in there. With the side pieces, because of the weakness of this particular cube plastic, as well as the fact that the tabs themselves have to be very weak at its smallest, I cut a groove through the center of the out-jut (which to begin with I filled in with glue and scrap plastic), and inserted a thick aluminum wire into the groove. That should hopefully add support to those parts. Worst case scenario, I use more spare side-pieces and find some kind of epoxy to fill them in entirely. | 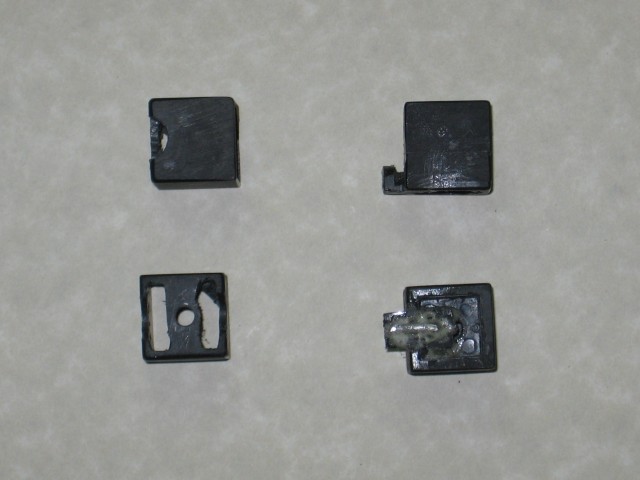 |
| And here's a REALLY rough version of what the final thing will look like (I hesitate to say cube, since it's nowhere remotely close to one any more). There's no stickers, it's in severe need of sanding, and the side-pieces need to be tweaked to actually fit and rotate properly. I can roughly move the pieces around, but again... the tabs are very weak (had to re-glue a few on multiple times... hoping a full 24-hour drying will help it out). As well, I'll be placing the plastic caps over the wire/hollow part of the side-pieces (now corner pieces), so that might add a bit of support. To the wire, anyway. We'll see how good I can make this look. It'll never be as 'shiny' since all sides of the pieces have been sanded somewhat at this point, but some ridiculously fine-grit sandpaper will probably help, and also get rid of the many scratches. And the stickers will cover up a lot too. | |
| And so, using for now the old stickers from the cannabalized original Rubik's cube, I've "completed" the cube, if you can even call it complete. It turns horribly, looks just as bad, and due to the fact that Gorilla glue apparently expands into a dense foam upon drying, it's as weak as a kitten where it was used to 'fill in' a gap to support it. I've kept it around as a sort of 'proof of concept', but it's not really useable. As well, the small screw that I had used to attach the two middle pieces ended up tightening from me turning it, so at one point it completely snapped that strip of the plastic cubie off. I had to glue it back on of sorts, but now it's pretty much strictly decoration. It'll still turn technically... but it's so horrendously weak and loose, there's really no point. Thus... I said 'screw it', and started from scratch. Let's do things PROPERLY this time. | 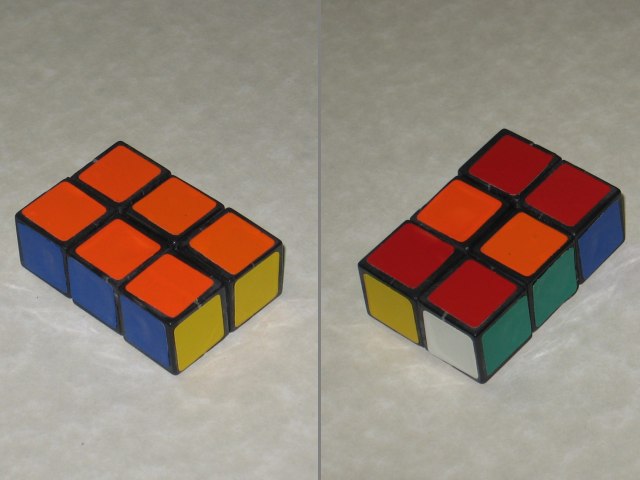 |
