
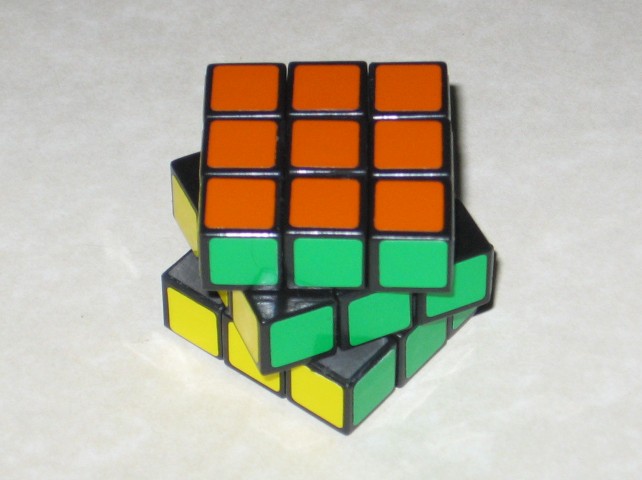
| As I've mentioned elsewhere, I had found my first Rubik's Cube, which happened to be of the keychain variety. After all the work that I've put into it, coupled with its 'original' status, I'm extremely hesitant to just... take it everywhere with me to play with. With my luck, I'd lose it somewhere. Therefore, I decided to buy a keychain Rubik's Cube online, and have THAT with me constantly (fits in my pocket far, far easier than a regular size). However, upon receiving it I was quick to learn that it did not exactly turn all that spectacularly. In fact, it turned quite poorly as a whole, and detracted from the fun of using it. | 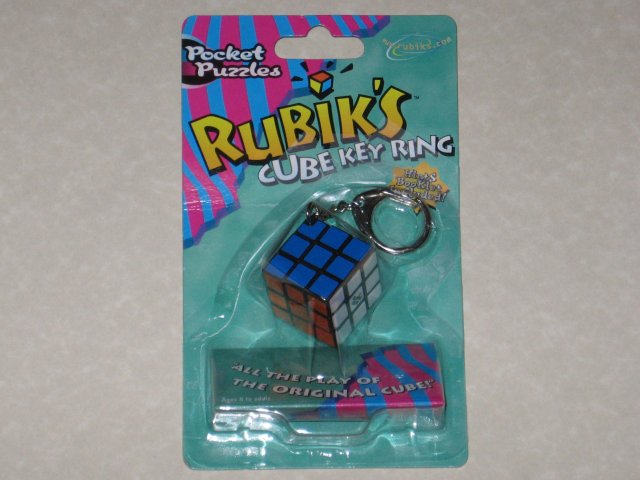 |
| Since this will solely be sitting in my pocket and NOT attached to my keys (the pile is big enough as is), I instantly ditched the keychain, and filled in the remaining holes. The stickers I will deal with at a later time, using trimmed down replacement stickers for a regular sized Rubik's Cube. One can get keychain sticker replacements online, but eh... I'll order those only if I absolutely, positively need to. Otherwise... trimmed down regular stickers it is. In general though... keychain gone, holes filled. | 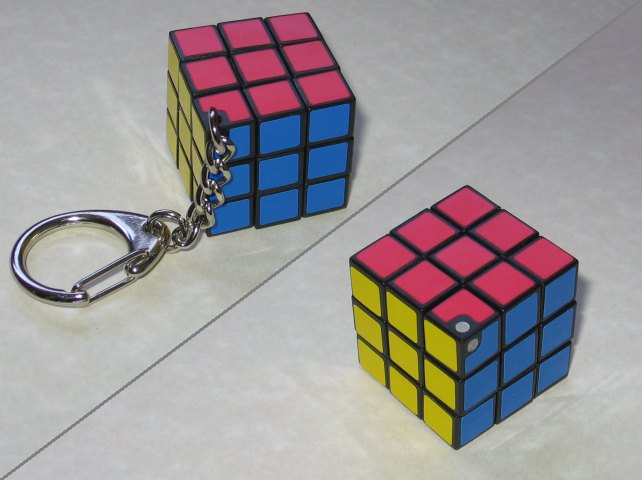 |
| And so, I took it apart to see what makes it tick. The non-spring-based center likely causes a bit of annoyance, but by far the biggest problem was the hollowness of the pieces. If the seams weren't absolutely perfectly lined up, sure enough one of those open sides of the cubie would catch on the center square and stop you from rotating it. If I can solve a regular cube in a little over two minutes (don't laugh, I'm not bothering to memorize the 100+ algorithms for the far faster methods), this one as it stood took me over 5 minutes, if not more. Thus, I elected to try filling in each of the cubies, leaving no empty sides whatsoever. | 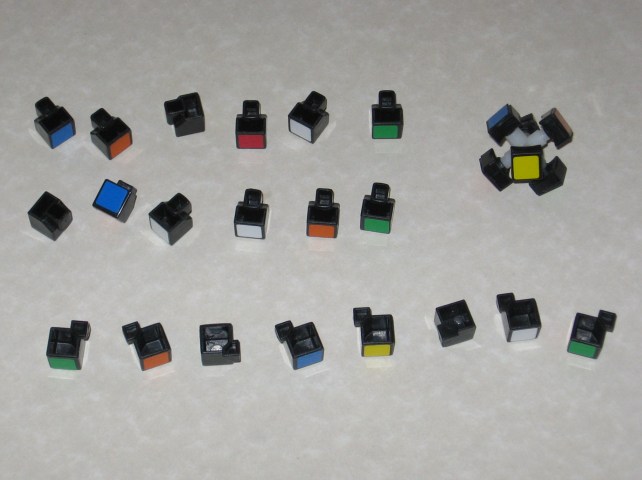 |
| I figured I'd fill the voids with my good old friend JB Weld. However, since that stuff is expensive, I thought the best way to avoid needing to use a metric ton of it (and also to keep the weight down) would be to take a bamboo meat skewer, cut it into little pieces a bit less than the depth of the holes, and drop those into the cubies. They weigh less, fill up the bottom 90% of the opening, and by positioning them all facing upright (instead of stacked), then some JB Weld would stick to each individual piece, and keep any of them from having a rattle inside. |  |
| I then proceeded to mix up a bit of JB Weld (the remainder of a set of tubes, which were almost empty), and painstakingly fill each of the cubies with them. I used a ziplock bag with the tip of a corner cut off as a sort of pipette to squirt the mixture. As it turns out, I ended up having a good bit extra left over, so to avoid wasting it, I proceeded to fill each of the smaller holes in all of the pieces. Hey, might as well, can't do any harm. I just barely, barely had enough to do every opening of every piece, having to absolutely strangle the last drops from the inside surfaces of the ziplock bag. All in all, it ended up the absolute perfect amount to fill everything. | 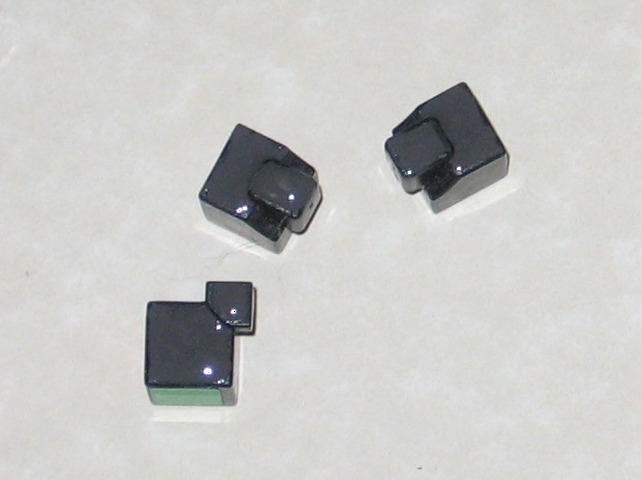 |
| Next up, after its 24-hour curing time, I painstakingly removed the excess material that overfilled the cubes. I used a box-cutter to slice away the dried JB Weld, making the remainder even with the edges of the plastic. This part probably took the longest of everything by far. I had debating sanding it down, but with pieces this small, that's just asking for problems. Thus, the most obvious solution would be to use a ridiculously sharp knife, and just be careful not to cut into the plastic. There was a few close shaves, but it turned out better than I could have ever hoped. Given it was cut instead of sanded, it was likely a smoother surface, too. | 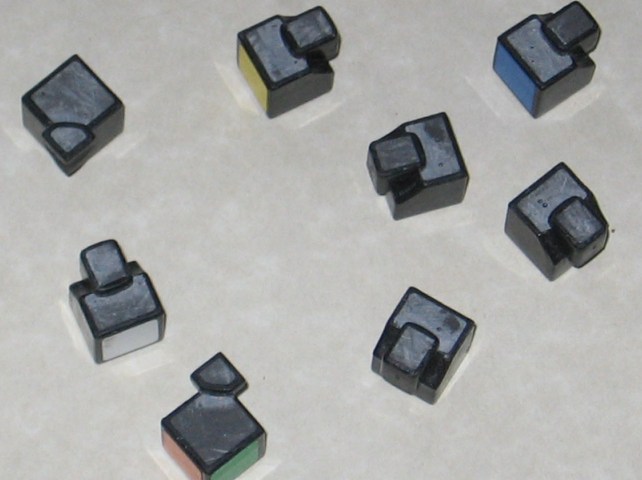 |
| And finally, we have the completed cube. Naturally, after slicing away the excess JB Weld, I also shaved away any rough seams left from its creation, and then sprayed the cube down with silicone lubricant and let it dry before reassembling. You can see in this view how the grey JB Weld looks inside of the cubies. Not very visible, which is good since I didn't want to use a marker to blacken it. That caused a bit of problems when lubricating the 3x2x1 Cube, so since these are far tighter fitting pieces, I decided against it. All in all, very successful. It turns excellent, and no longer catches. It doesn't cut corners or go as smooth as a regular cube, but without the spring-based center, I'd say this is about as ideal as it can get :). | |
