
| A little while ago, while pondering getting another Rubik's Cube to make custom stickers for... namely the coloured ground bricks from the game Metroid (that way you'd have to make sure the middle squares are the right way as well), I had wondered what my original Rubik's Cube was. And then I remembered... waaaaaaay back, about a decade before getting into Rubik's Cubes, I had gotten a little keychain Rubik's Cube from... somewhere, I'm sure it was probably for free for signing up for something. I couldn't solve it way back then, and the stickers have obviously disappeared over the years. | 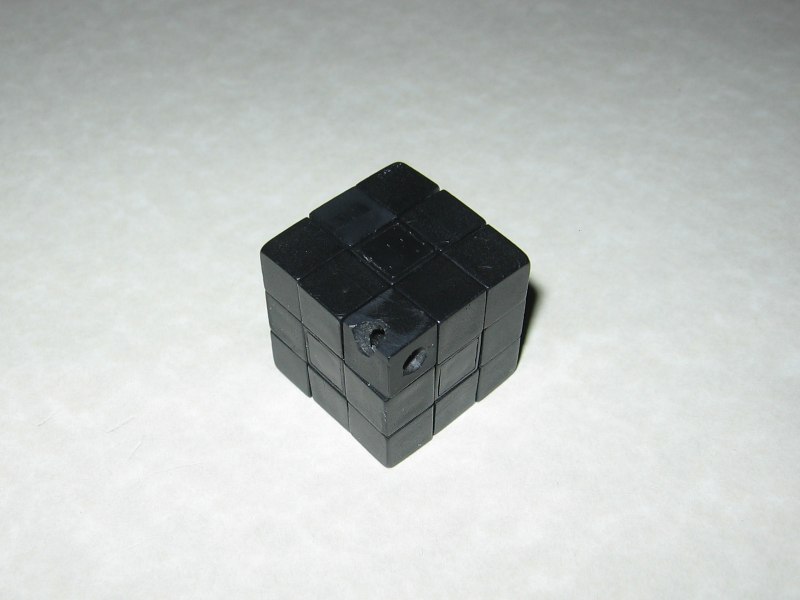 |
| Taking it apart, I figured I'd give it a quick cleaning, since it turned particularly rough. I figured I would restore my original Rubik's Cube out of nostalgia and sentimentality. Well... except the stickers... those have been lost forever from years of being hooked to my backpack, and the cube and stickers being ridiculously low quality I imagine. However, upon trying to put it back together, I noticed a bit of a... problem. |  |
| Here, let me make it a bit easier for you to figure out what's wrong. | 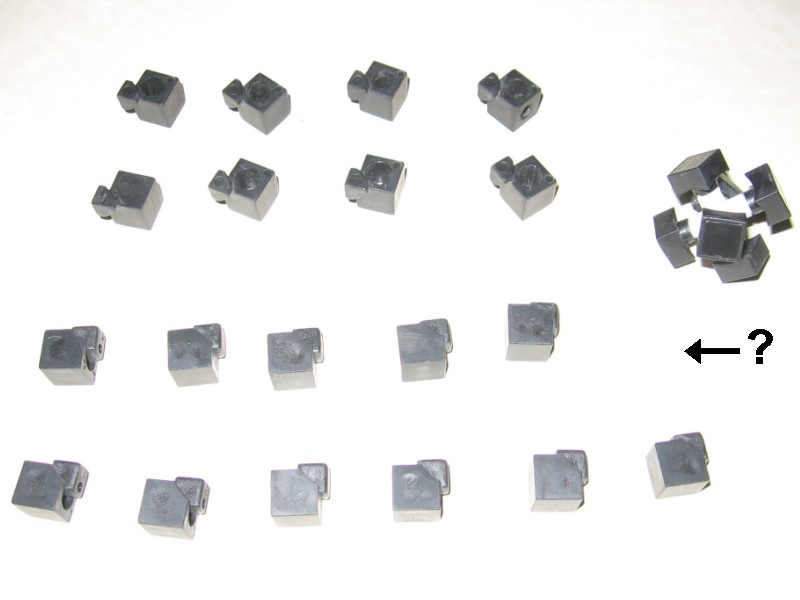 |
| I've come to the conclusion that the problem likely resides with one of my "helpers" that was nearby. I imagine the missing cubie is somewhere in the vicinity of the arrow in the picture. | 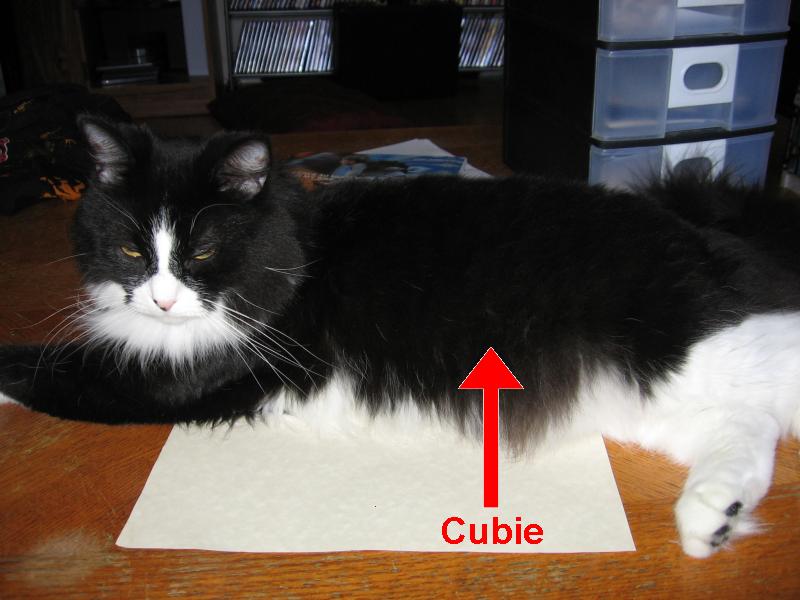 |
| As you can imagine, I was quite depressed at the thought of having to discard my very first Rubik's Cube so soon after rediscovering its existance. However... I wasn't one to give up. Finding an old cork, I decided to see if remaking the cubie out of some other material was even feasable. I used a cork because it's easy to cut to shape, easy to shave down, and basically acts as a rough proof of concept. This is the remainder of the cork, since I forgot to take a picture of it when it was whole. | 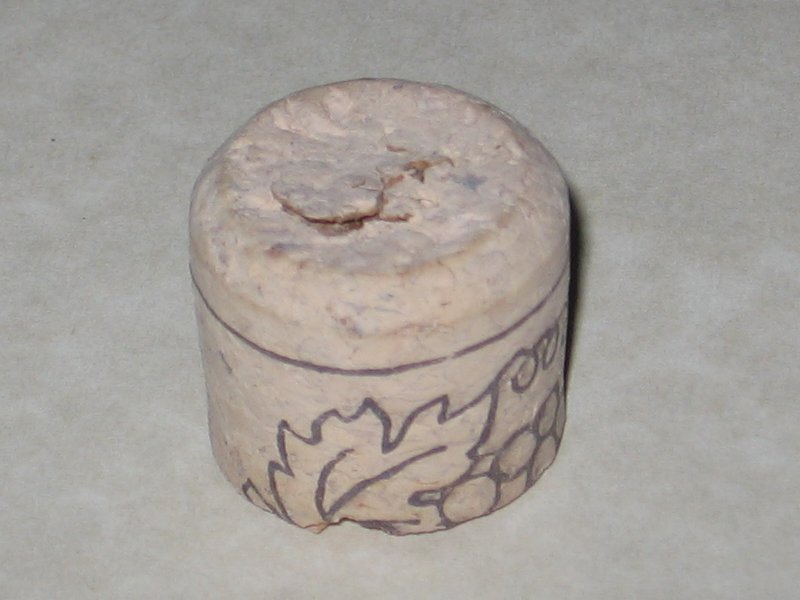 |
| As you can see, the proof of concept was successful! I was able to make a piece of the same approximate shape, and when entered into the Rubik's Cube, I was still able to turn it and work with it. However, we need to make this homemade cubie out of something a bit more... sturdy. | 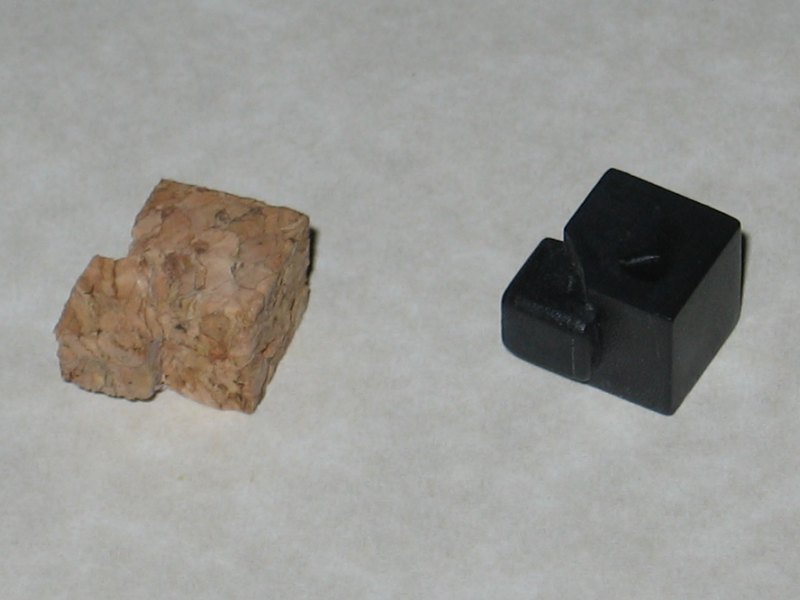 |
| This sounds like a job for part of a shovel handle. Made from Northern Ash, this type of wood is particularly strong. Don't worry, I had to hack the end of the shovel handle off months ago so it would fit in the trunk of my car. It's not like I destroyed a brand new shovel for this. | 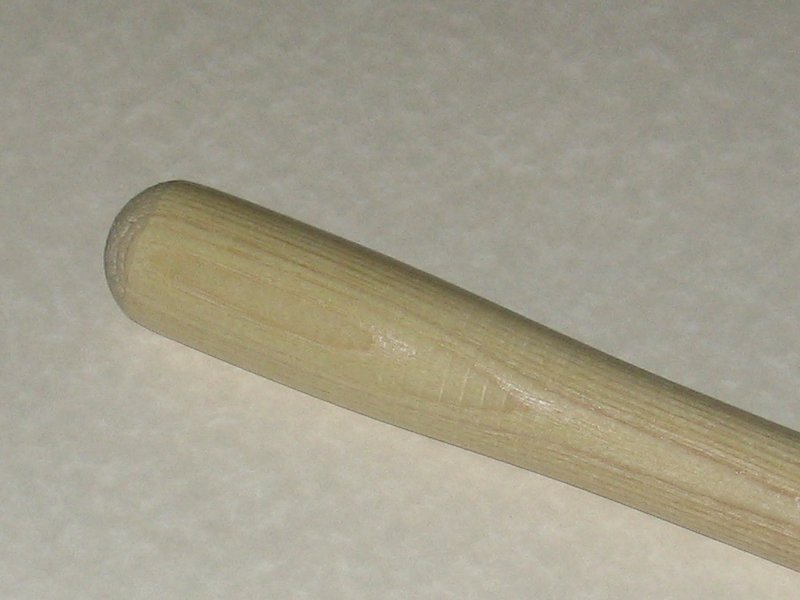 |
| Here's a close-up of the disk of wood. And I gotta tell you... a wood this solid isn't exactly fond of being shaped. A hacksaw takes forever and is inaccurate as hell. Sandpaper takes even longer. I eventually found that a dremel with the sanding attachment works wonders. Combine that with a cutting disk for the sharper inside corners, and we have a working method! | 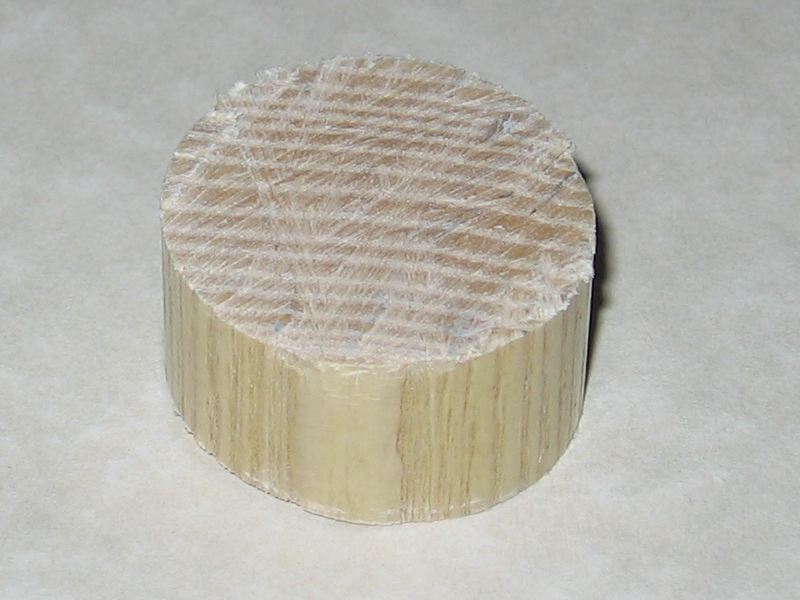 |
| Here's the three pieces... to the left is the proof-of-concept cork, followed by the actual plastic cubie, and finally the end result (with perhaps some minor sanding for smoothness in the future) of the wooden cubie. | 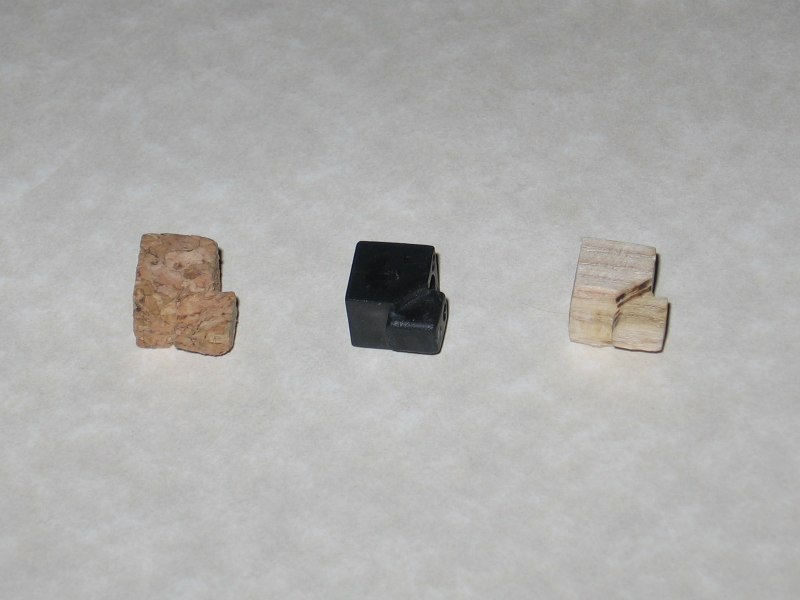 |
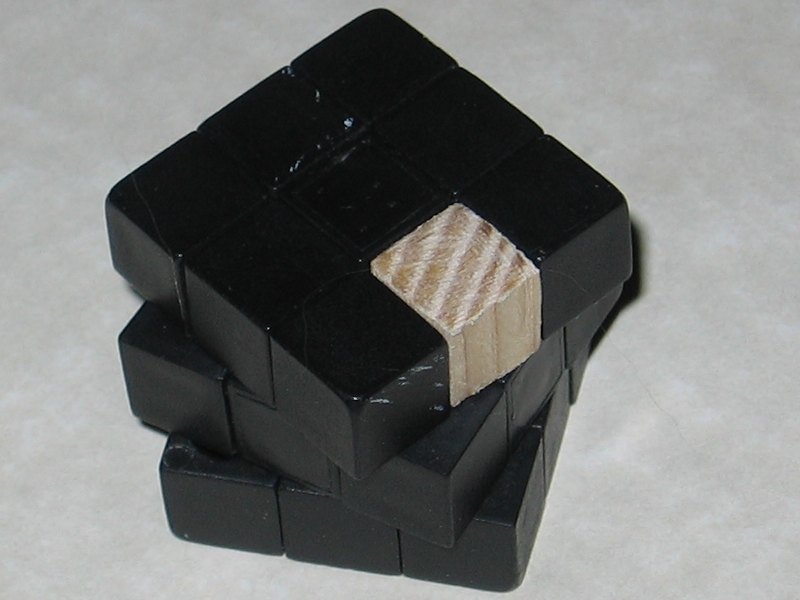
| A little bit of tweaking here and there with the dremel on the inside corners, and SUCCESS! The cubie fits like a charm. It's ever so slightly loose, but if that bothers me enough, I may either make a second one (unlikely), or attempt to re-fill the parts where I might have sanded too much with a bit of superglue. I'm thinking the superglue (one that dries hard) will work nicely, since it'll make a smooth surface on the wood once it dries. All in all, about 8 hours of work to repair a little piece of my past :D. | |
| EDIT: This just in... the missing cubie has been found! Turns out it WASN'T digested by the cat mentioned above, but instead they batted it under the TV stand. I'd searched under there shortly after it was lost, but it must have been trapped in some corner that I couldn't see. Rest assured, if they hadn't batted it where they could no longer reach it, they'd have probably eaten it :P. In either case... the original cube is now whole again! Note: Stickers were applied later on over here. | 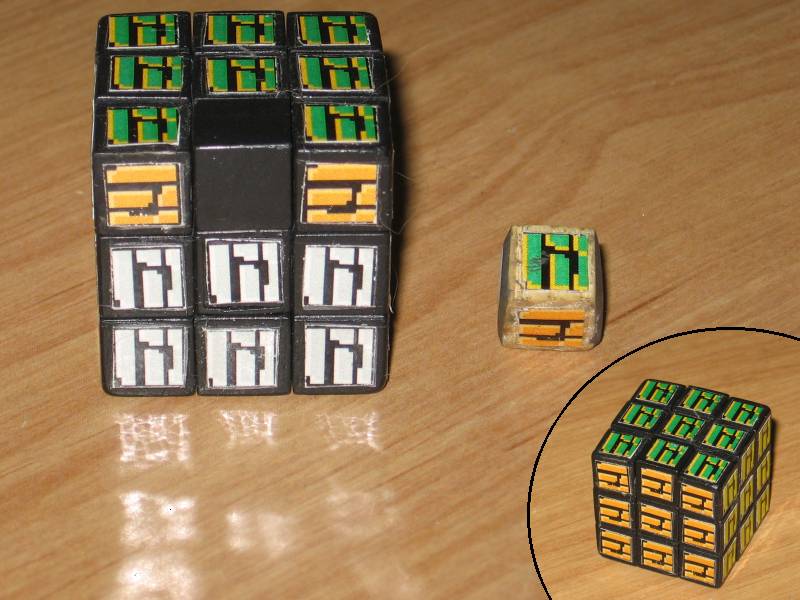 |
