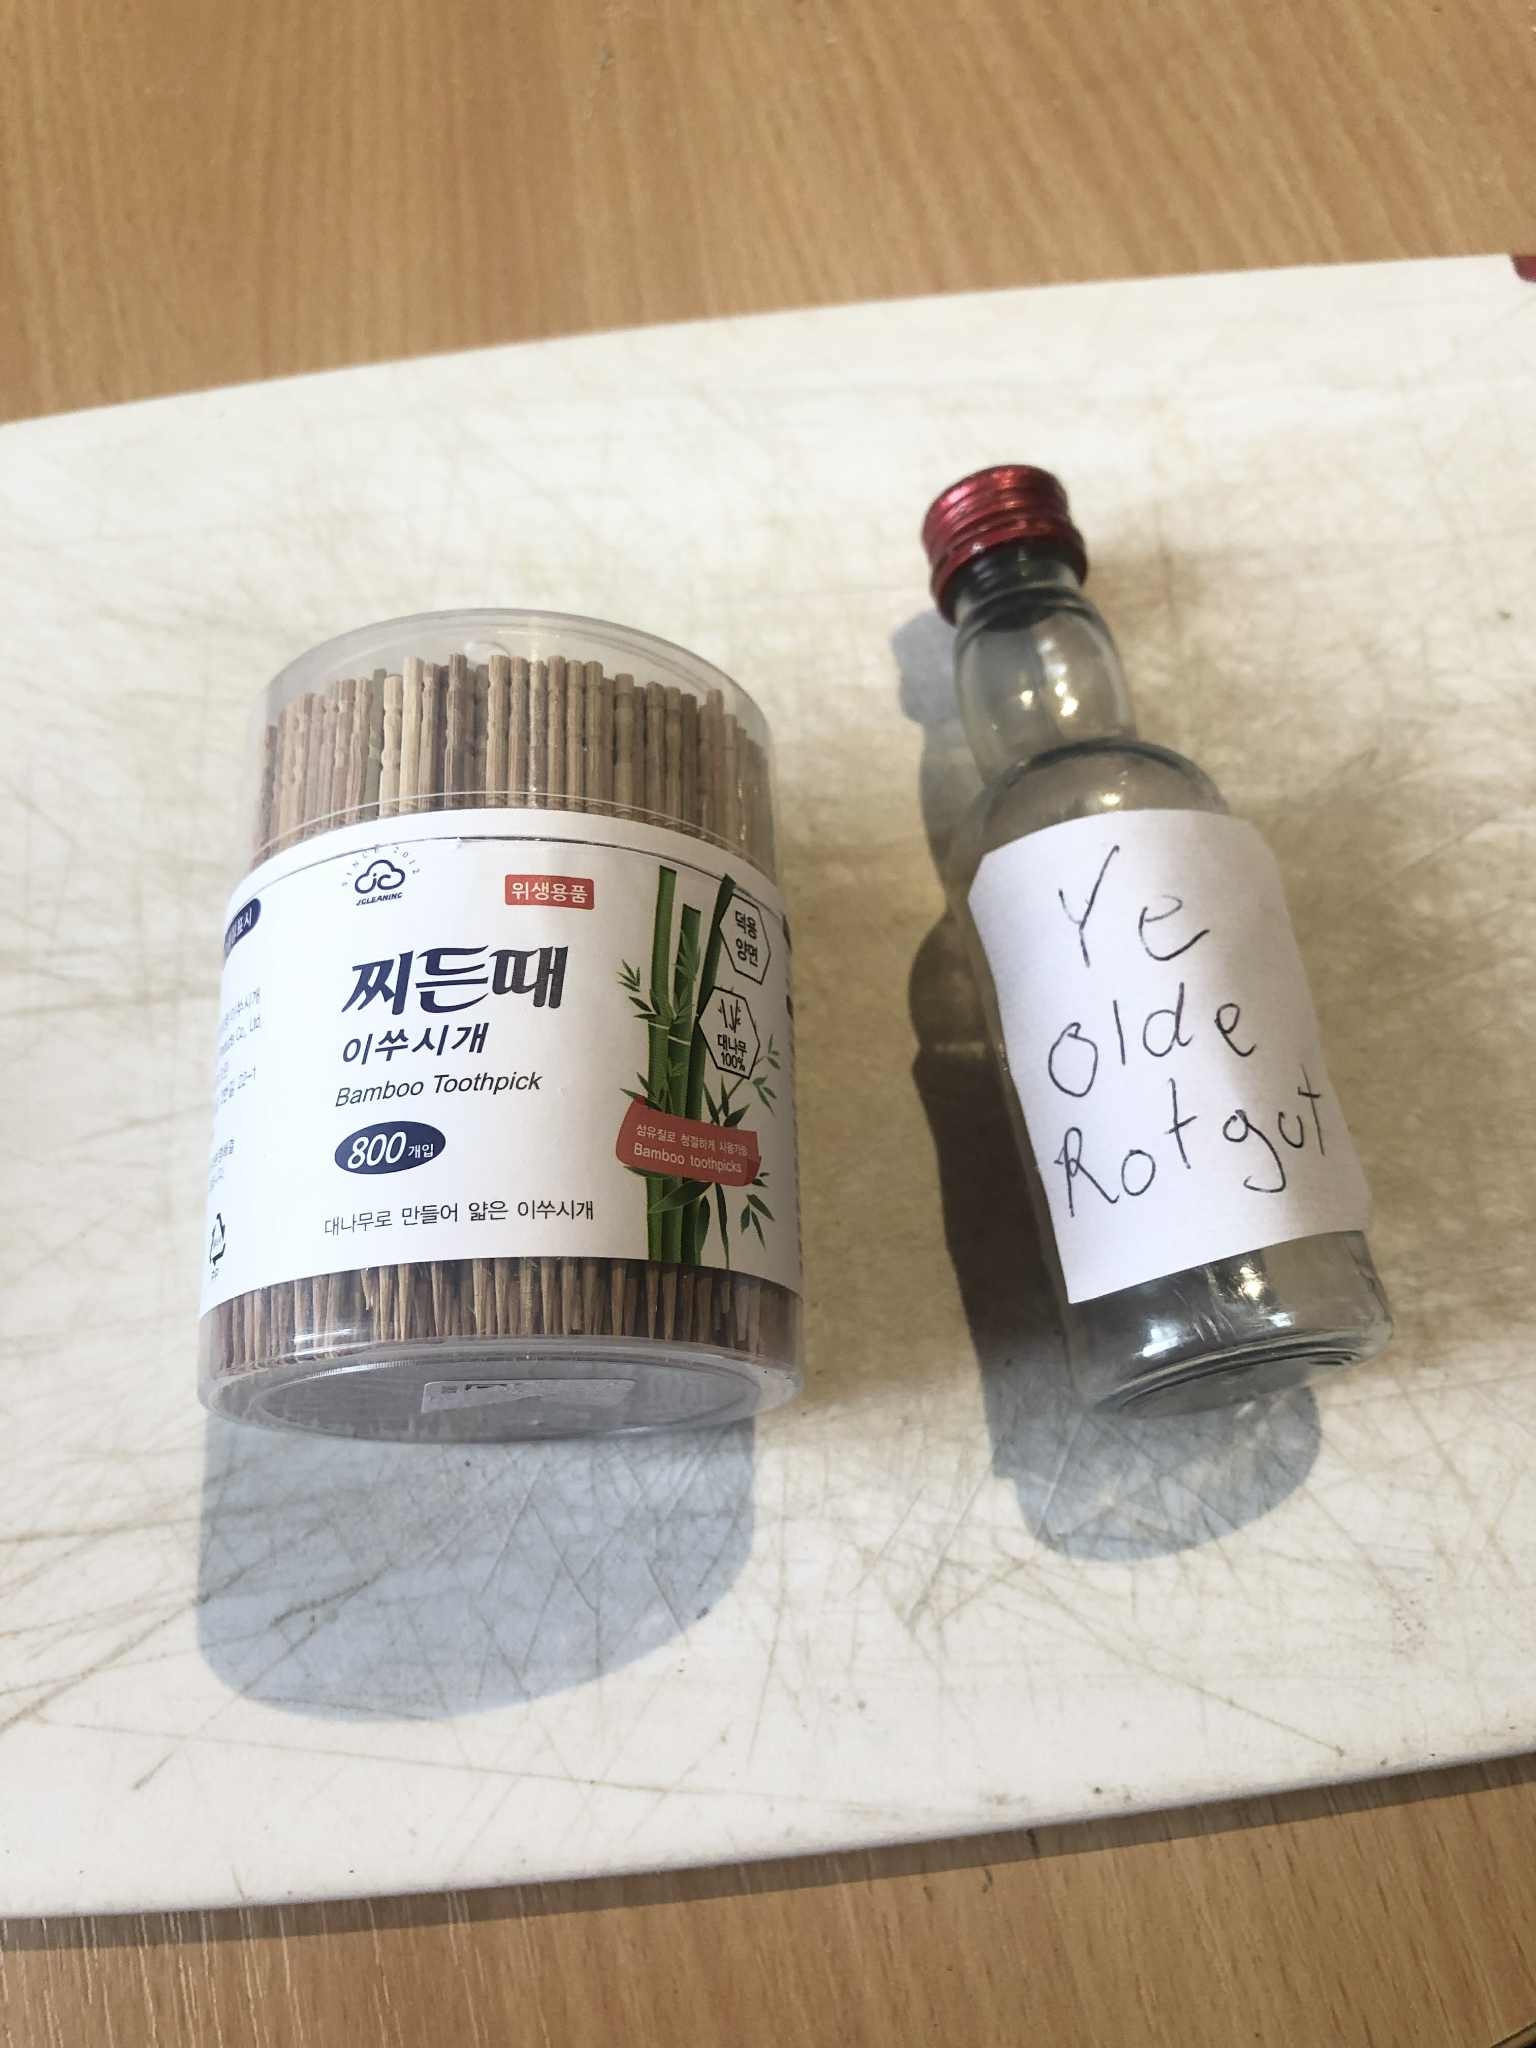
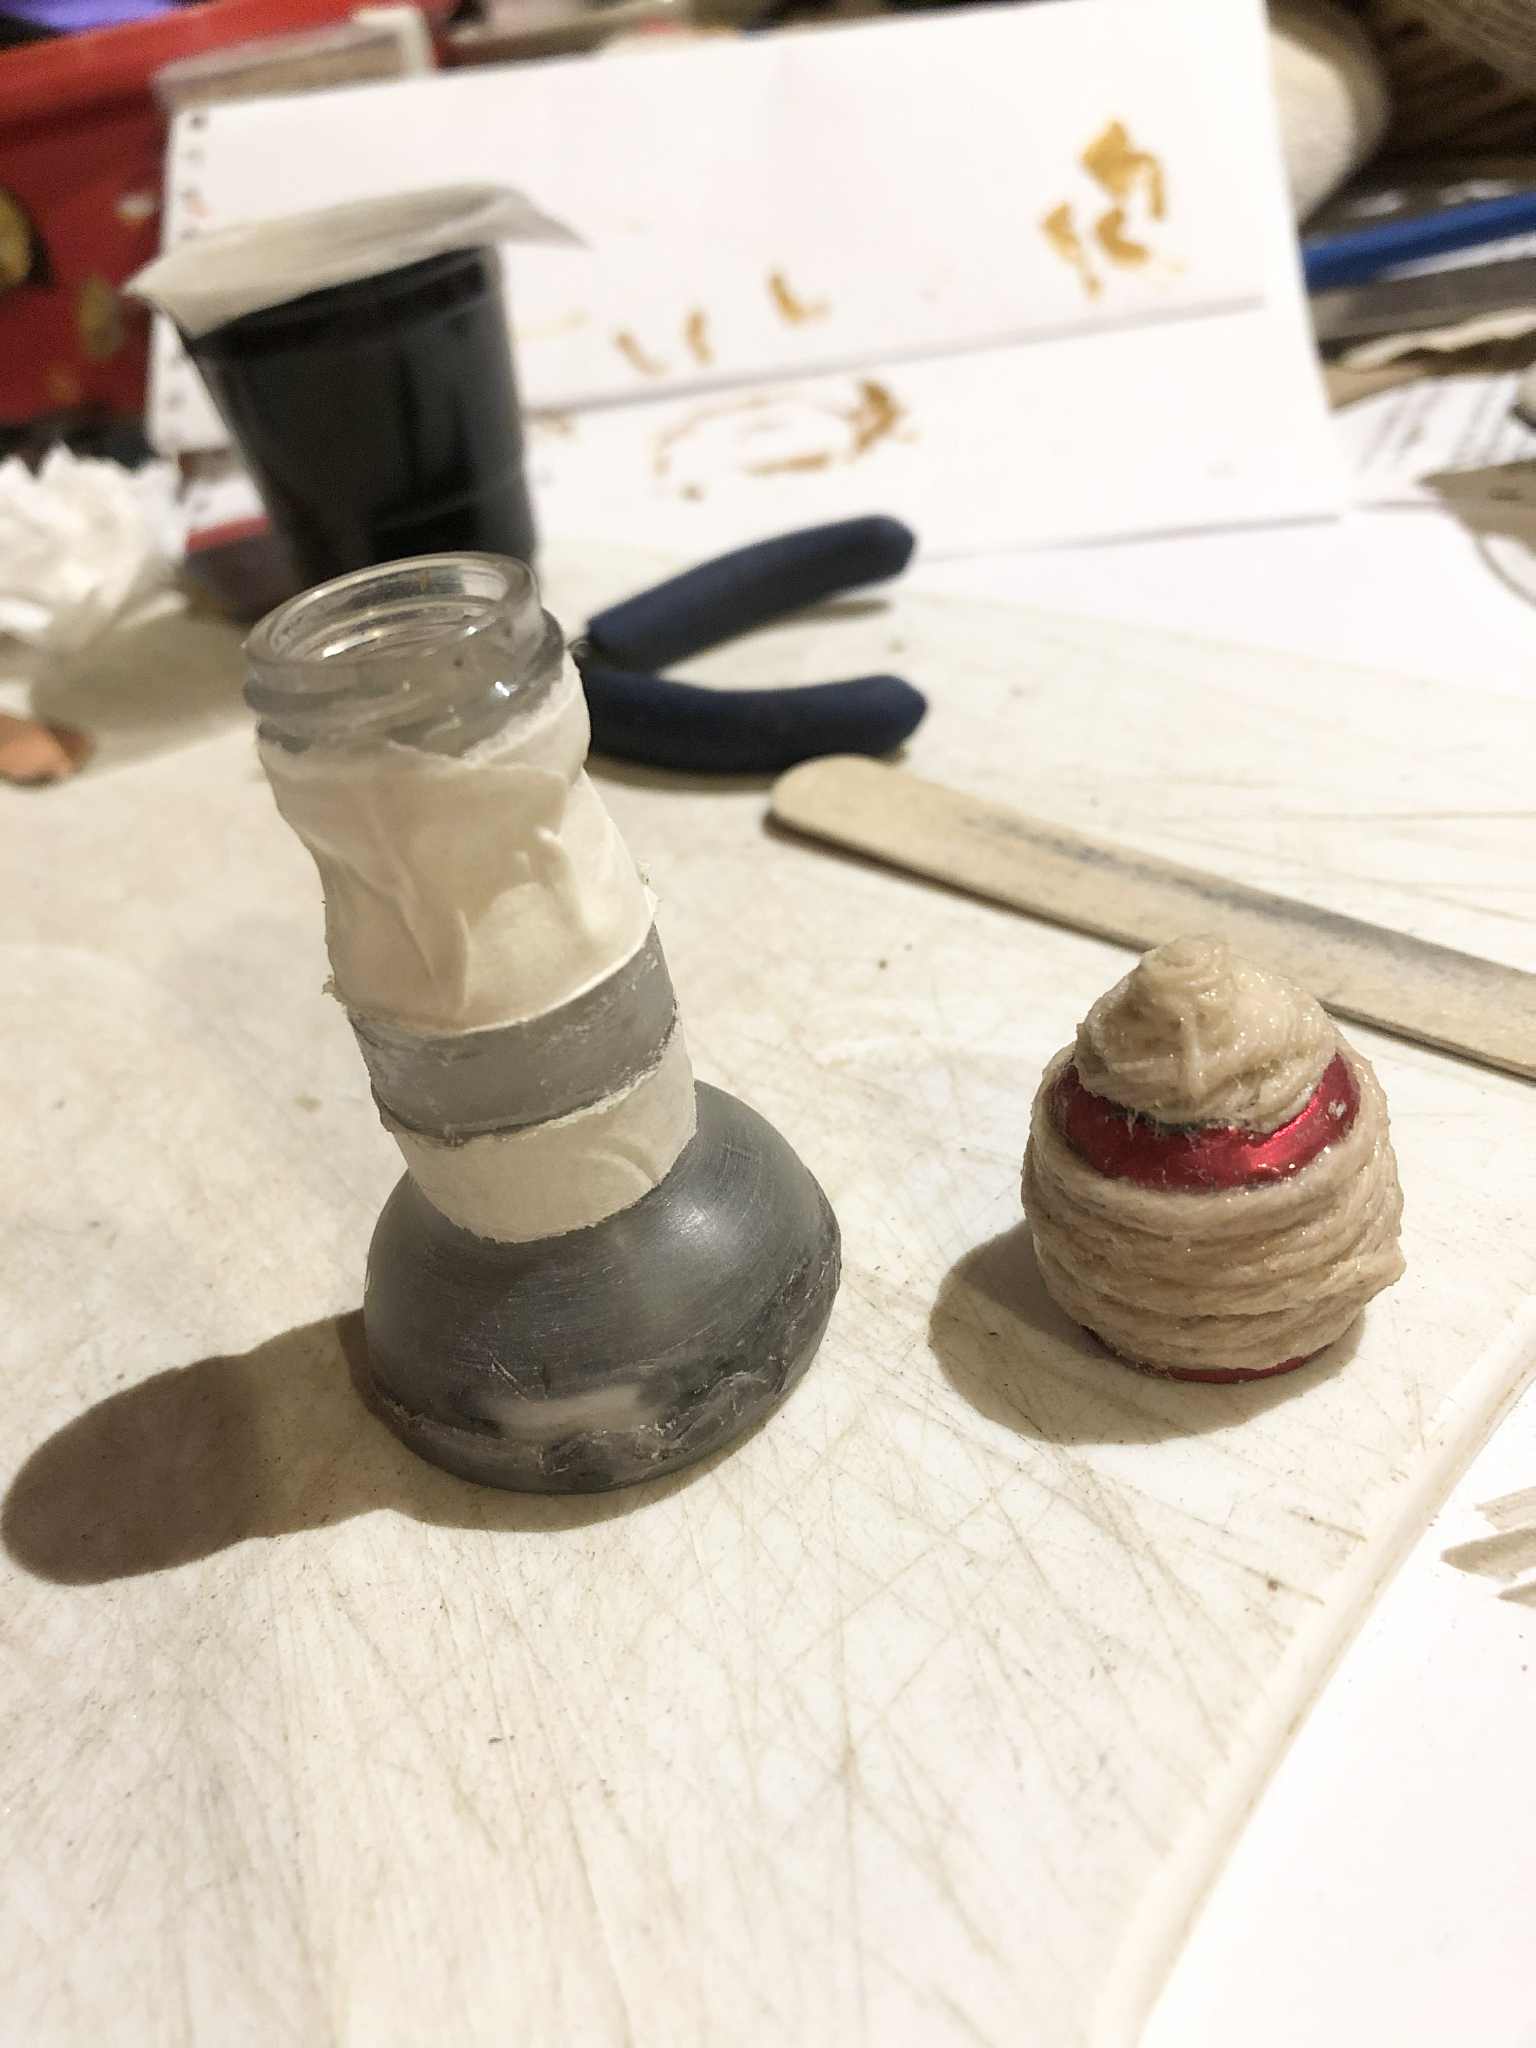
First, we needed a bottle, of course. I tried hunting around craft and hobby shops, even candy containers that might look suitable, but nothing fit the bill. And then I found one of those little mini bottles of ye olde rotgut on the ground, and thought ayyyy, that looks like it'd work! So we scooped that up, and set about hacking it to pieces!
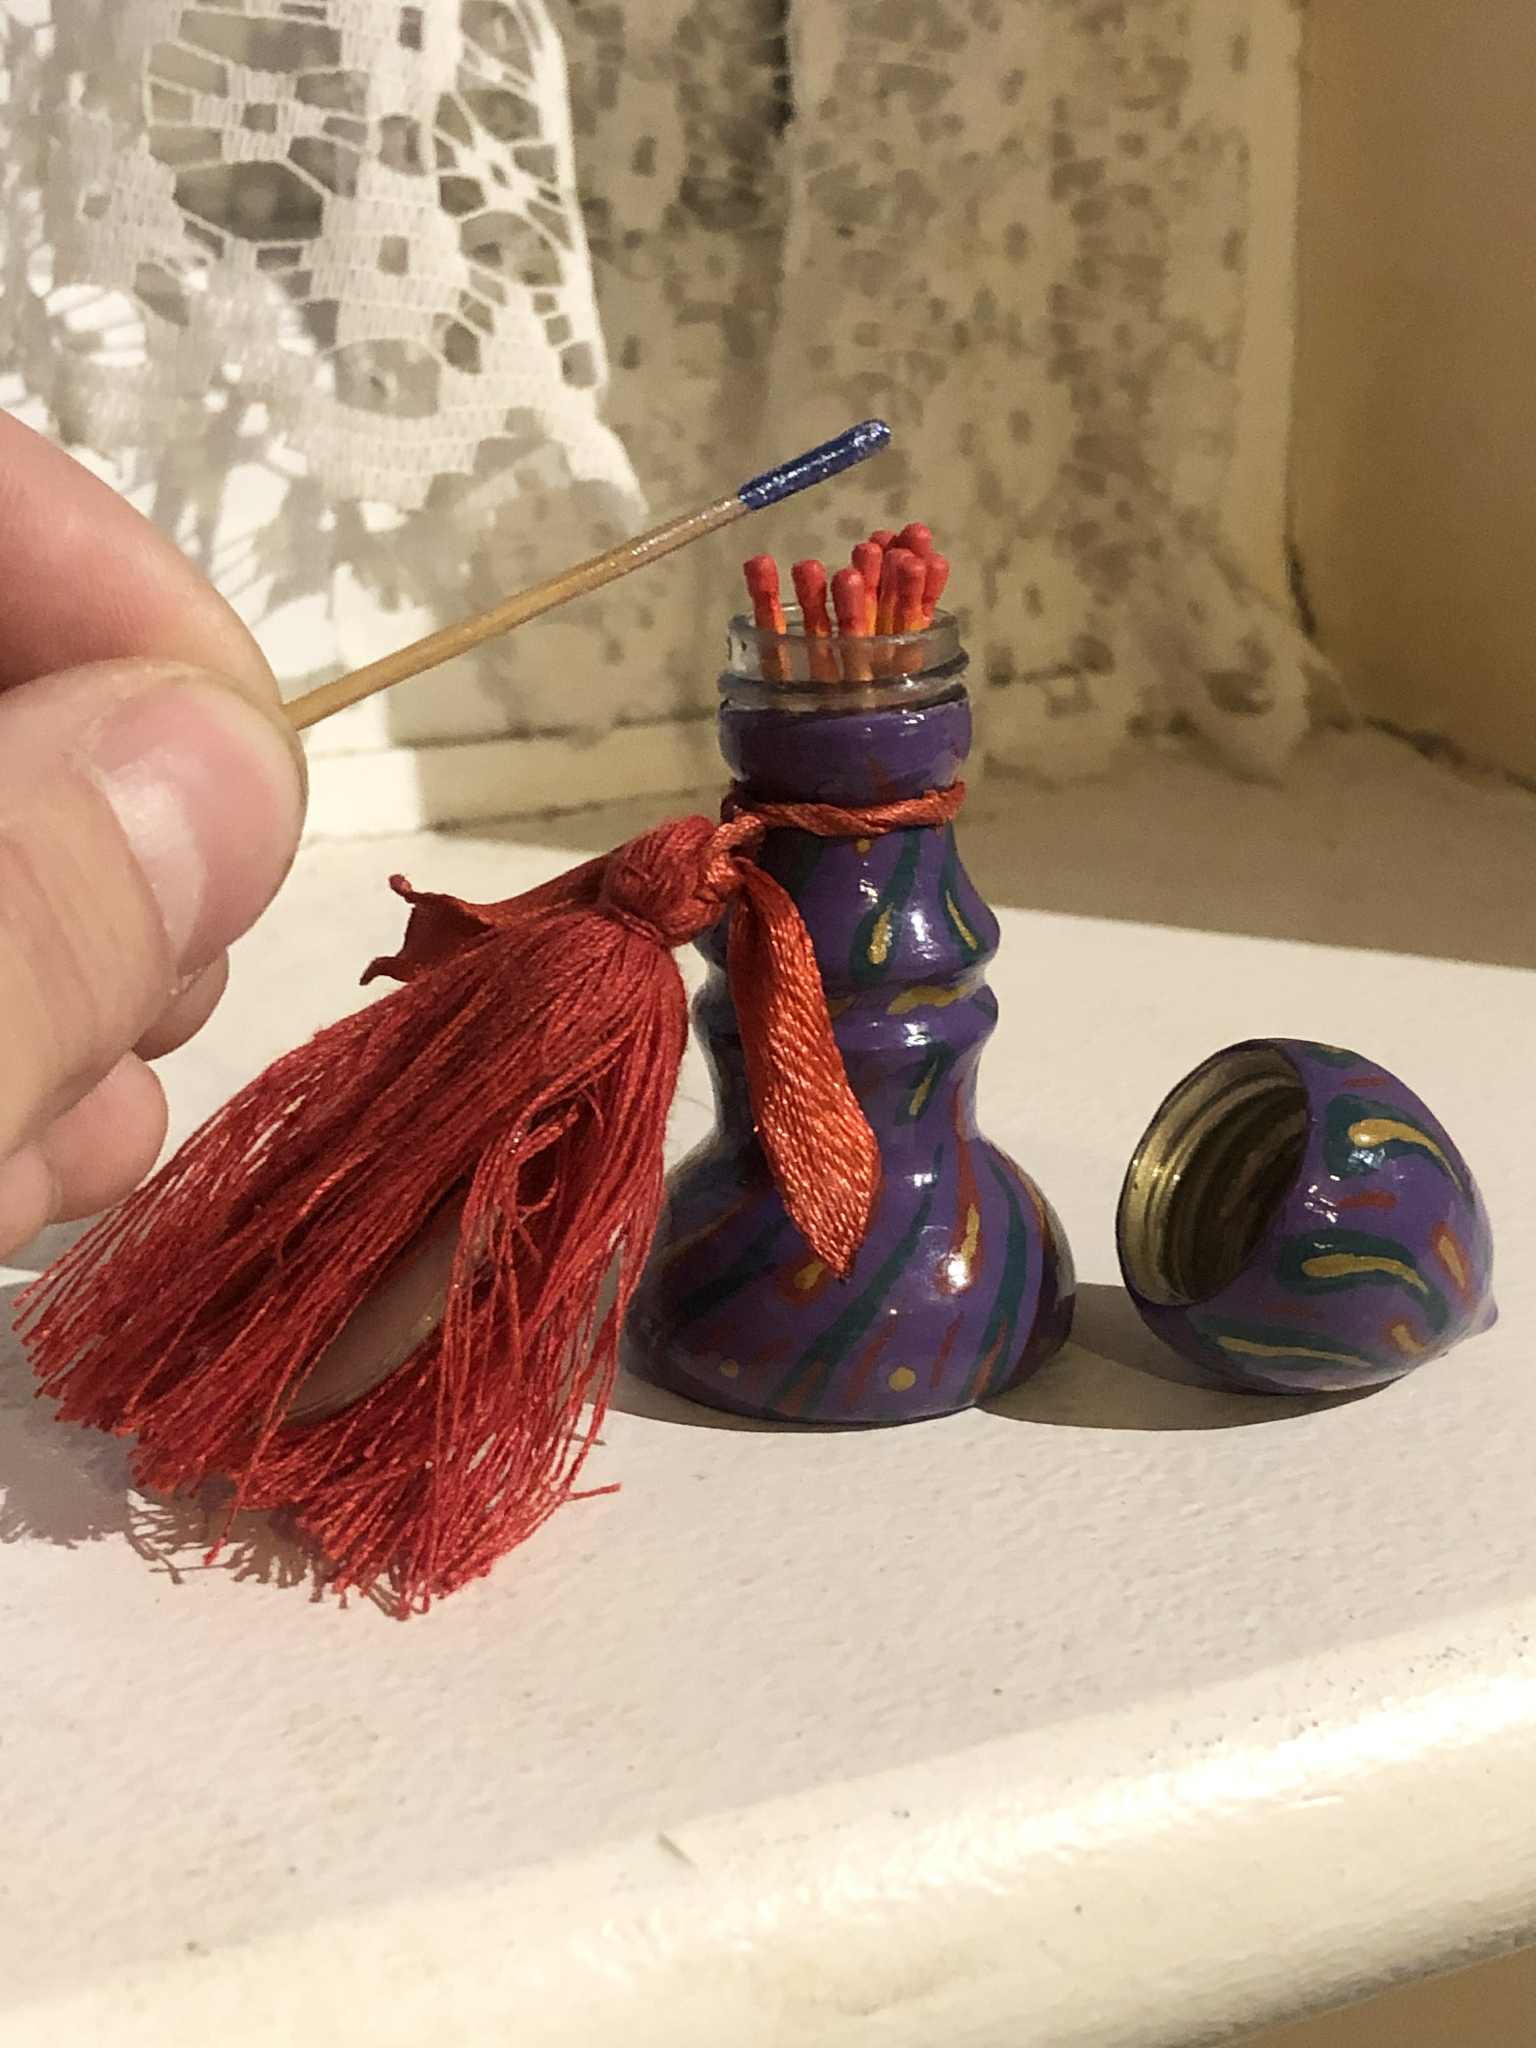
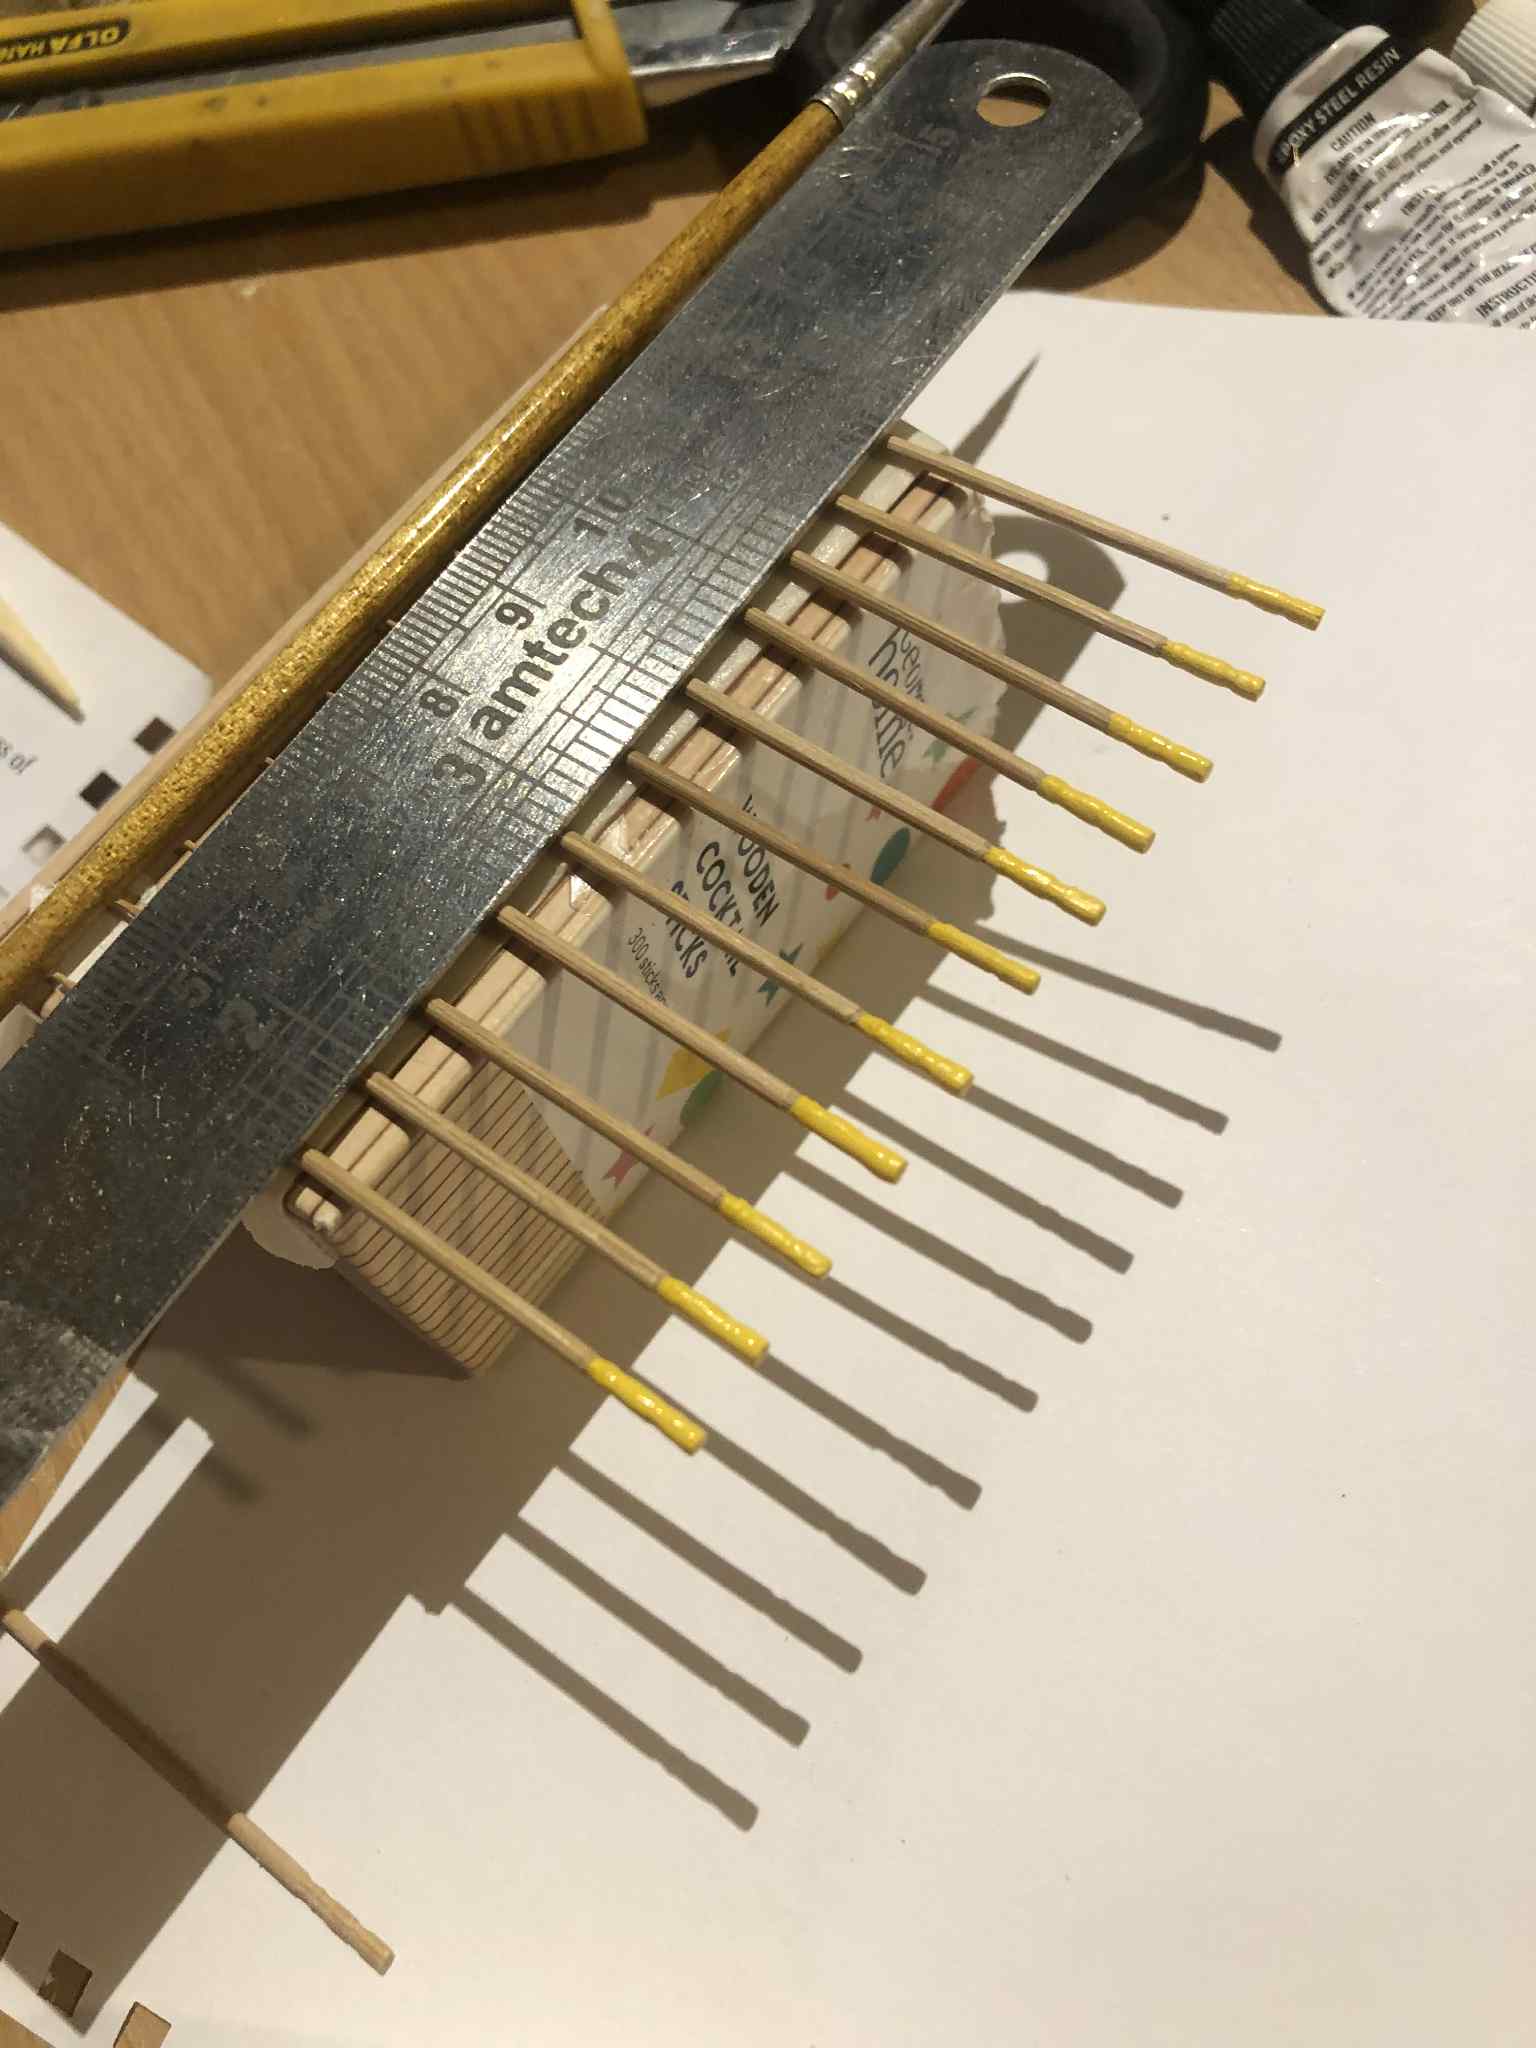
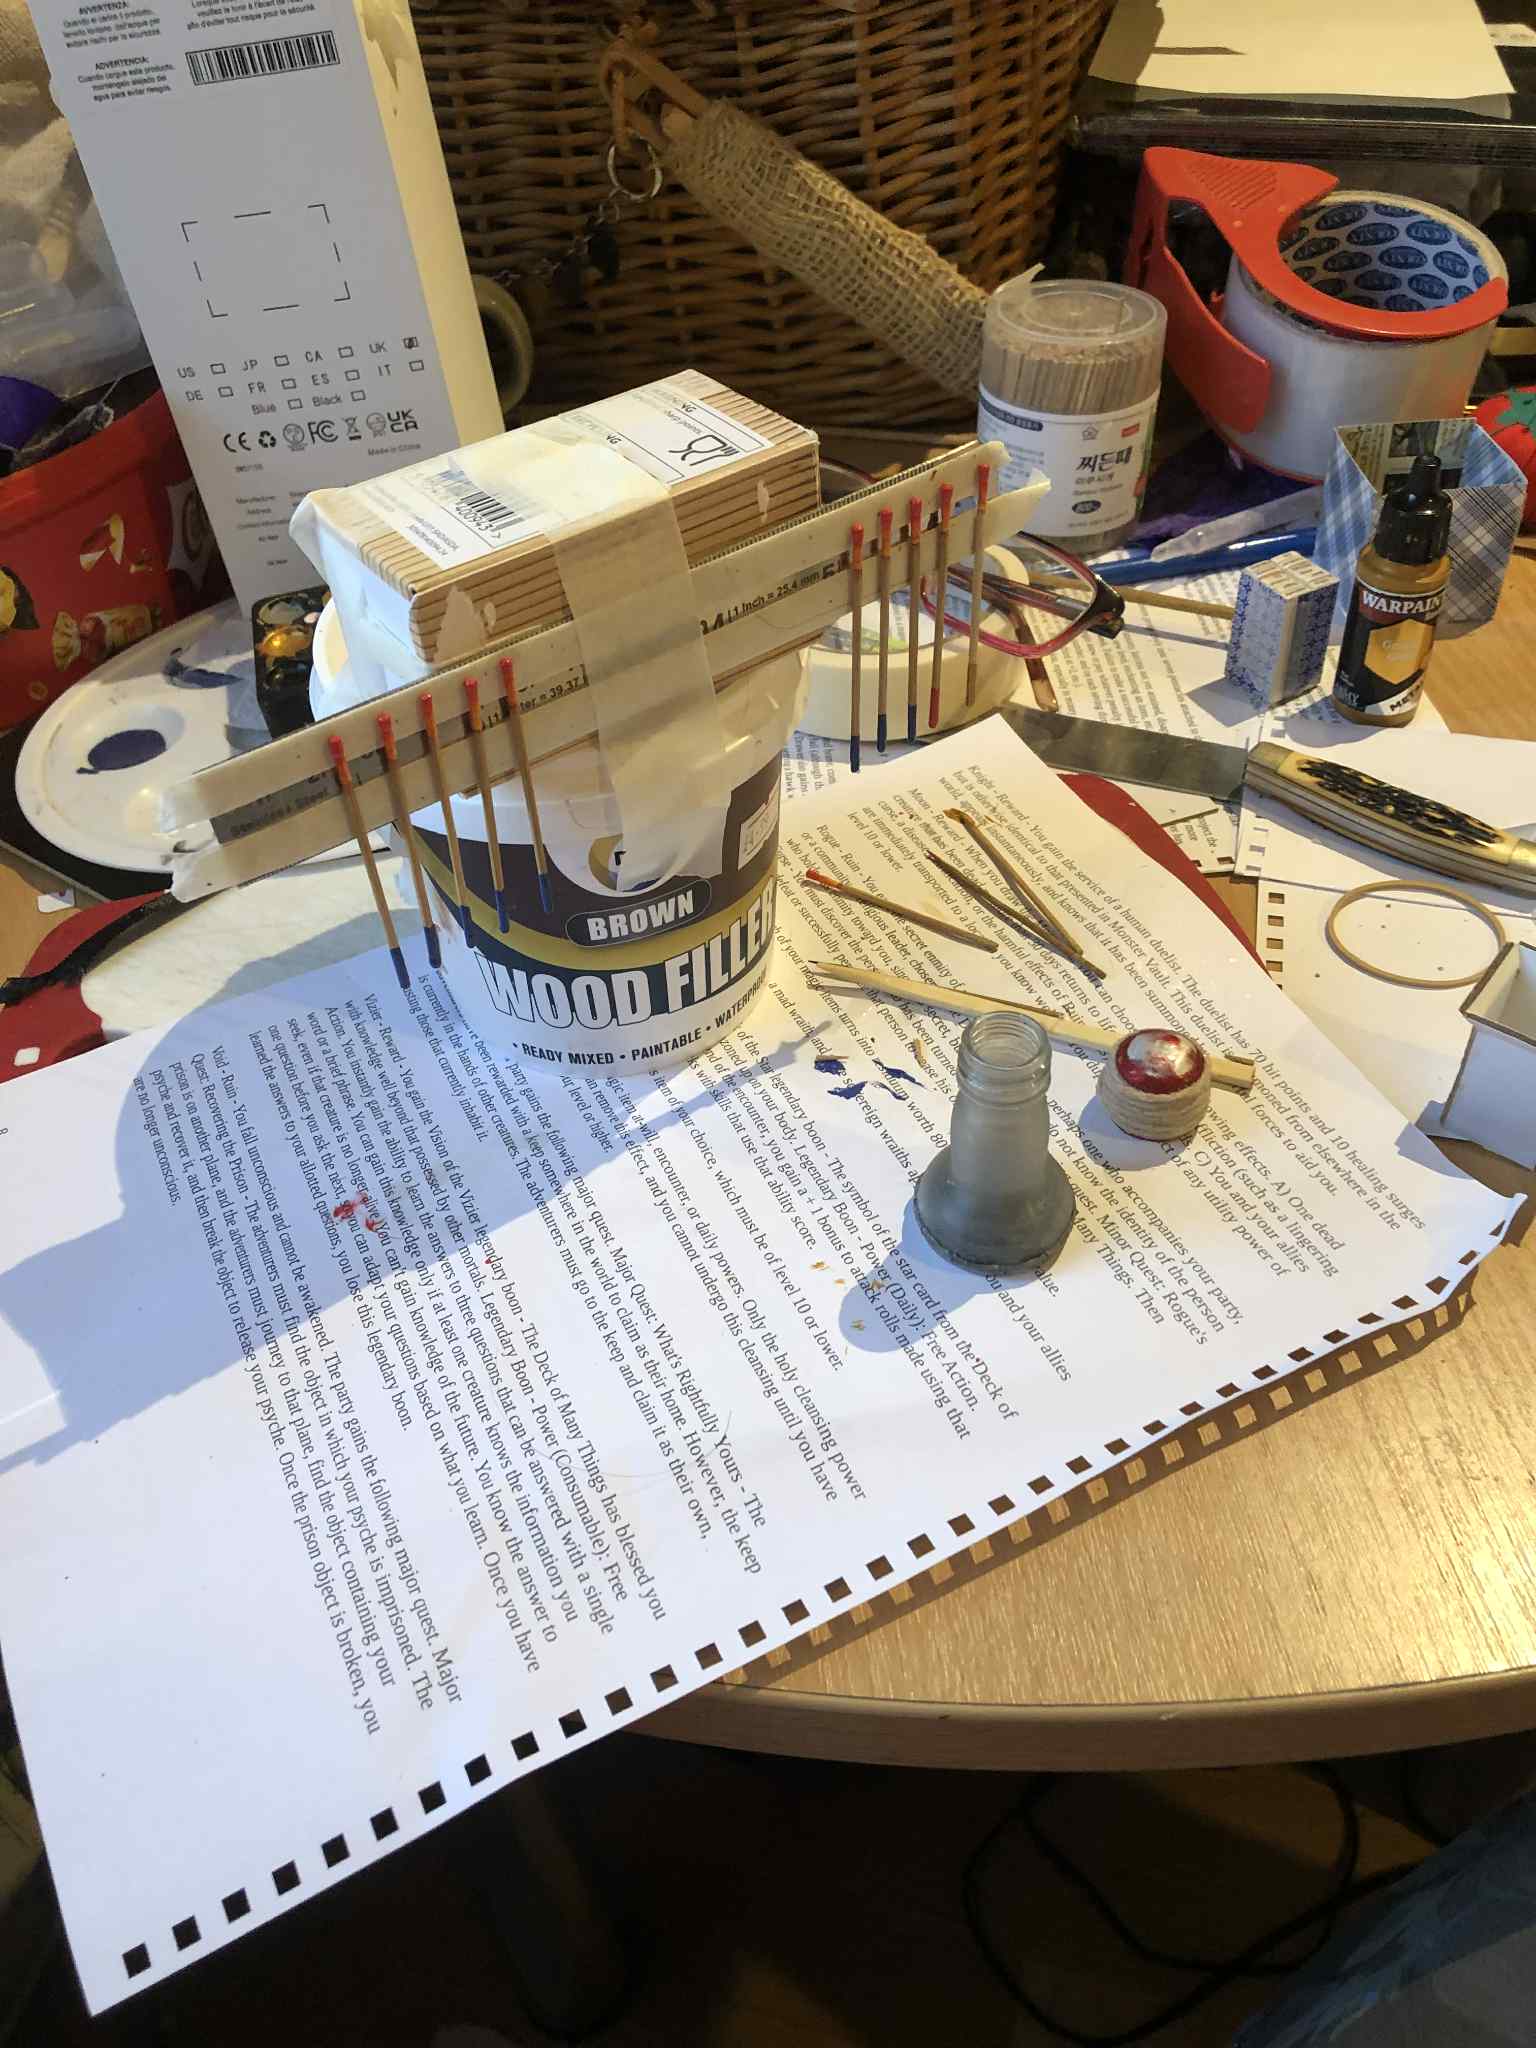
And what to draw? Small little sticks, toothpicks! But not cheap wooden ones, those tend to split down the middle, as... countless annoyances while painting with them have told me. Bamboo tho... that grows very straight-grained, is very strong, you should do me well! So we ordered some bamboo toothpicks online (finding them in-store was proving difficult), and set about adjusting the rules to it. So... there's ten possible results, a 1 in 10 chance of three wishes, 1 in 10 chance of it attacking you, and 8 in 10 chance of it helping you for an hour, which you can call upon three times. Also why I didn't make it initially, it's a one-time use item (so to speak), once a stick is drawn, you get the result, and then it becomes a nonmagical bottle. But... the printer has spoken, it must be made!
So, as the rules state that there's smoke, then a flash of fire, and then the genie appears, I decided to paint the tops of the toothpicks to look like flame, as much as I could. I didn't make them pointy-topped, I figured that was just asking to get chipped off, but... fire-looking paint. On the bottom, we painted one gold, one red, and the rest blue, so that the instruction sheet that comes attached to the bottle can list the rules as red, blue, and gold. Also, when topcoating these, I used sparkly topcoat for the bottoms of the sticks to give it some magical sparkle ^_^
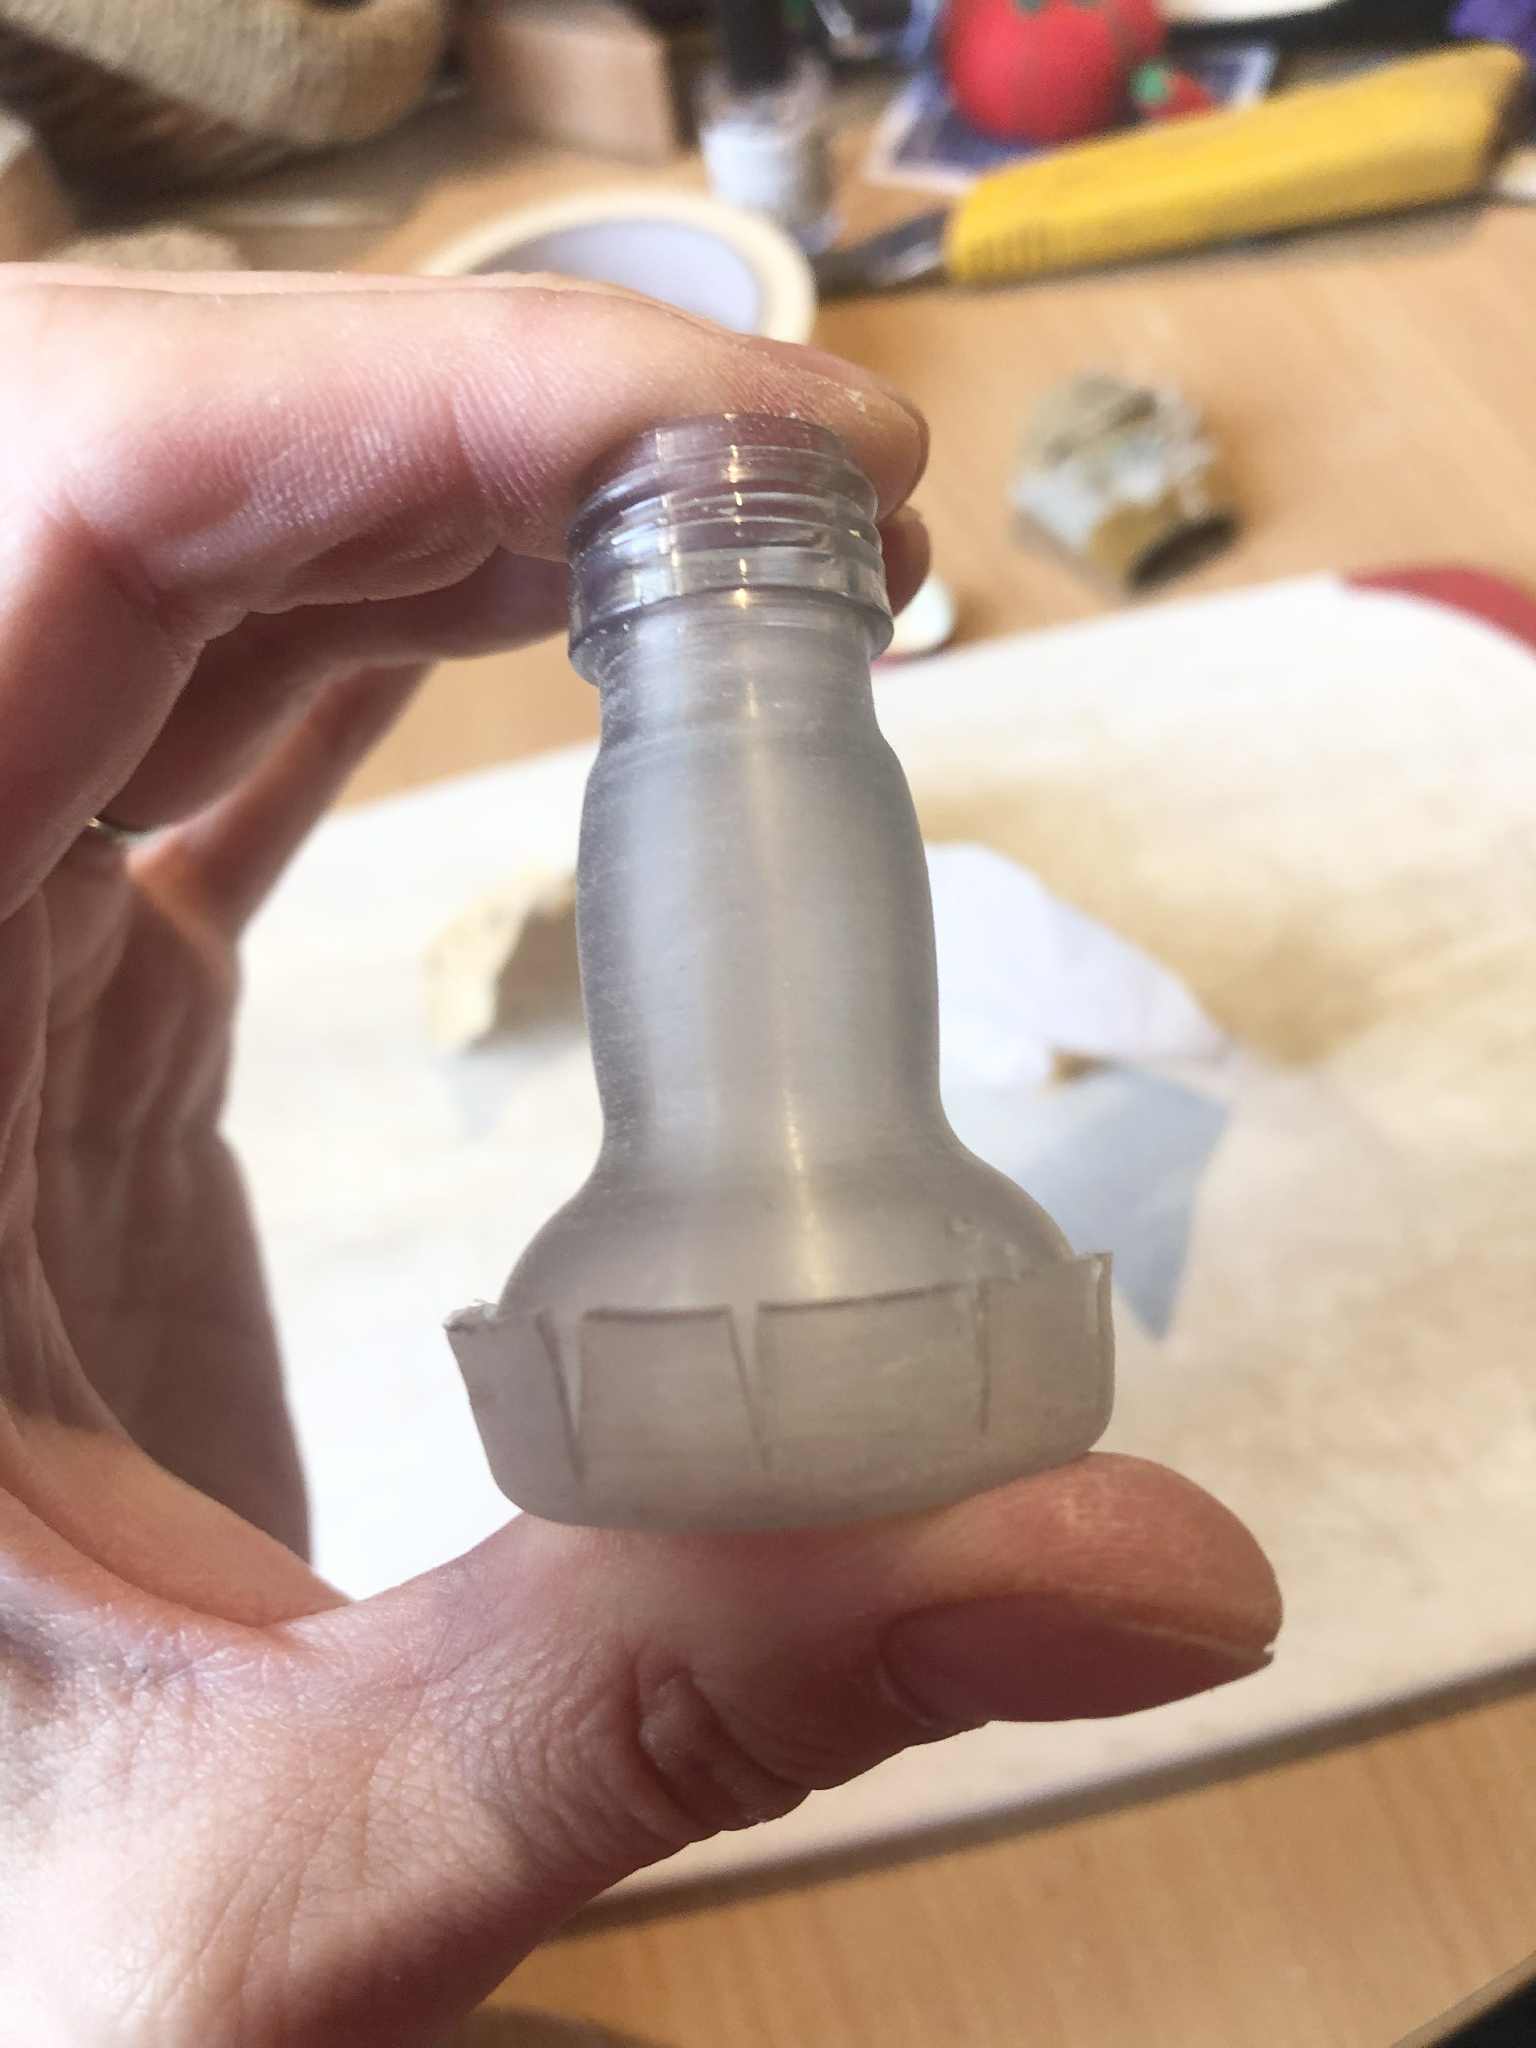
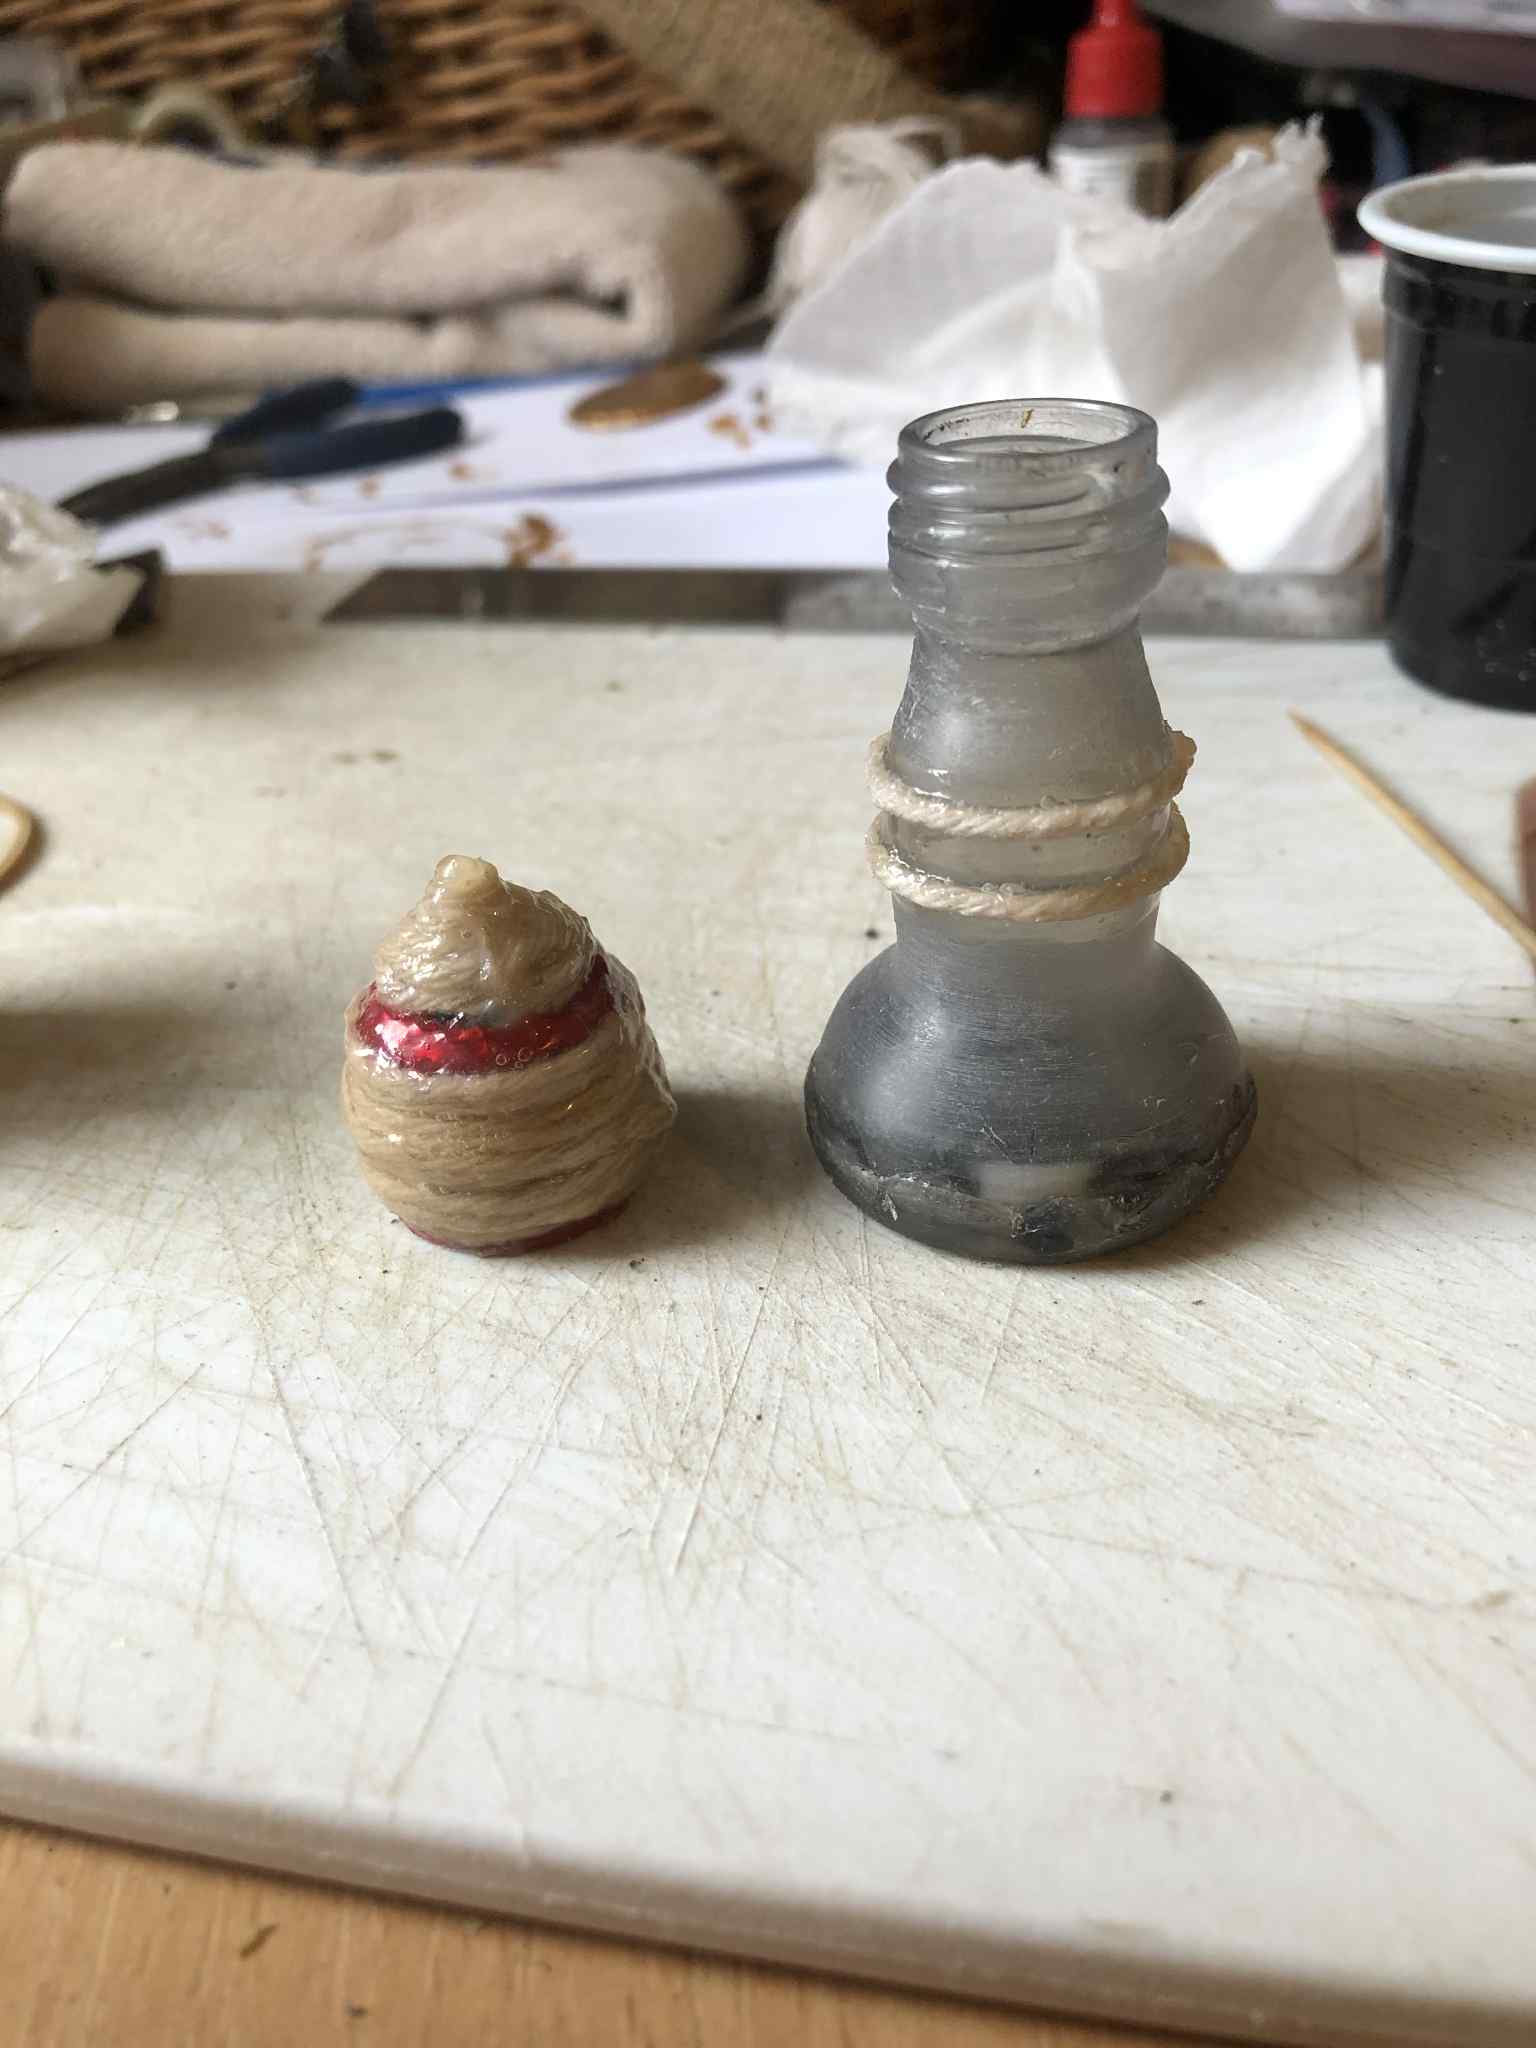
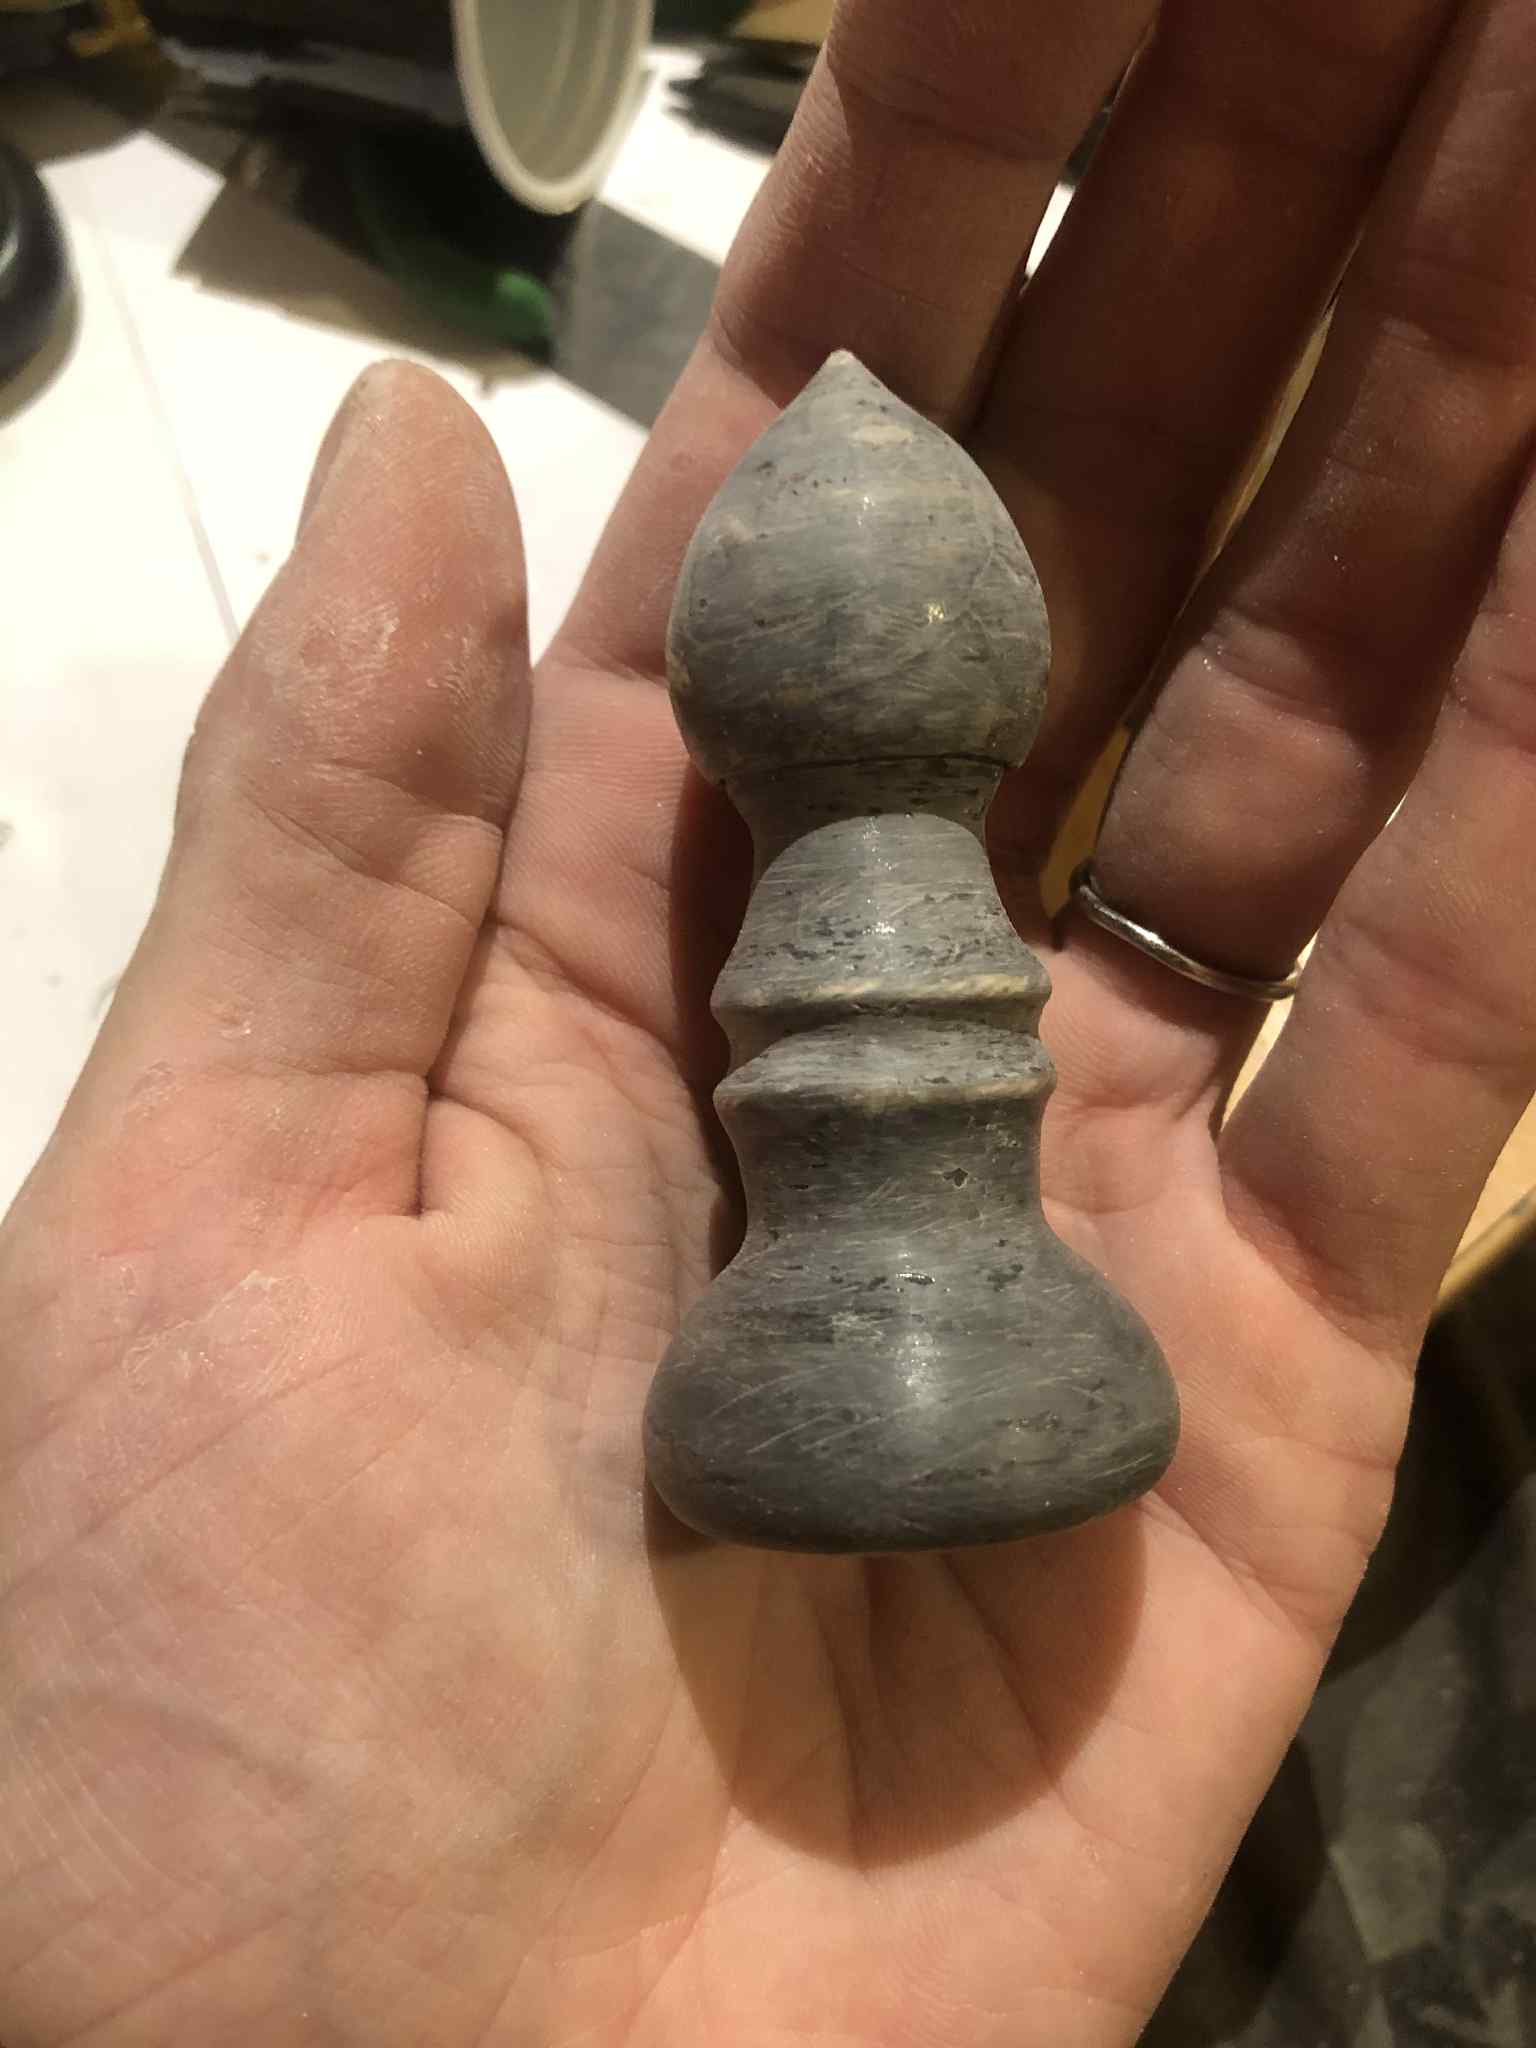
The bottle! I started by adding JB Weld to the inside of the bottom, to make it smoothly round and not have the plastic injection point dimple in the middle. The width at the very base was also made smaller with JB Weld on the inside, so that the sticks wouldn't be tempted to bend and curve underneath. So on the inside, it's more or less a straight shot down from the opening to the base. It also made the base heavier which is kinda nice, counterweights the lid. So we JB Welded AND crazyglued the bottom to the top (basically whatever I could do to get it smooth), and then to add the two ridges at the center of the stem, I used string also glued into place. I used some painter's tape to mark parallel lines with a file, and glued along those.
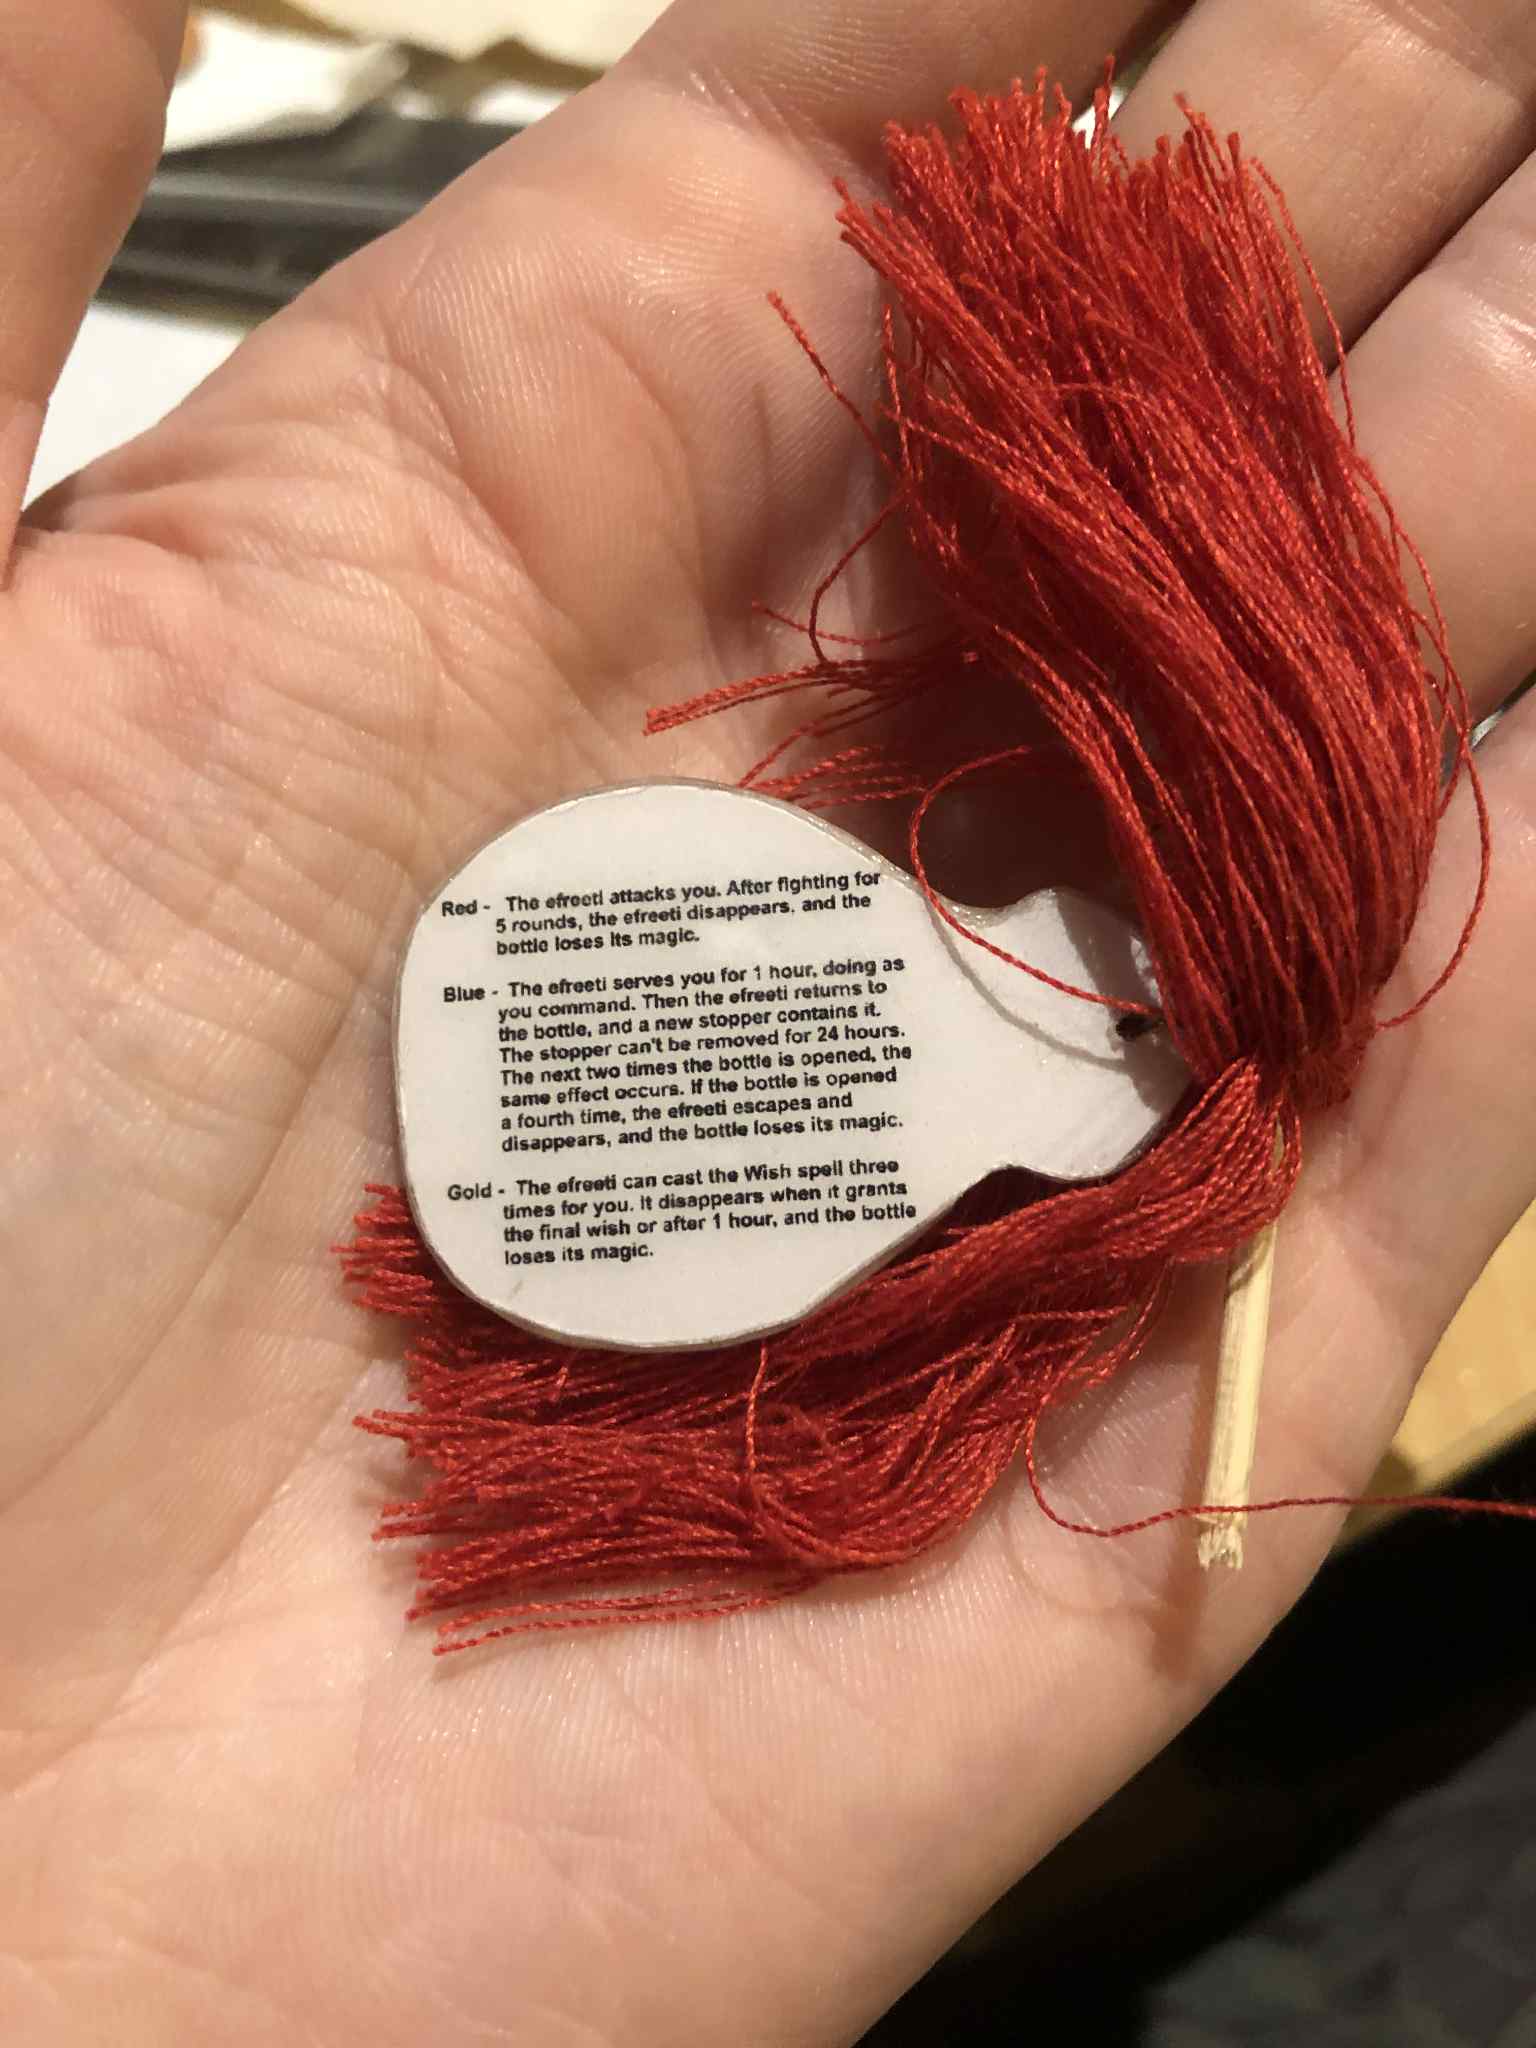
In the meantime, all of this was kinda happening at the same time, I made the instruction tag somewhat in the shape of a bottle, and then randomly stumbled across a burgundy red tassle laying on the ground at a train station! So hey, I thought that would be a cool addition, kinda hide the tag inside something interesting for having it dangle around the bottle. So we used some 11 pound Spider Wire fishing line to attach the tag inside of the tassle (which also went through the main tassle loop, and wrapped around at the pinch point for added strength and avoid the default wrap there from coming undone.
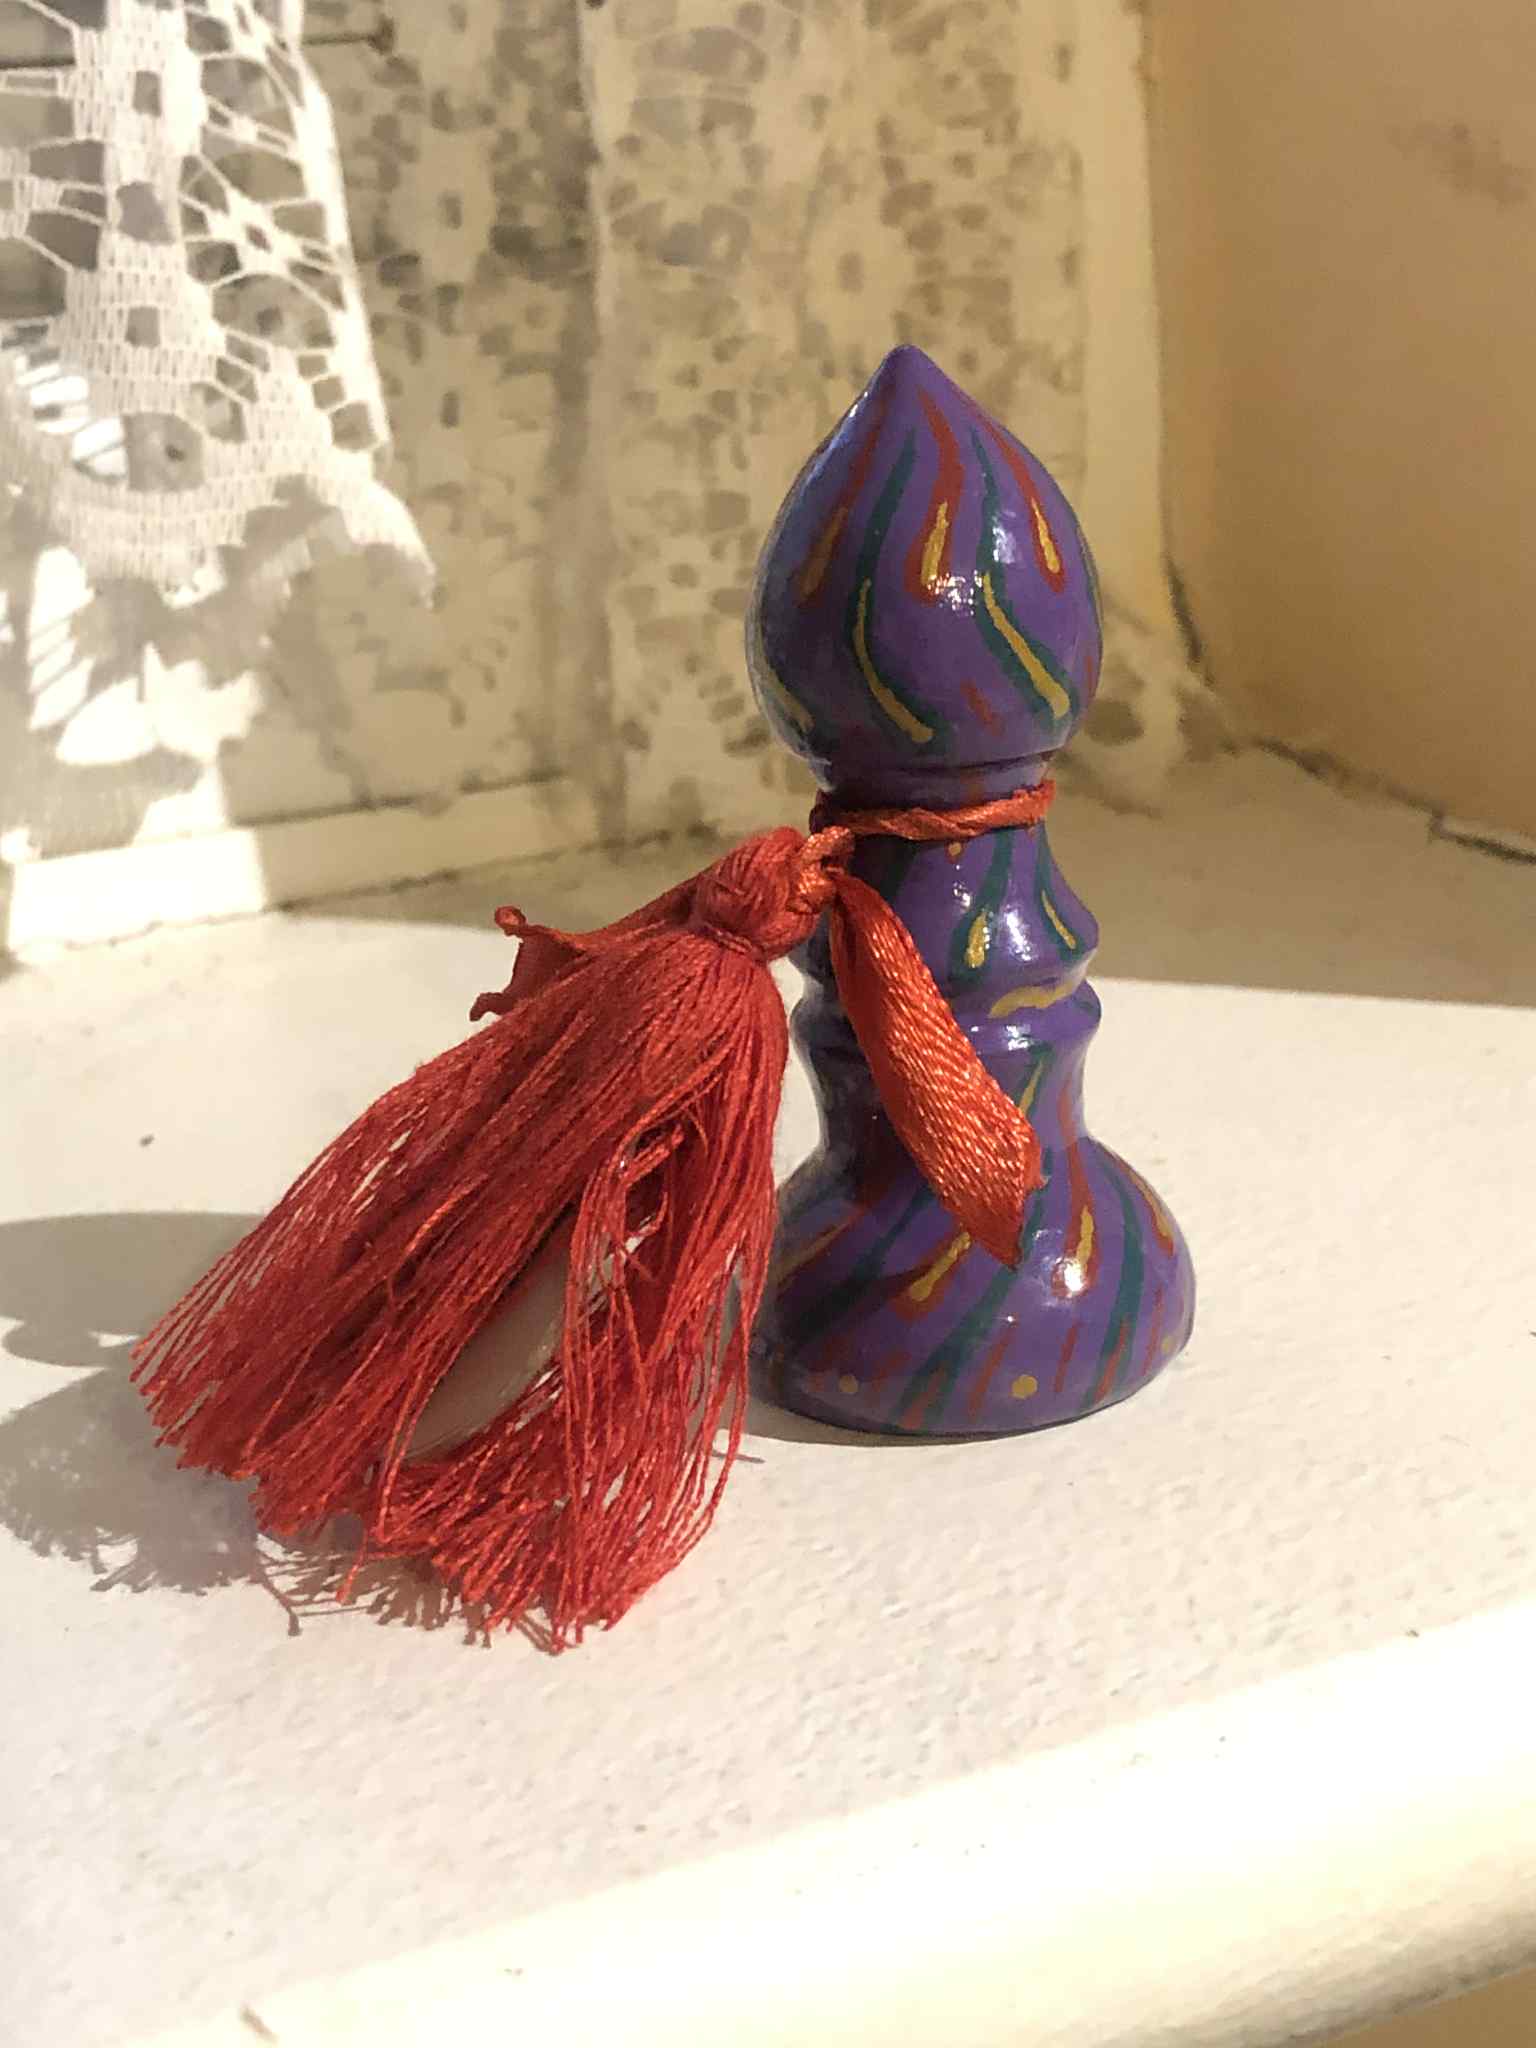
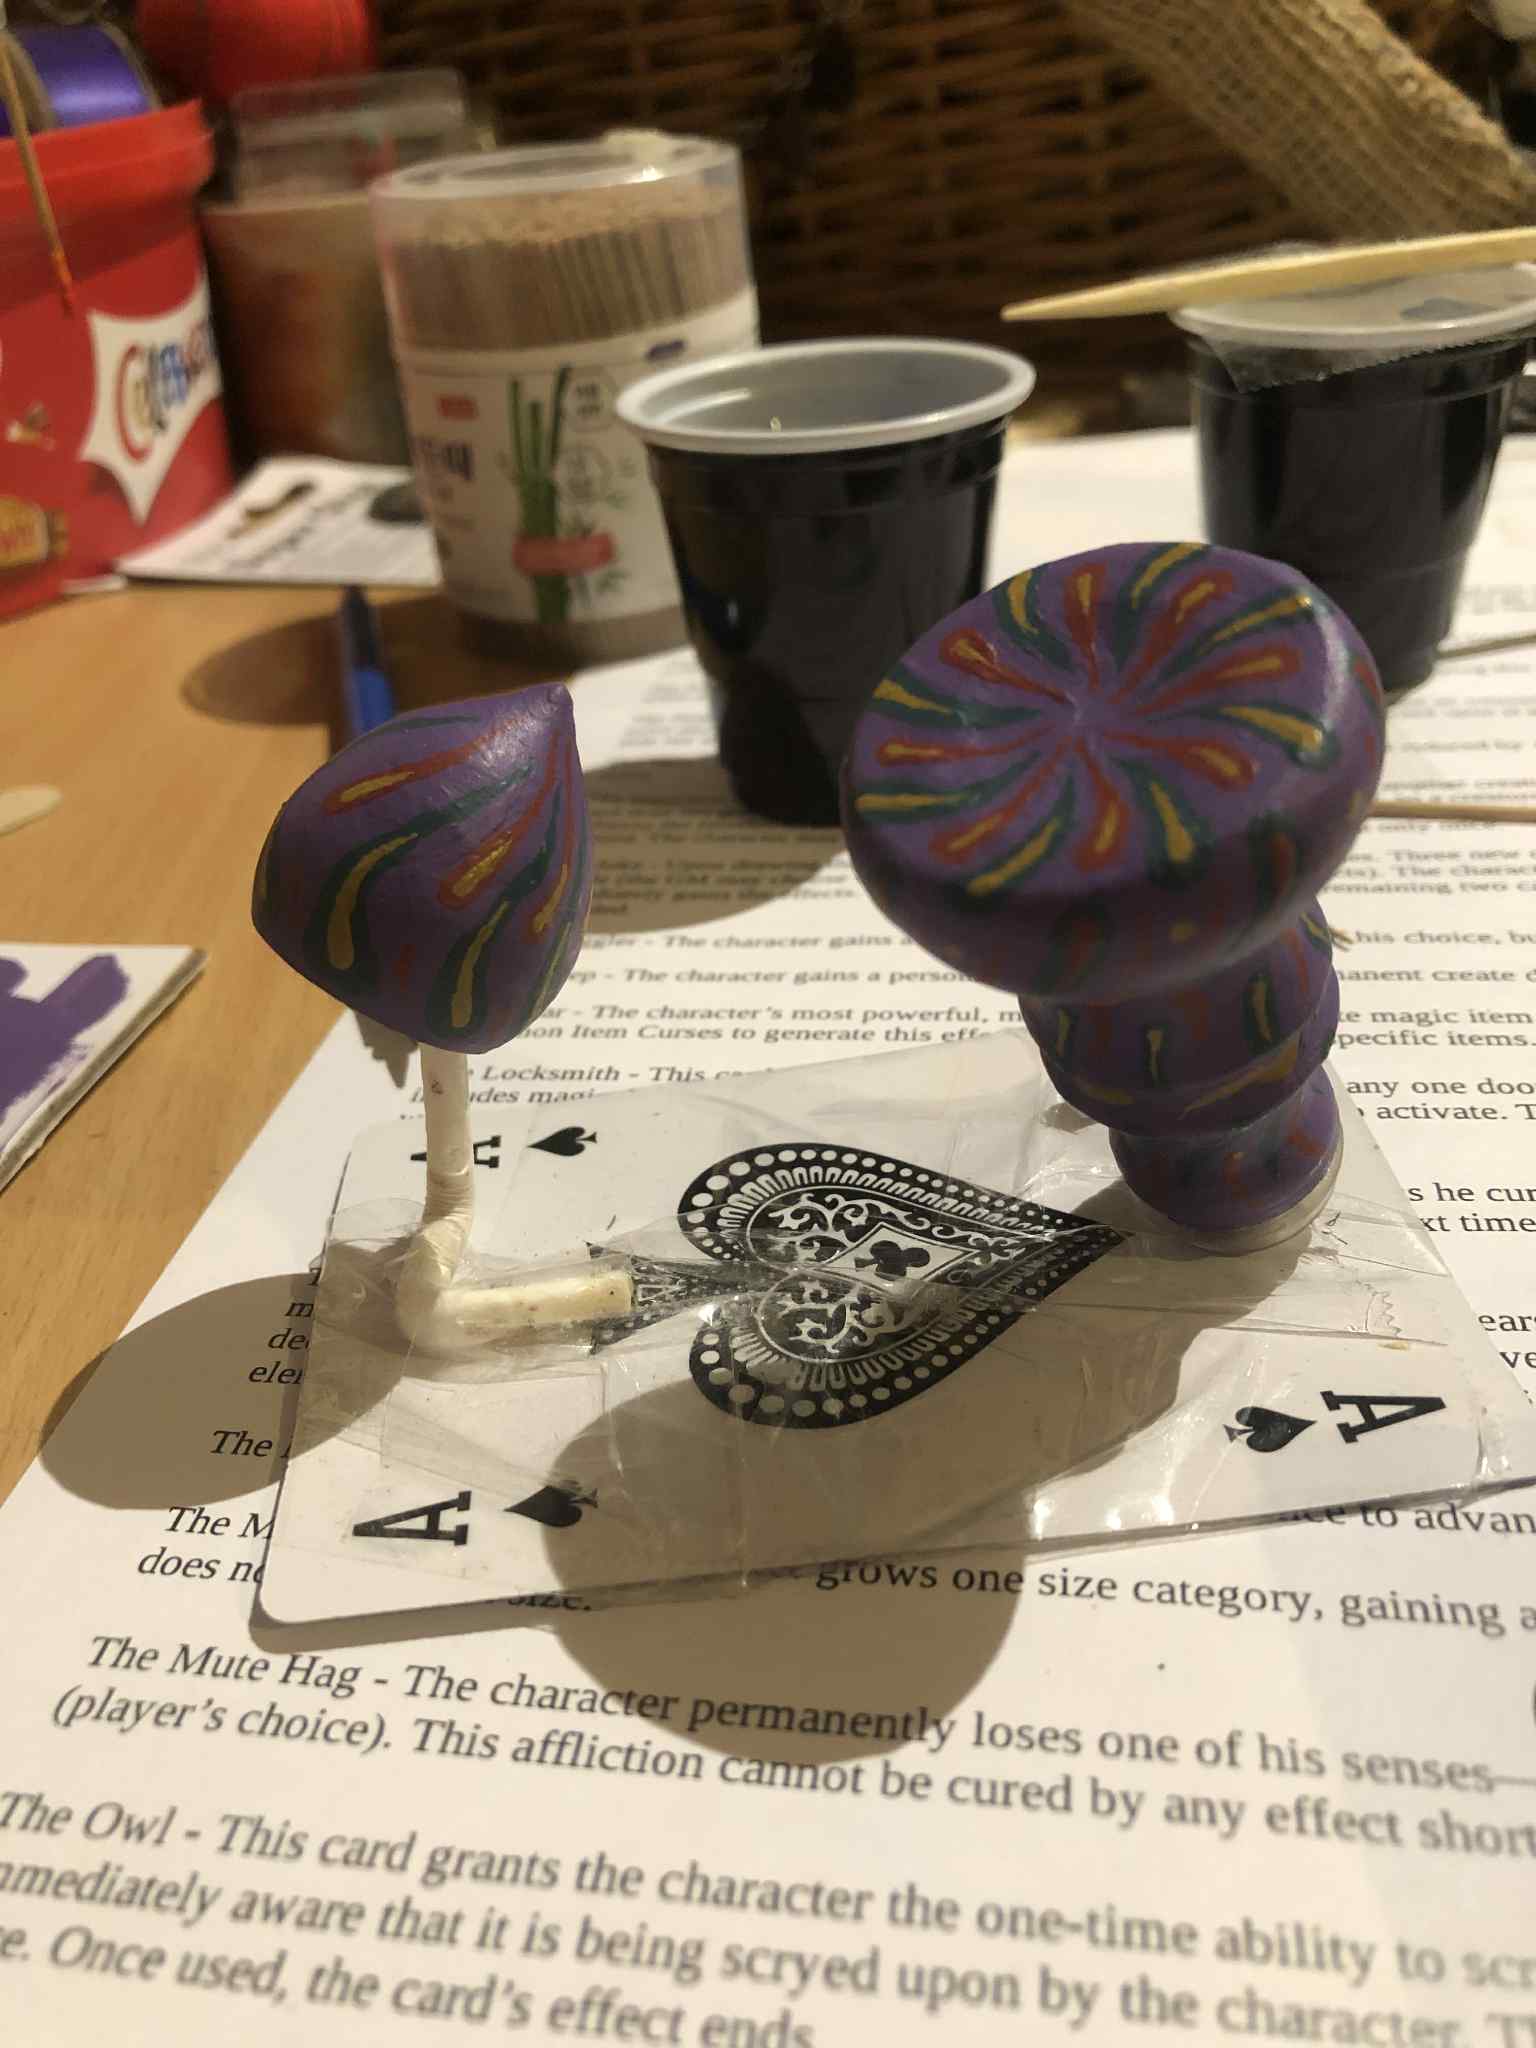
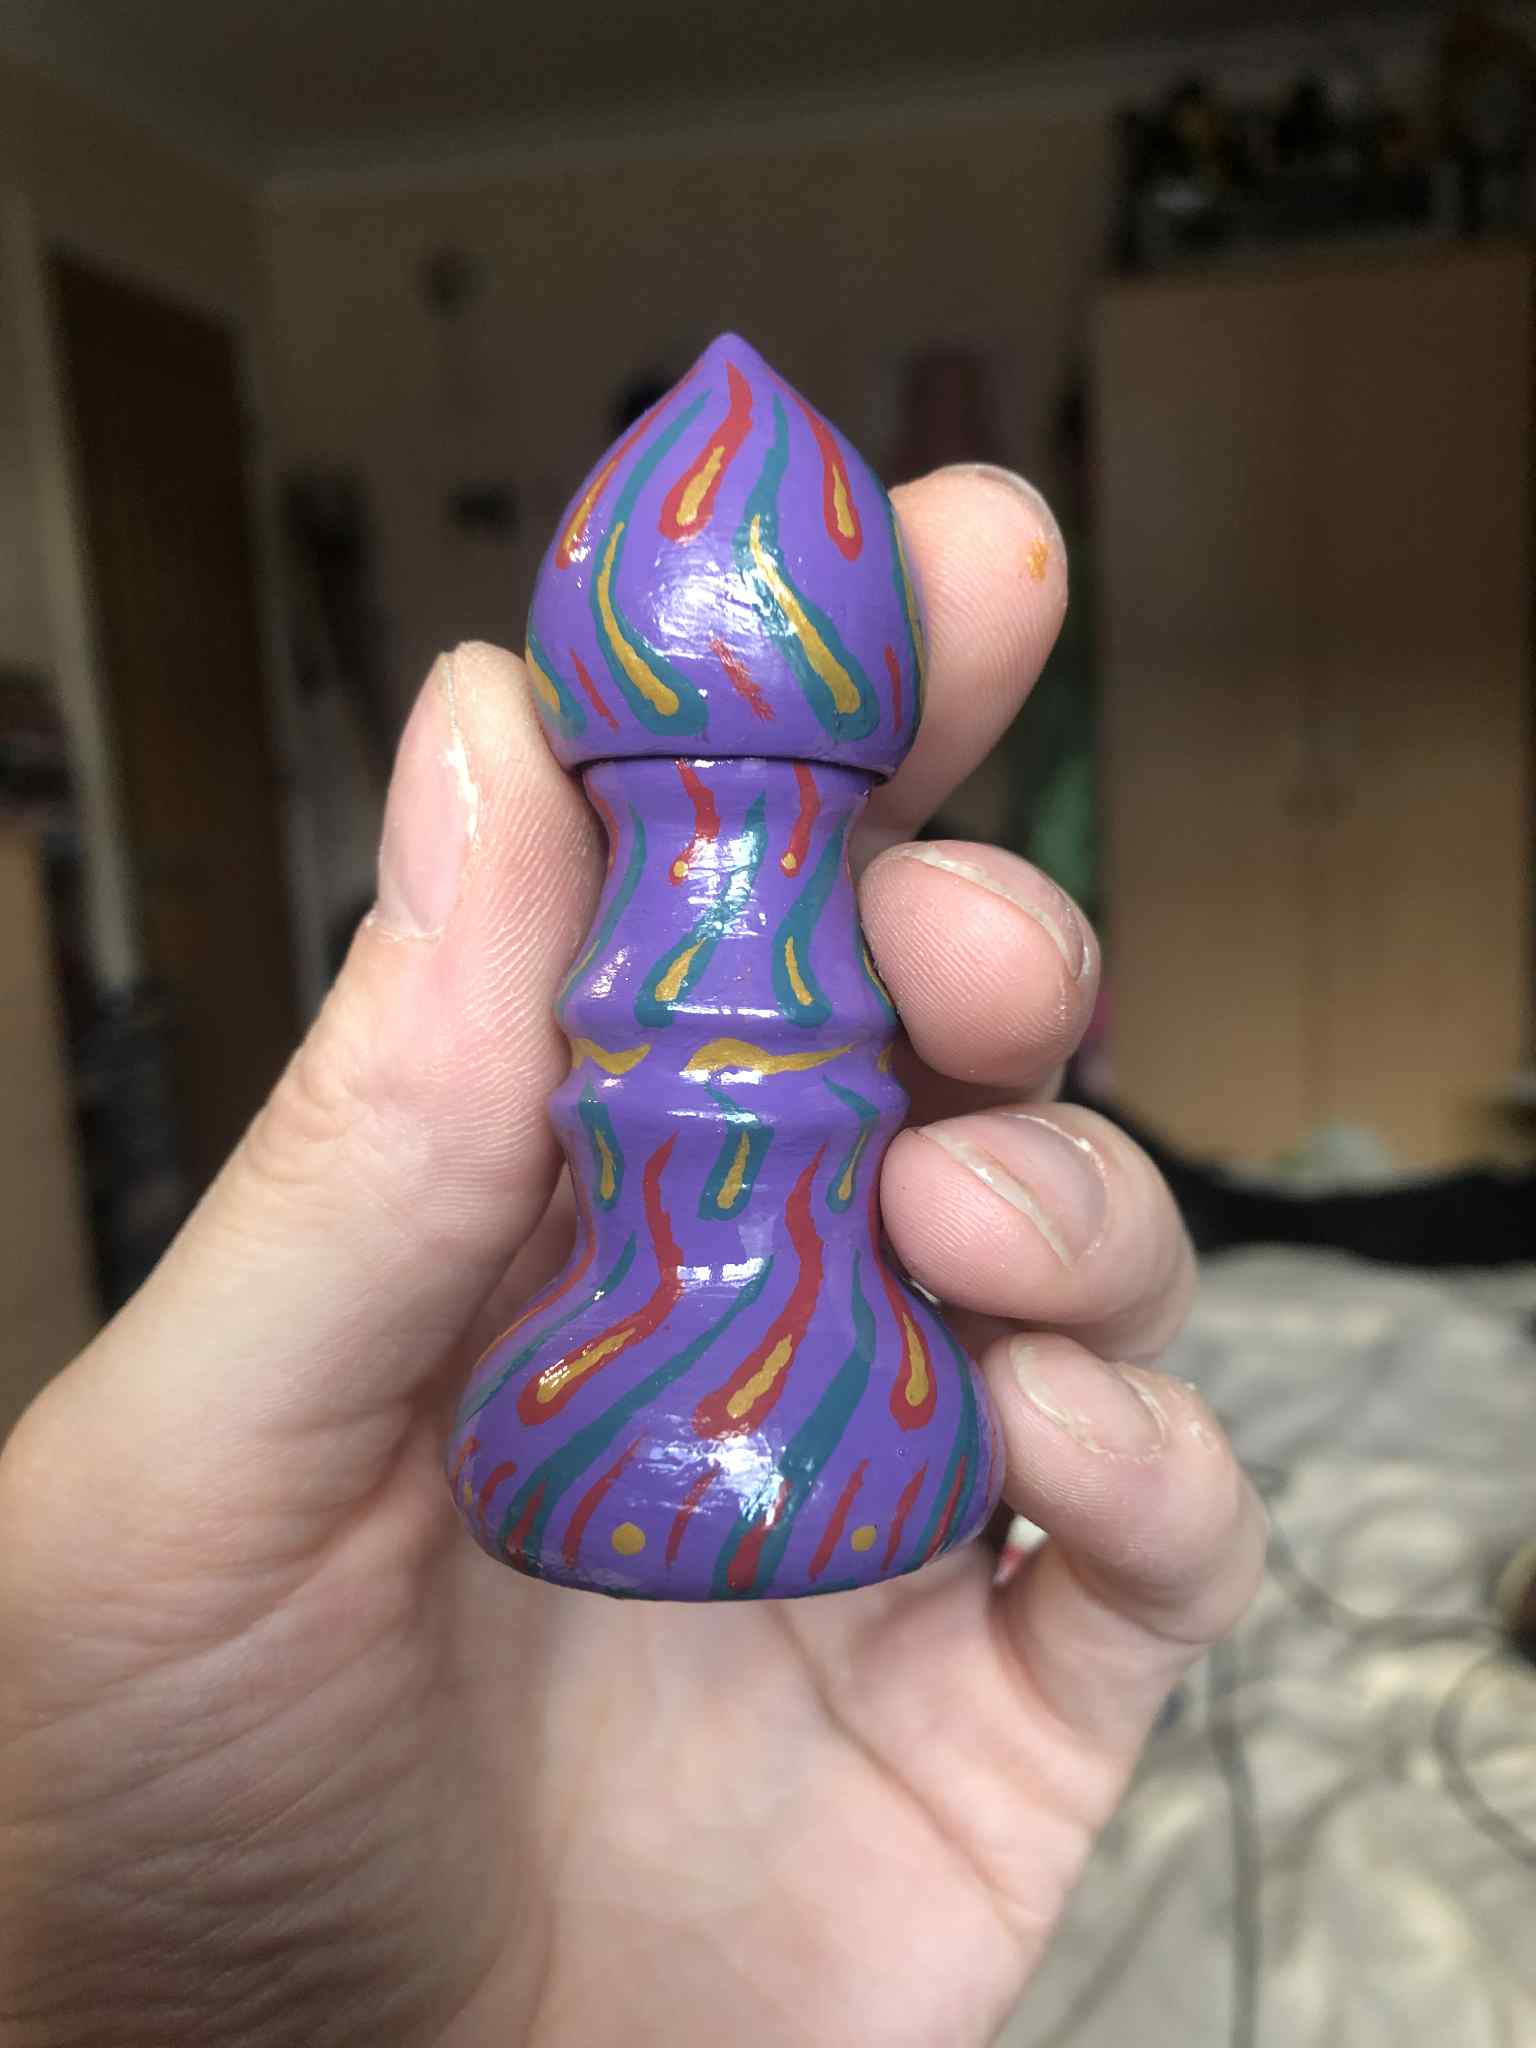
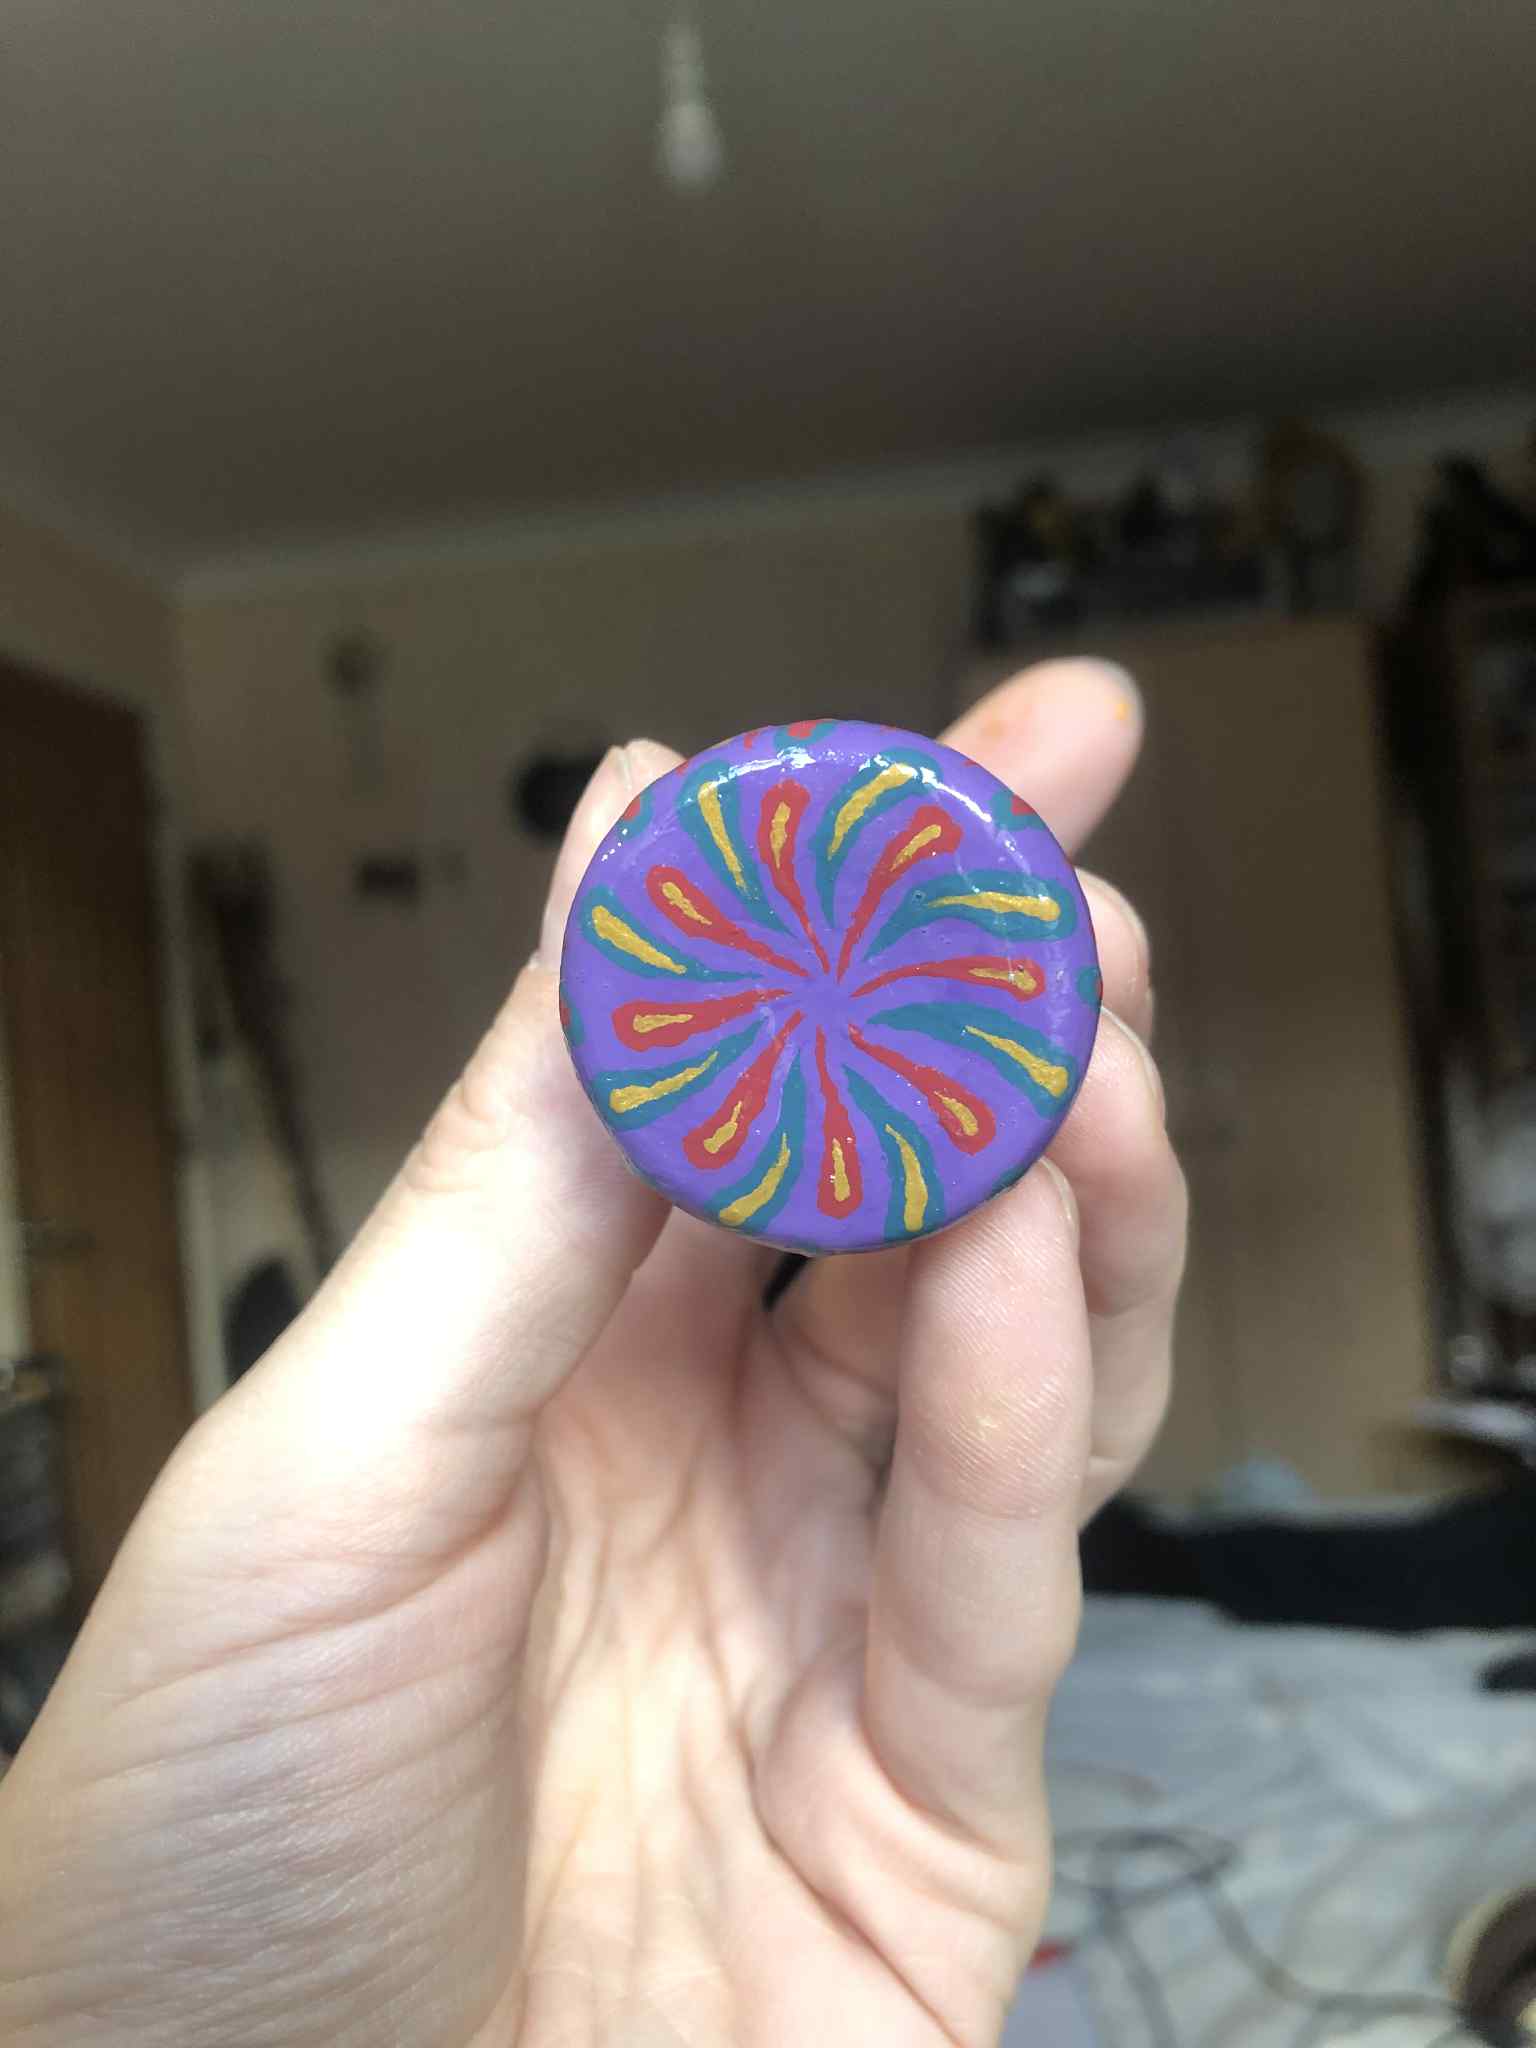
And with the tag waiting, the bottle was fully covered in JB Weld and sanded smooth, looking incredible at this point. It was painted with a primer, and then... since the official art (google image results) has a very intricate, geometically repeating pattern, there was *no chance* I would be able to recreate that, so I took some creative liberties. I gave it a purple base, since that felt "magical", with streaks of teal and burgundy, and smaller streaks or dots of gold usually inside of the other colours. And it came out incredible! Yah it's a bit different from the default, but fully burgundy? Eh, fully teal? Eh, let's do purple with streaks of the other two, and some gold in there.
It got a spray of clear gloss enamel to protect the paint from the topcoat (which tends to streak even dried acrylic paint), and once that dried, we gave it two coats of nailpolish topcoat for an extra glossy finish and strength, and then all that was needed for that to dry so we can attach the tag.
And how do we attach the tag? I took some red ribbon, soaked it in instant coffee for a week to get it to the colour I wanted (after rinsing and drying), and then twisted it in the loop around the bottle to kinda narrow it down to a thinner strand and square-knotted it into there, and added a drop of crazy glue to the knot to keep it from coming undone (which wasn't even fully necessary because of a thread sewn through the knot shortly). After mucking around a little bit to find the neatest way to attach the tag, we knotted that on too, and then to keep it looking smooth and uniform, used a red thread to sew those two knots together in the middle loop between the tag and the bottle.
And with that, our Efreeti Bottle is complete! A tag interestingly hidden inside a tassle,an intricately painted bottle, and a handful of sticks inside for you to draw to see what your result is. Epic :D
Finished October 5, 2025
Of course you can open the bottle.
(original pre-build draw page retained for style)