|
And with that pile of links out of the way, let's get to the build. It's based on a travel earring pouch that I picked up in The Pas years ago, and then is being made an inch or two bigger. Because y'see (sorry, another pile of links lol), I need with me at least one dragon, some earrings (I have more than what's on that page, but I don't plan on taking a photo of literally every pair that I make), a 3 sided Möbius ring, and a handful of tetra orbs just to give away. And whatever else I've been making at the time, aside from the dragons, the random miscellanea will change out here and there. But make it first we must!
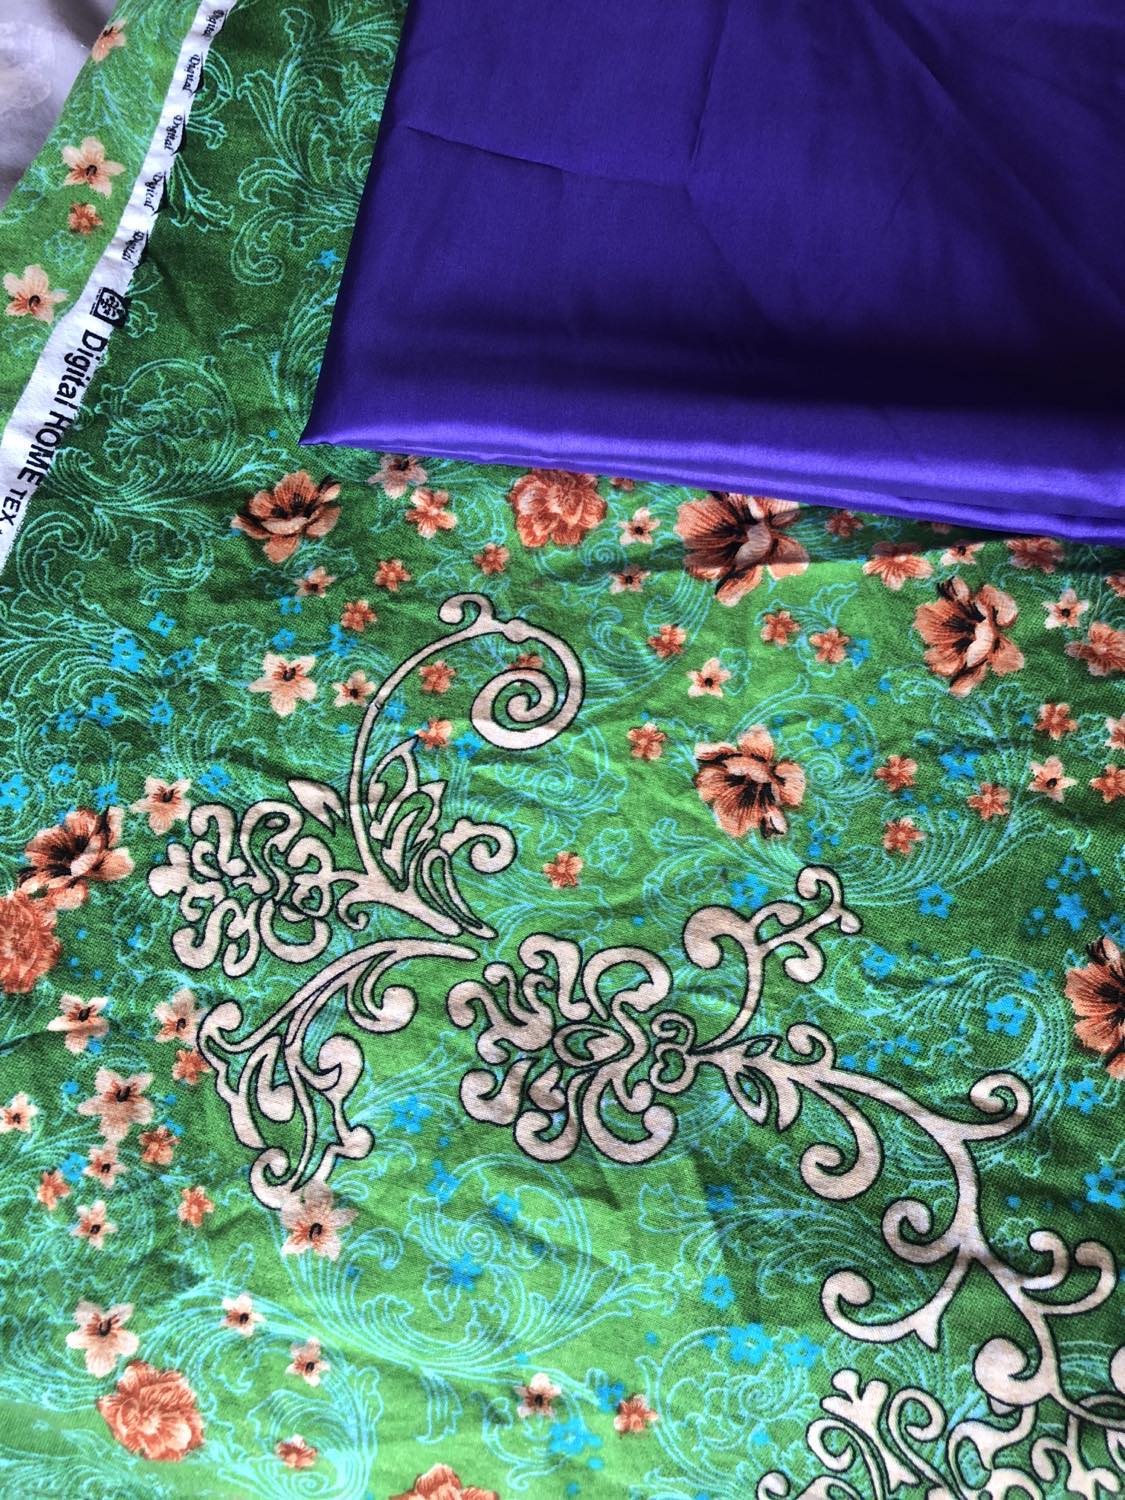
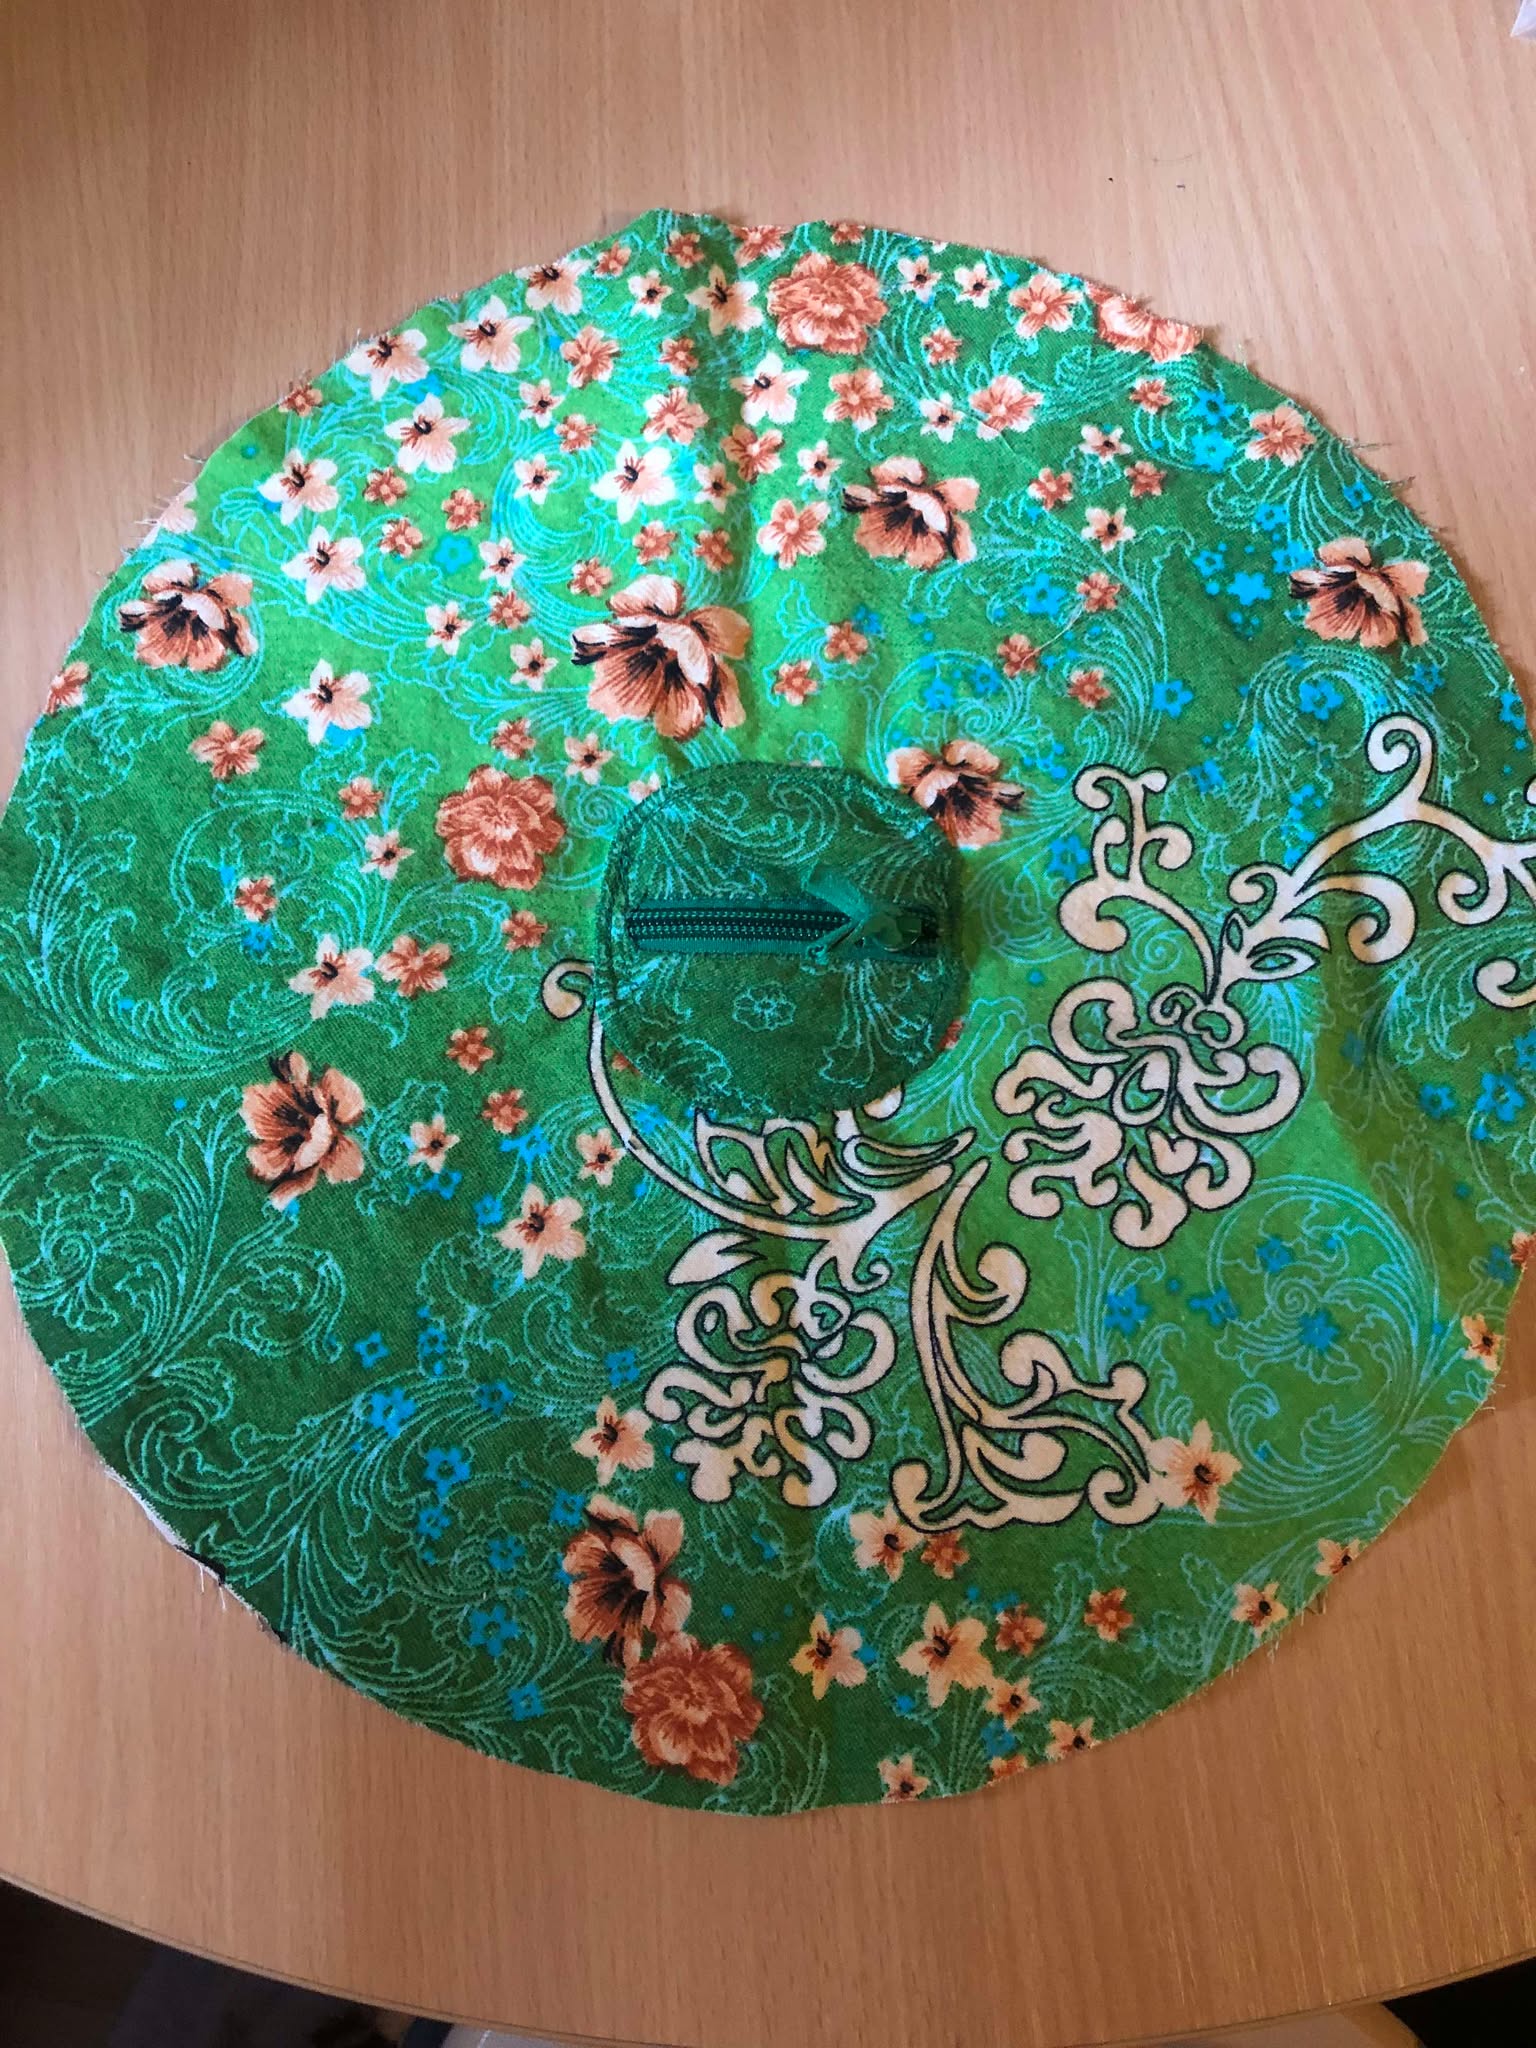
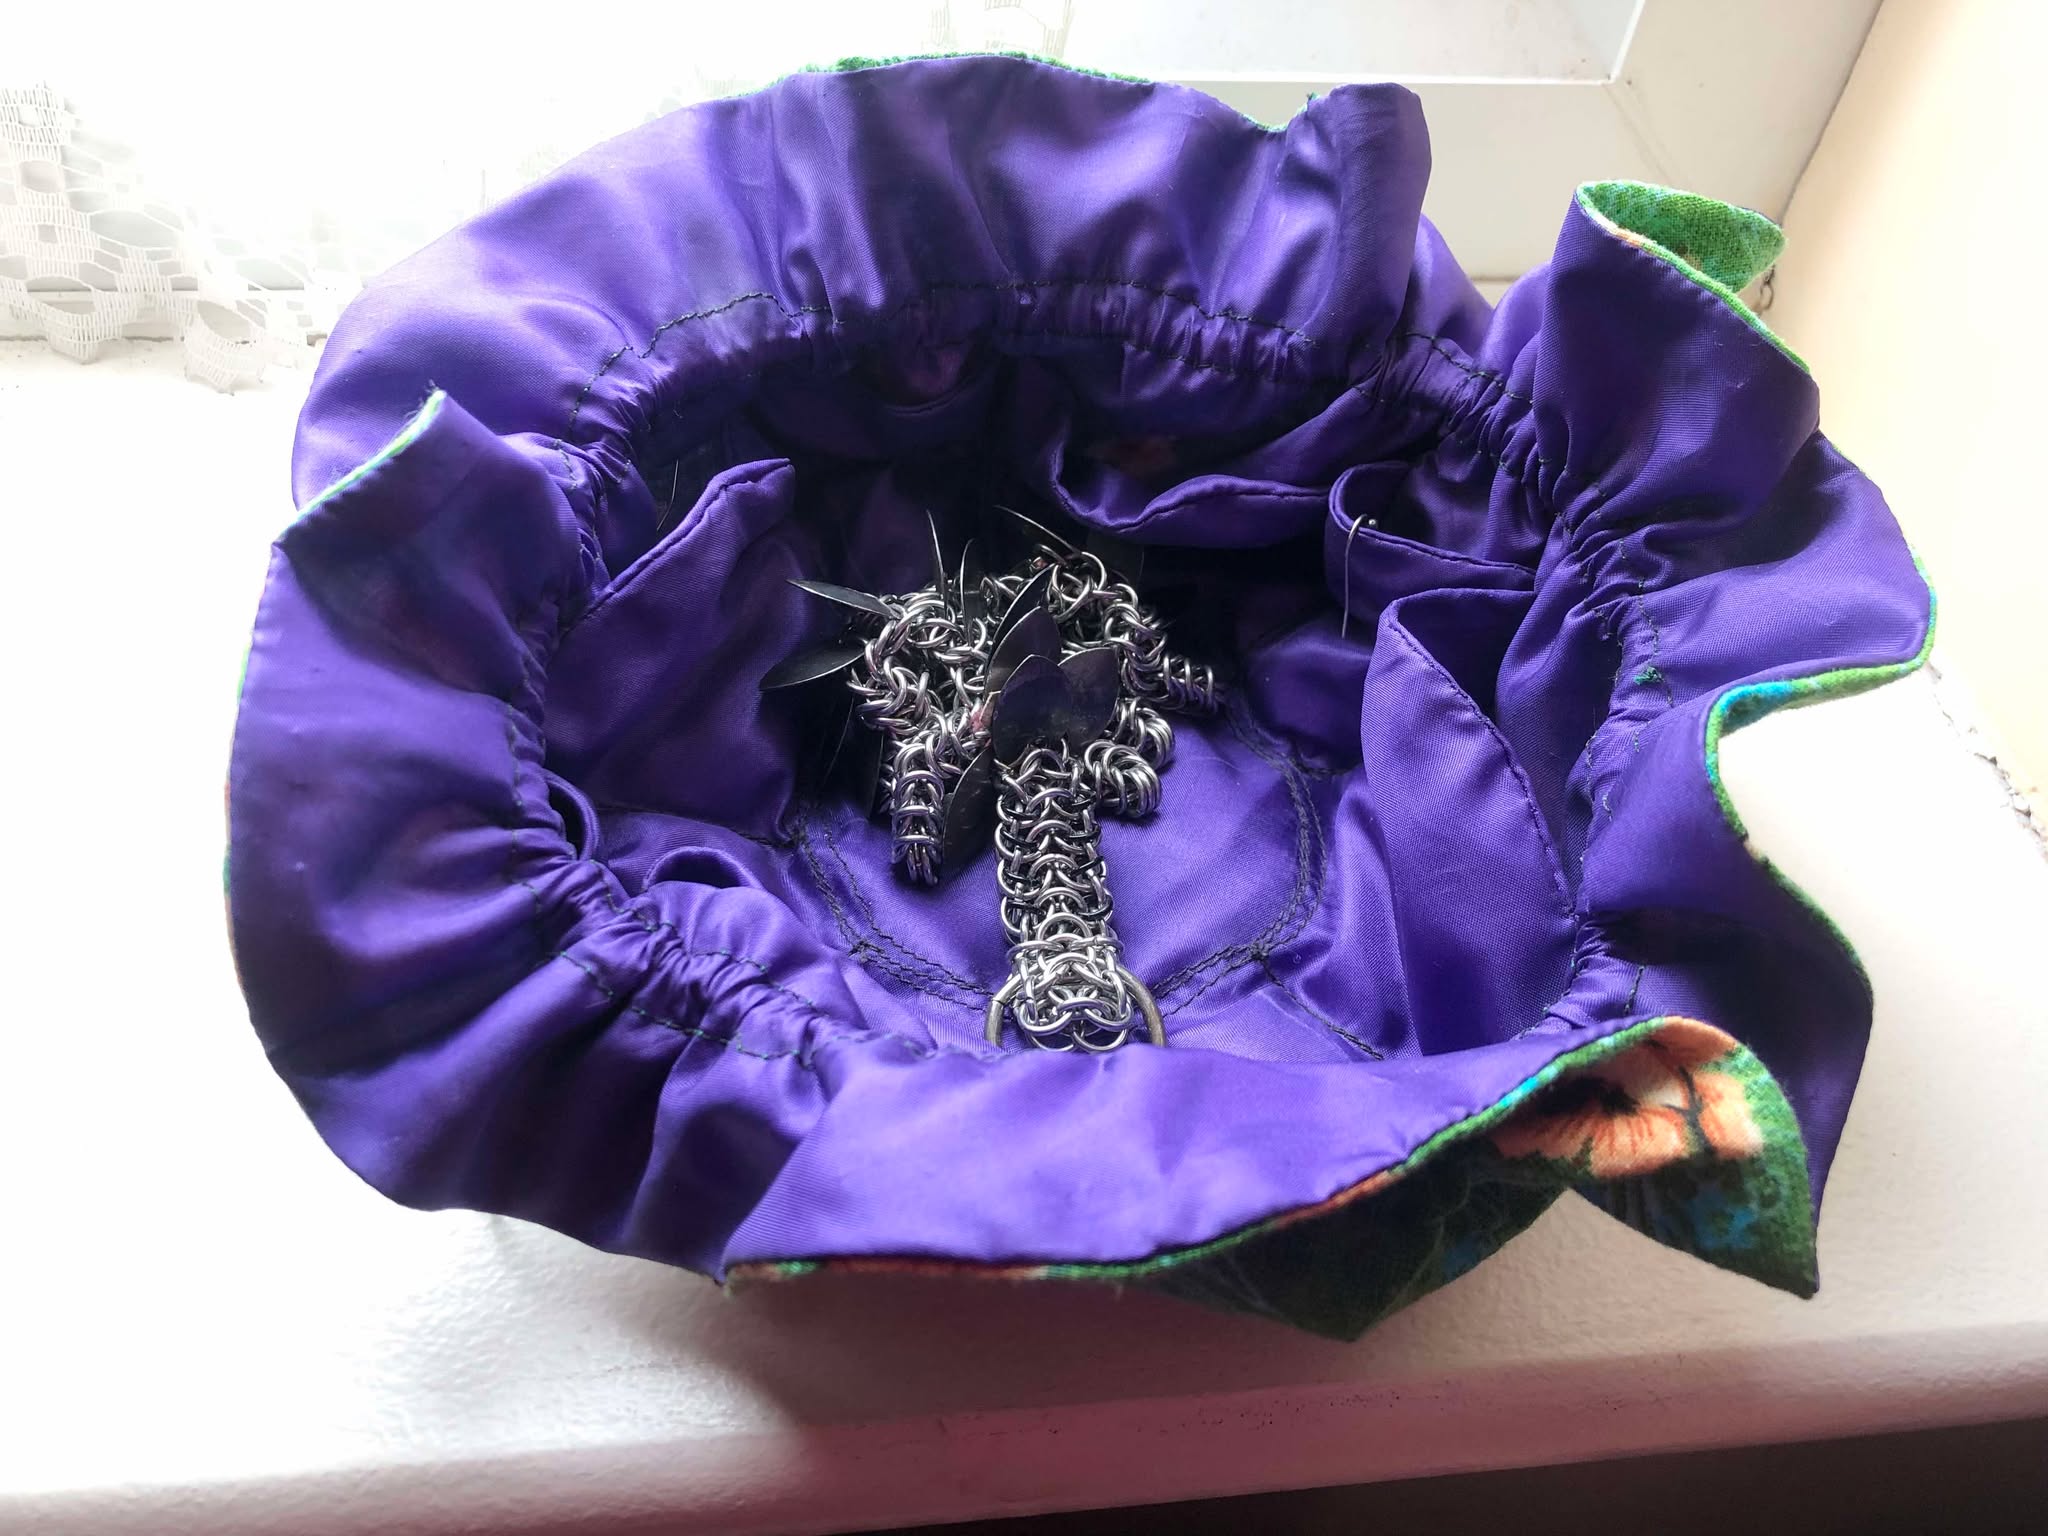
Now, I've had this green fabric kicking around for *years*, and at long last, its first use! I went with this nice, earthy-looking green fabric on the outside, and that magical purple fabric for the inside. Originally, I had imagined the inside being black with wisps of gold through it, but being unable to find anything like that, we went with a magical looking purple, which is opposite the colour wheel from green, so that works well (and oh my goodness looks incredible when closed, with that pop of purple at the opening). Basically copying the designs for the original earring pouch, as well as online instructions, we set off to make it.
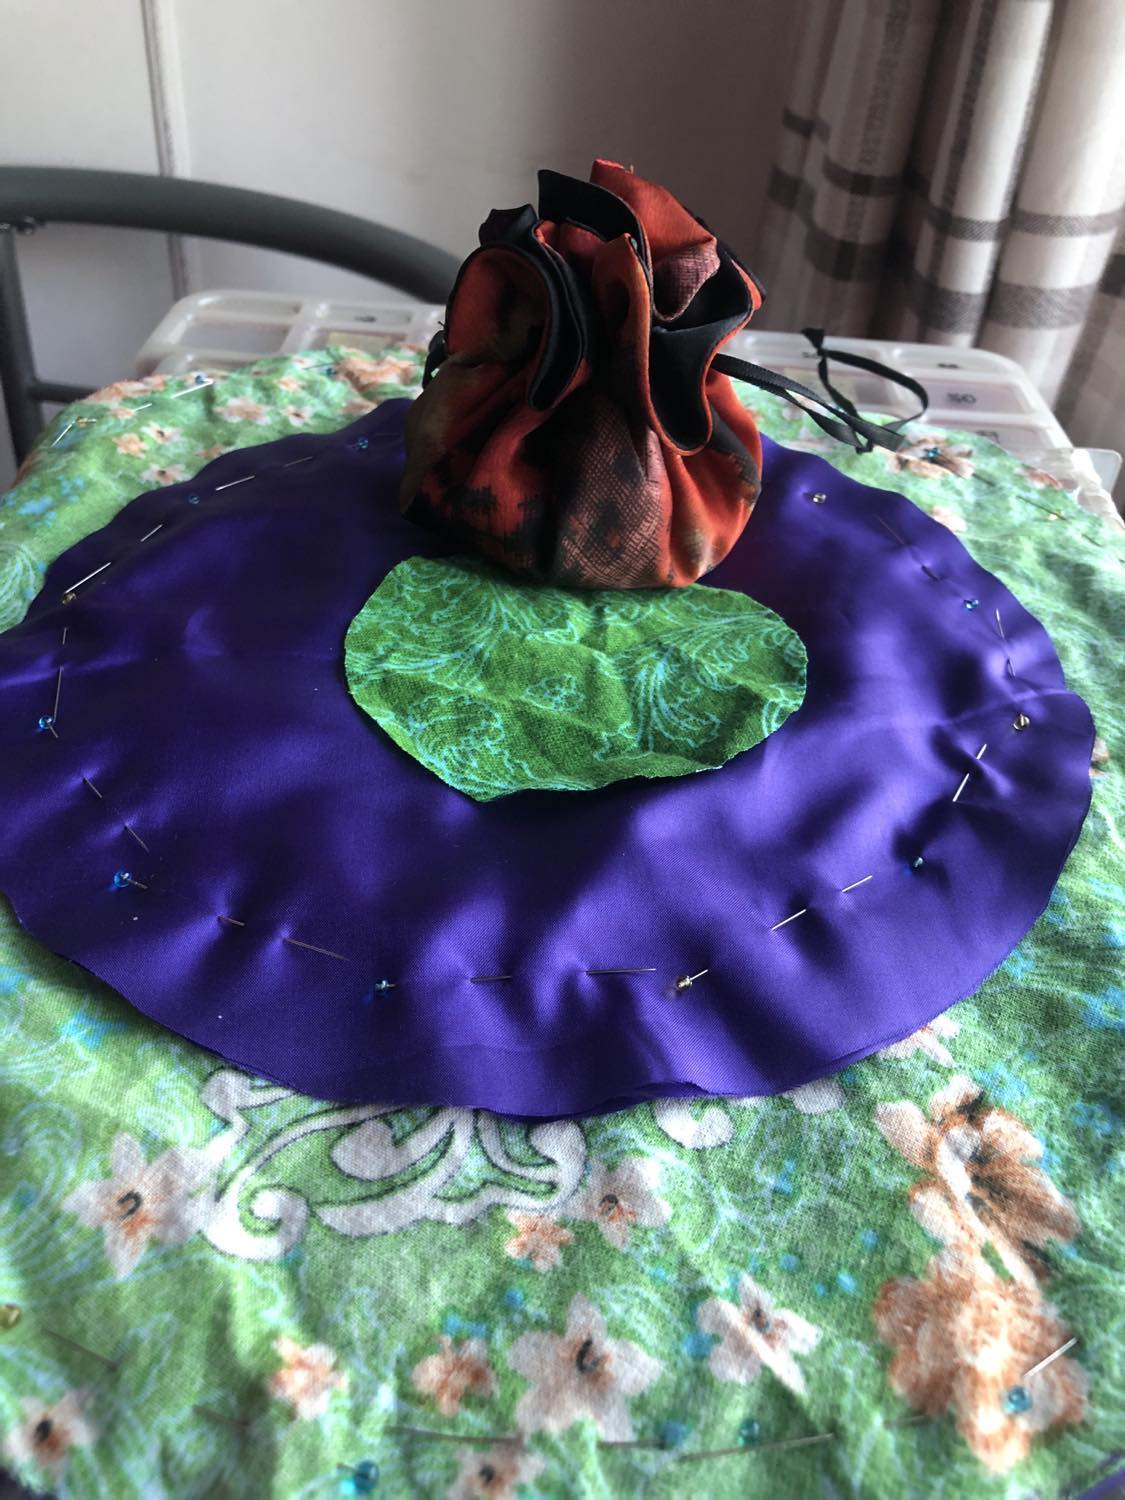
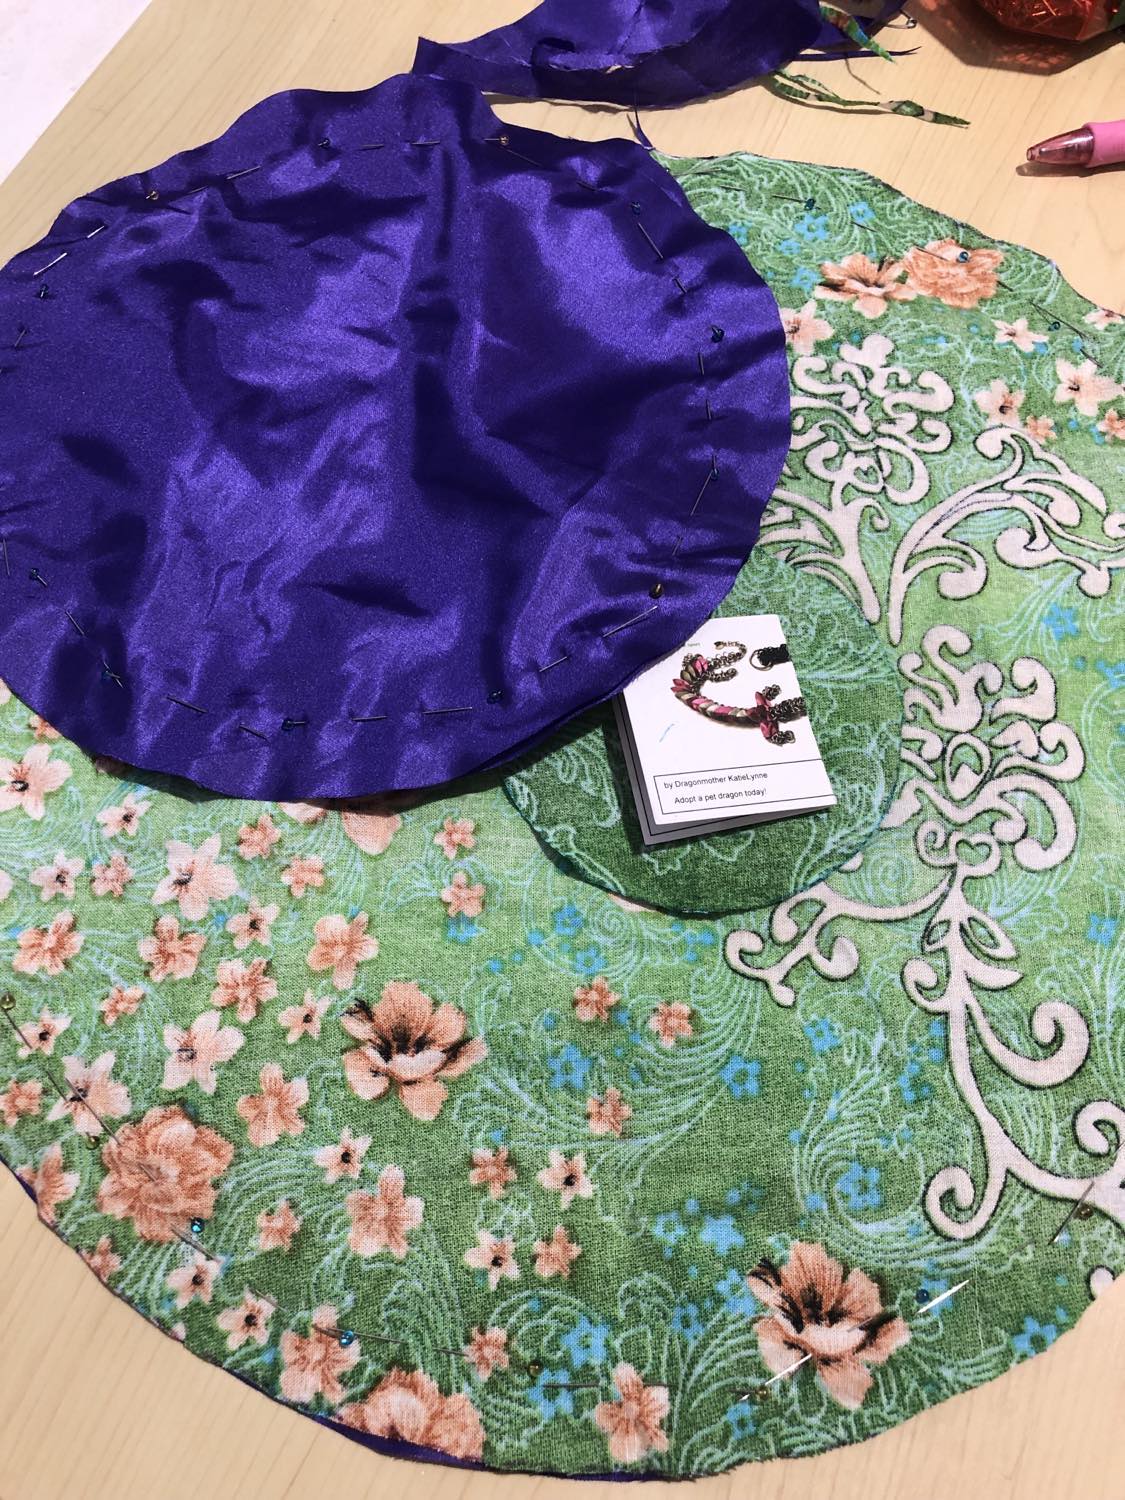
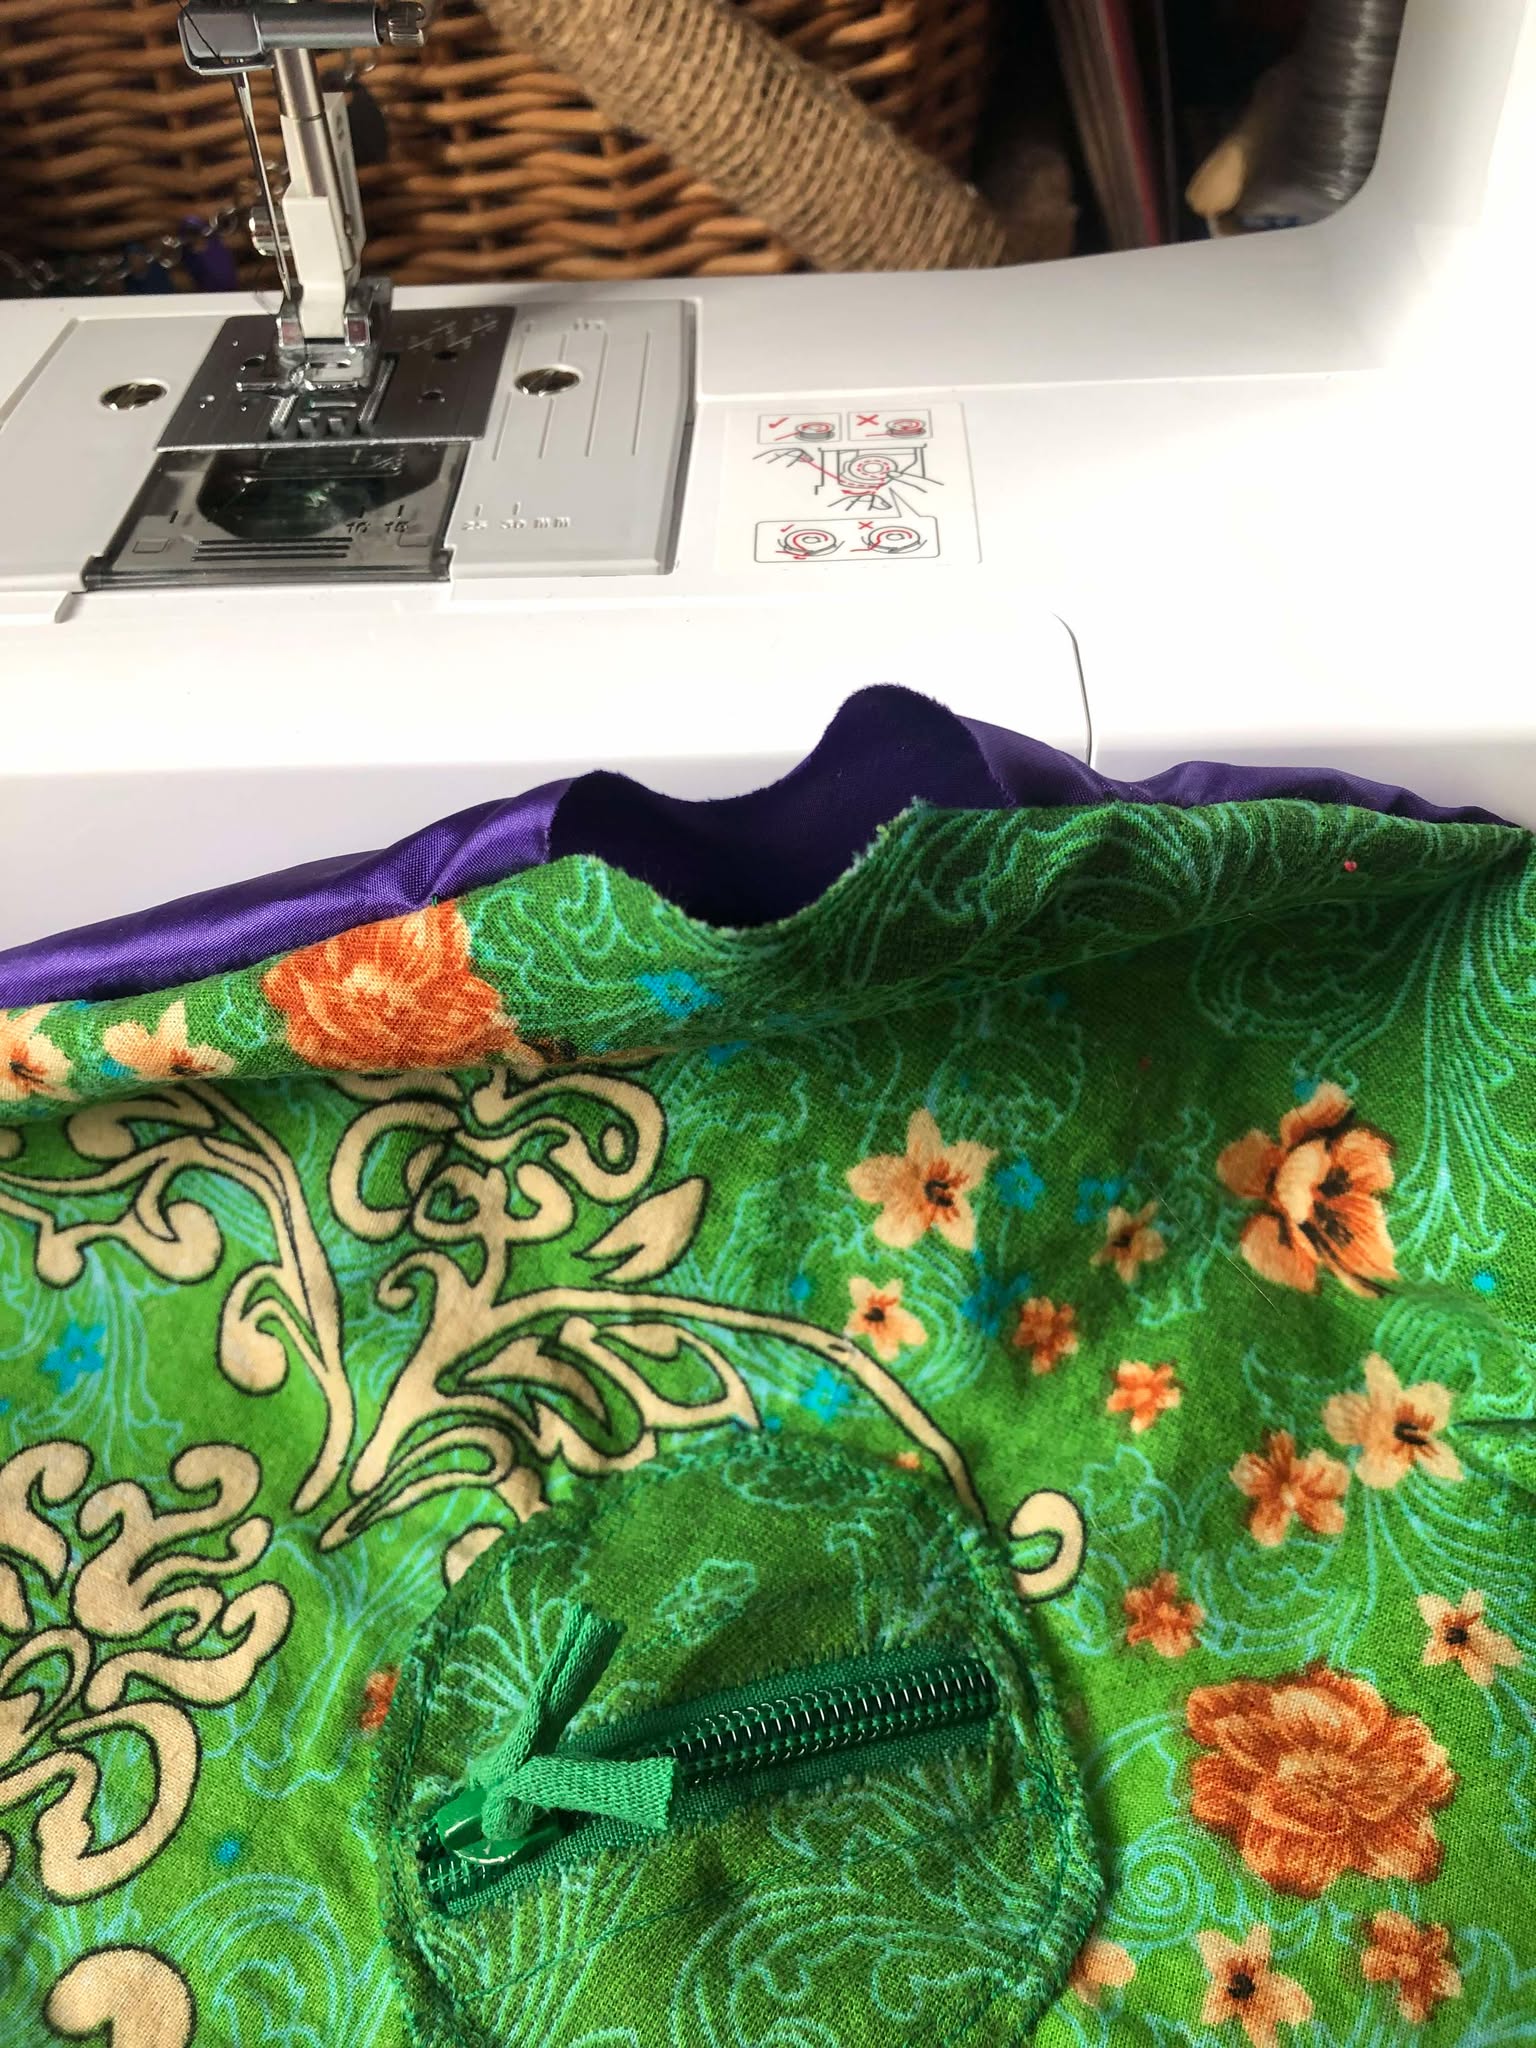
It took a bit of waiting as I needed to get my sewing machine working, but what ended up happening is that I bought a used, newer sewing machine rather than trying to or paying to service a 50 year old machine of a mysterious brand (which will happen eventually, but this was the far less expensive option). The smaller purple circles were hand-stitched together, which is mainly what had me put it off until a sewing machine could be fixed or bought, and once I had that machine, WOW, like one day. One eight-hour day, with barely knowing what I was doing (it had been at least a decade since I pressed a sewing machine pedal), and it was almost complete!!! We measured and pinned the purple circles together and attached them making eight pouches of small and large sizes, around a central circle as with the earring pouch. On the note of barely knowing what I'm doing, circles are HARD to sew! Oh my goodness, I was getting that thing to go at its minimum possible speed, and even then I was terrified as it ran. So as you can see the central circle isn't the roundest thing in the world, but I decided to go around three times in total, to somewhat equalize the distribution of threading, and add strength to what will see the most of a beating. It'll be hidden by a dragon for the most part anyway, and is barely noticeable after going around it several times so it looks like I was generally just making a wider circle of stability, but we will call it looking whimsical otherwise lol. Barely know what I'm doing, gotta start somewhere, I'm pretty happy with the end result. And the straight lines were excellent, so all is good. I used a ruler and some fabric chalk to plan it all out beforehand.
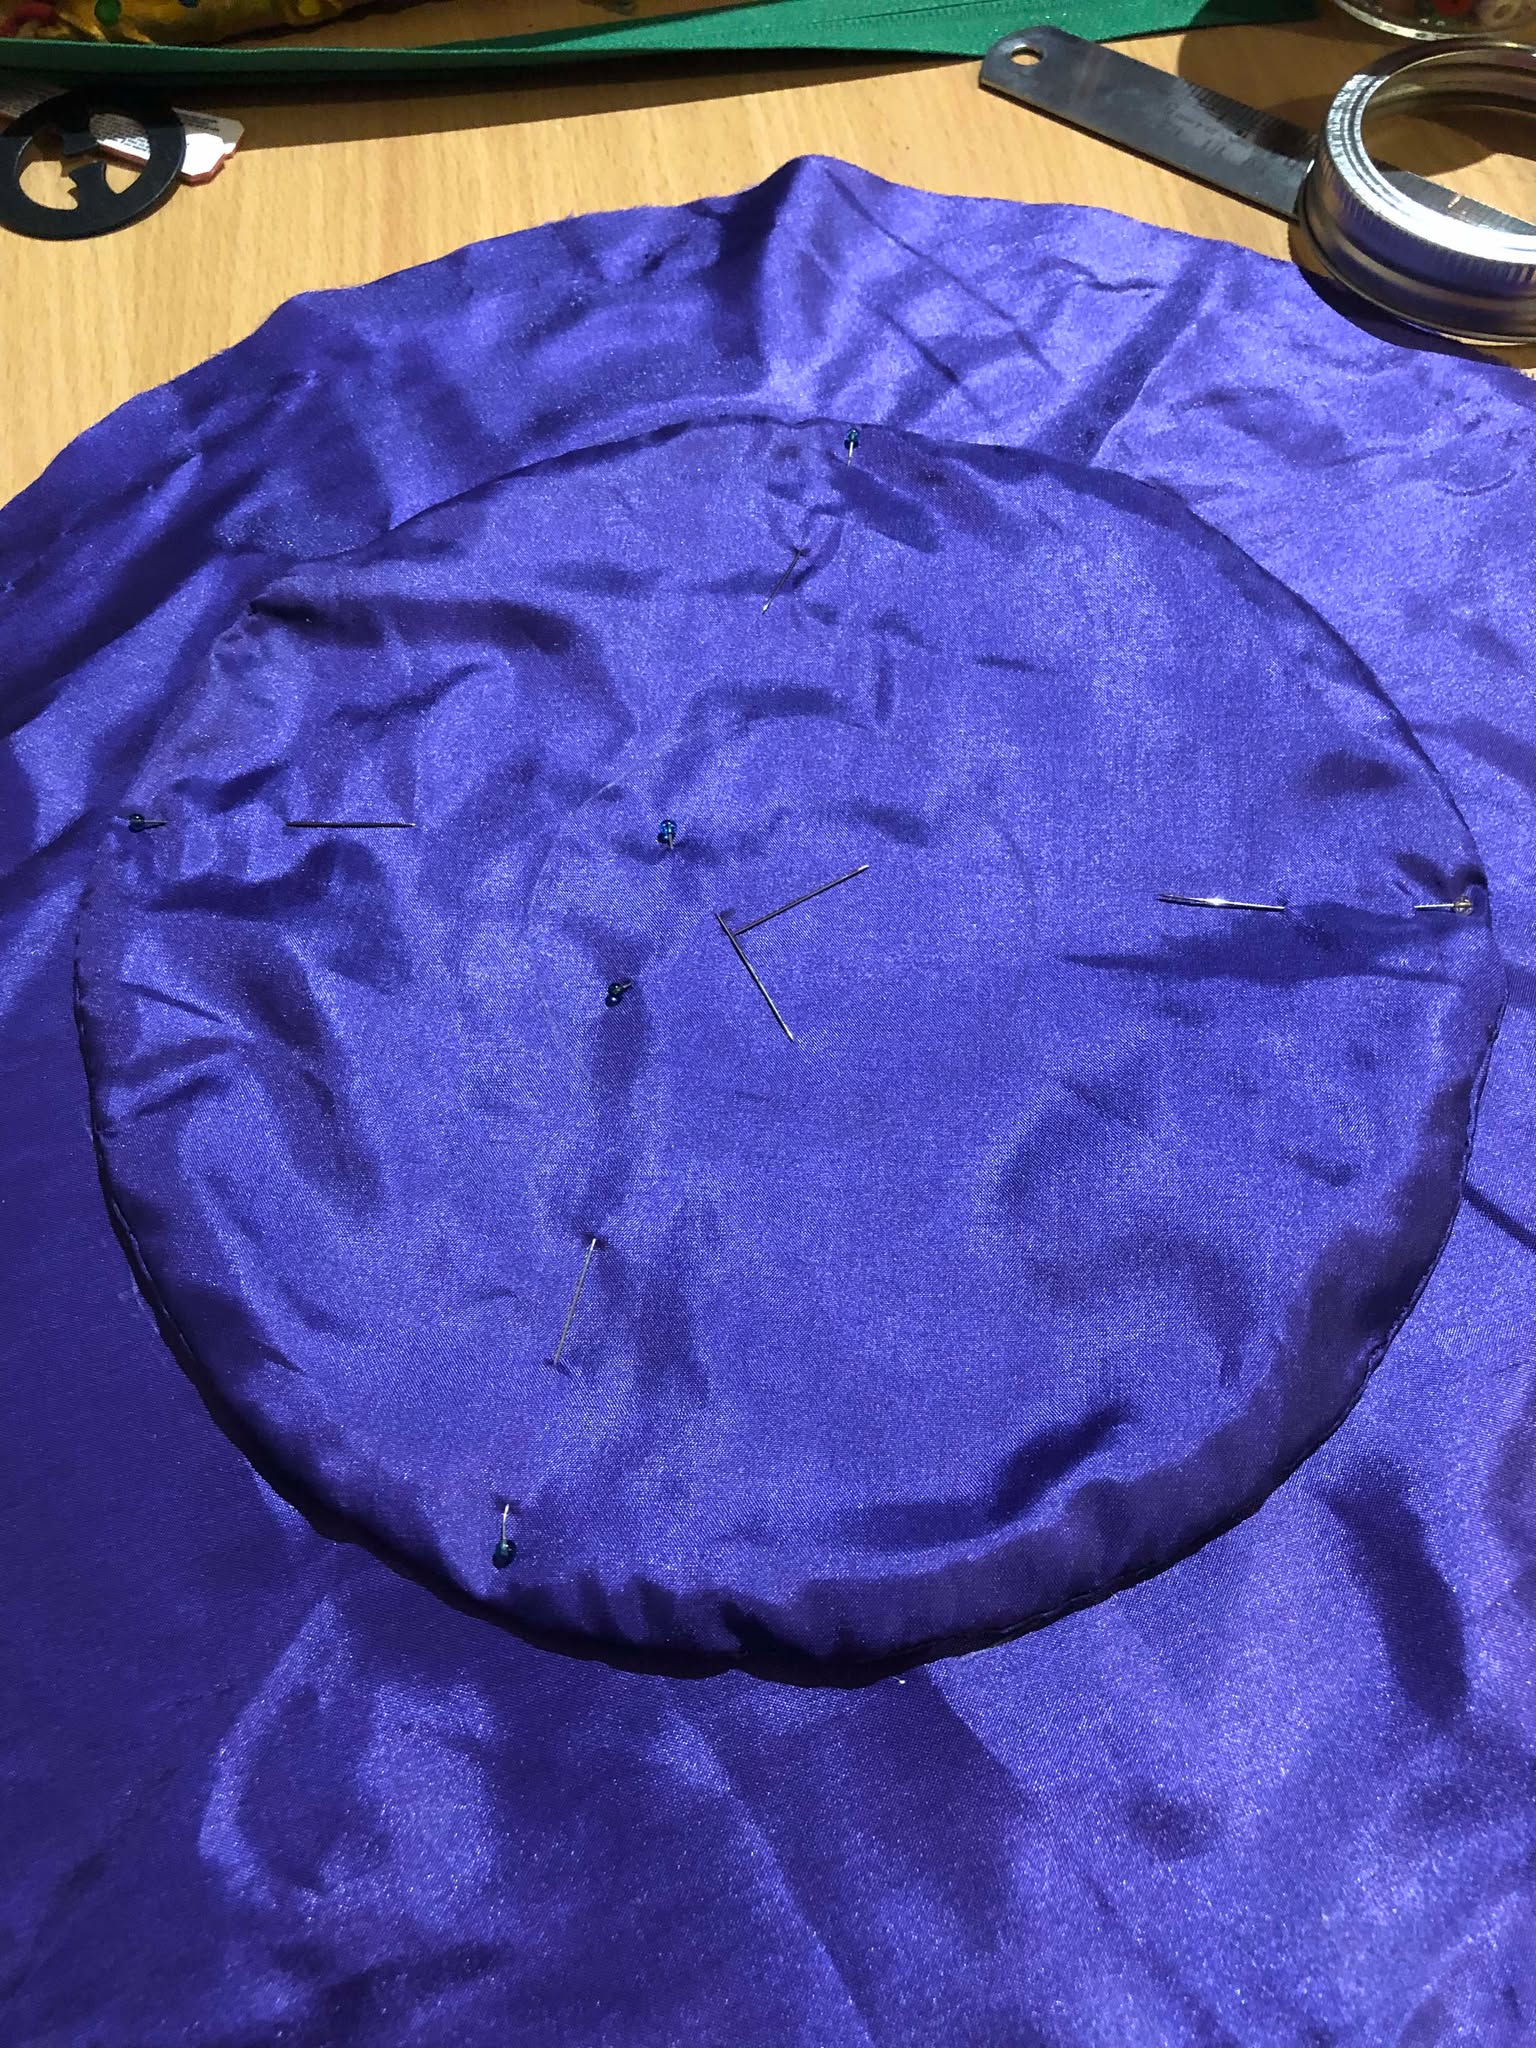
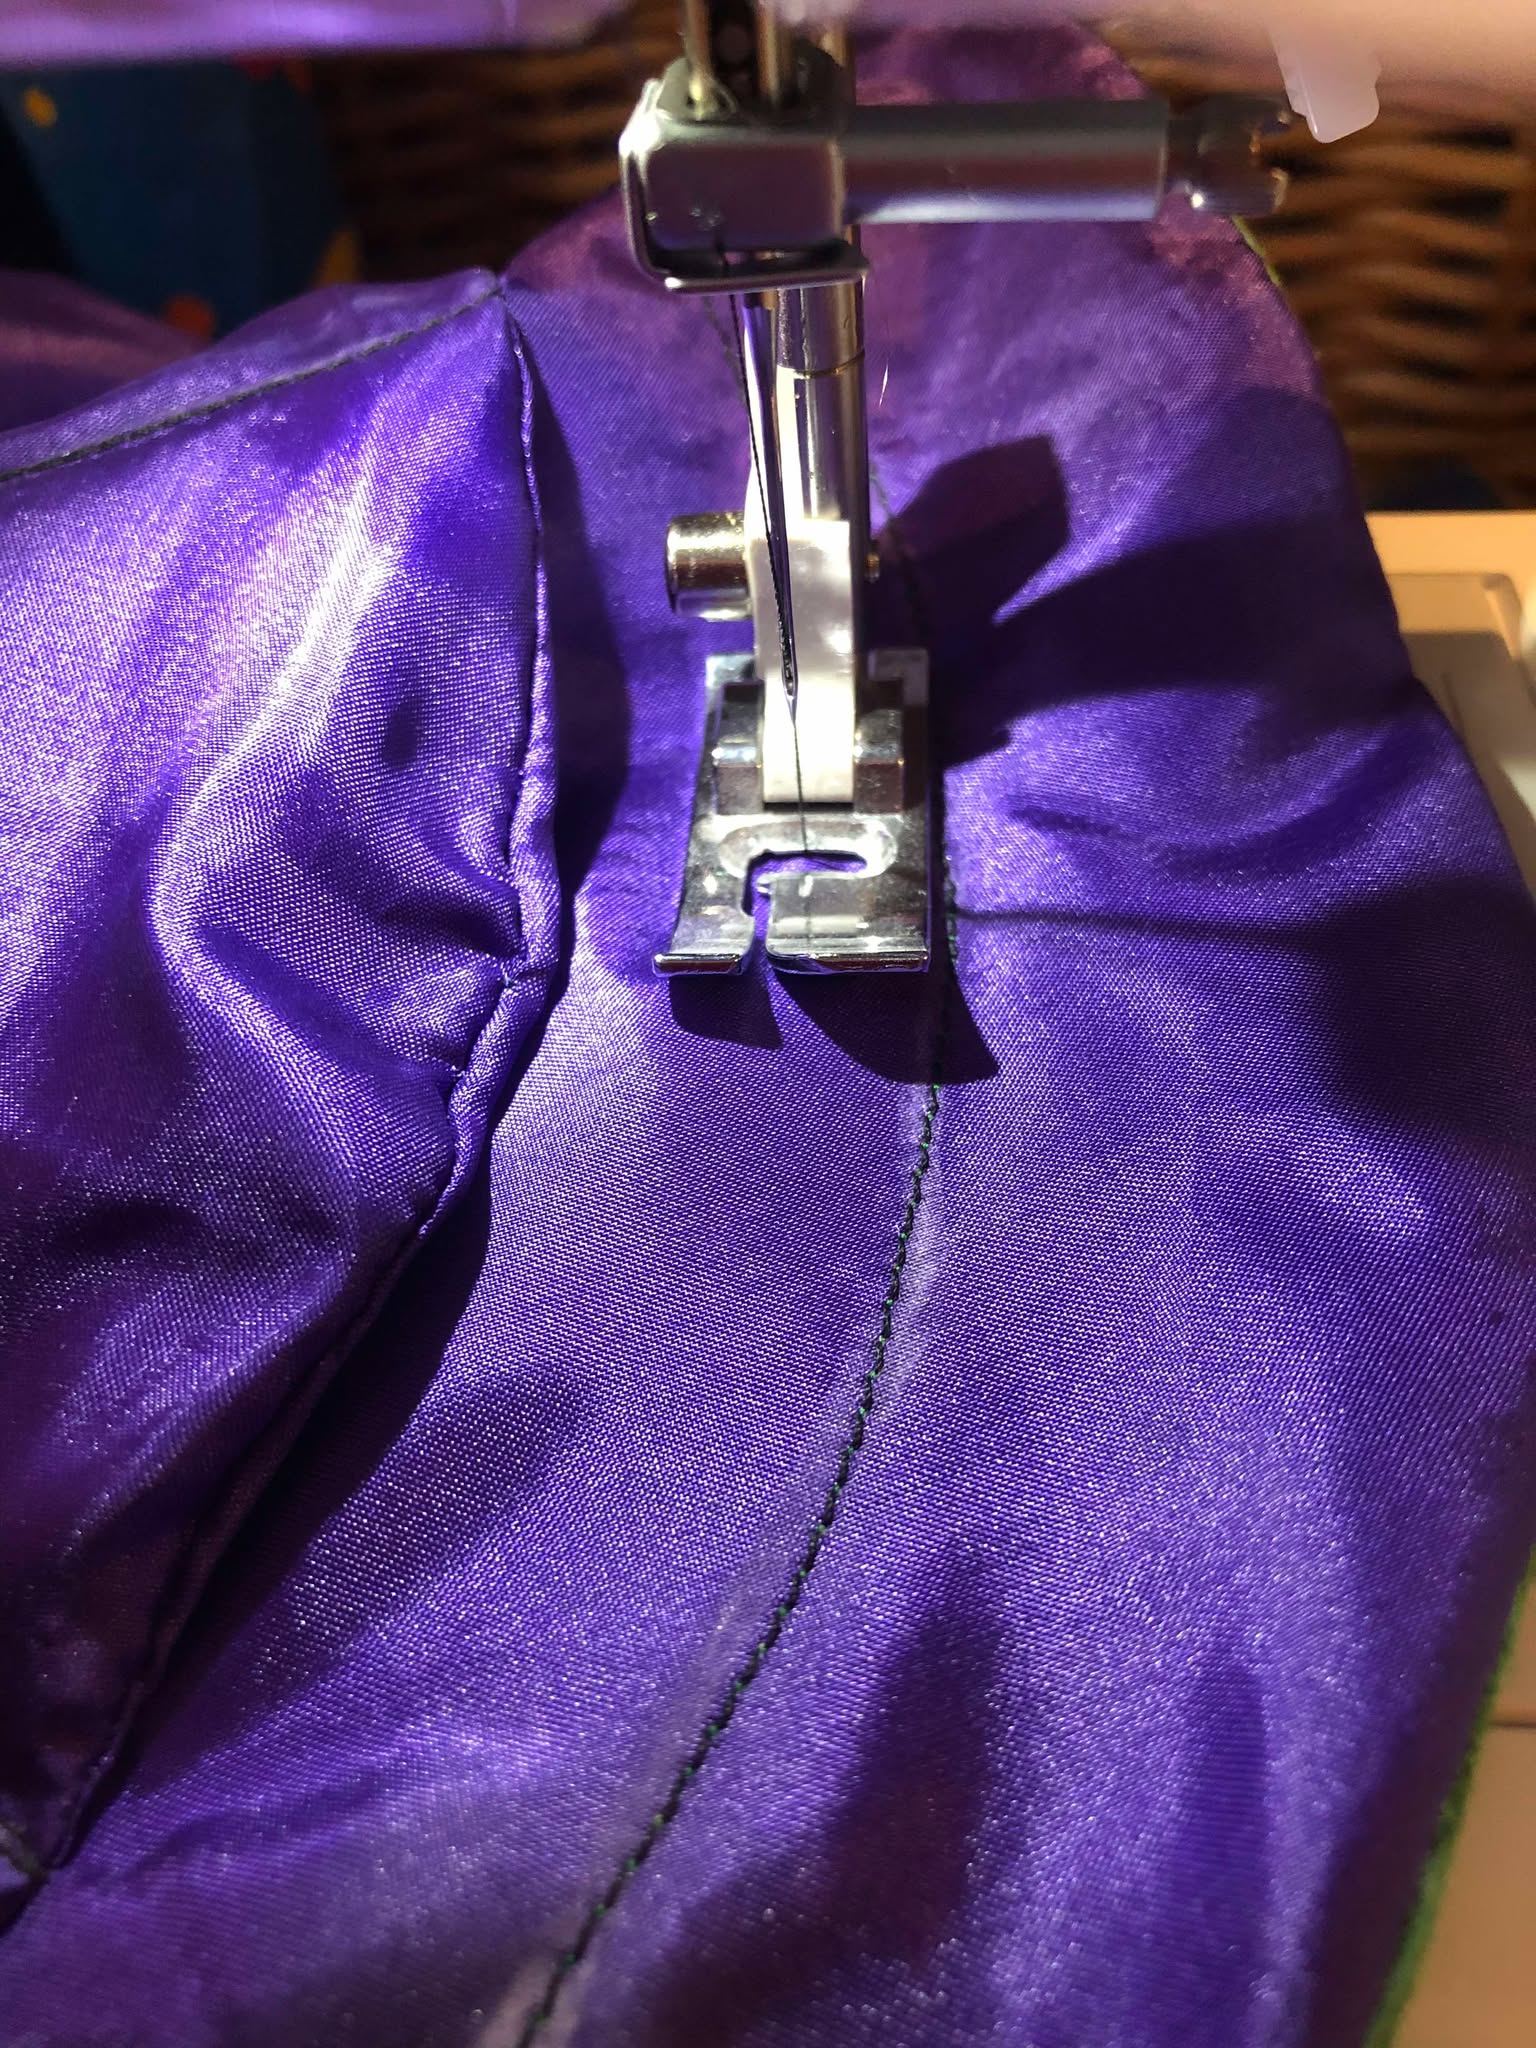
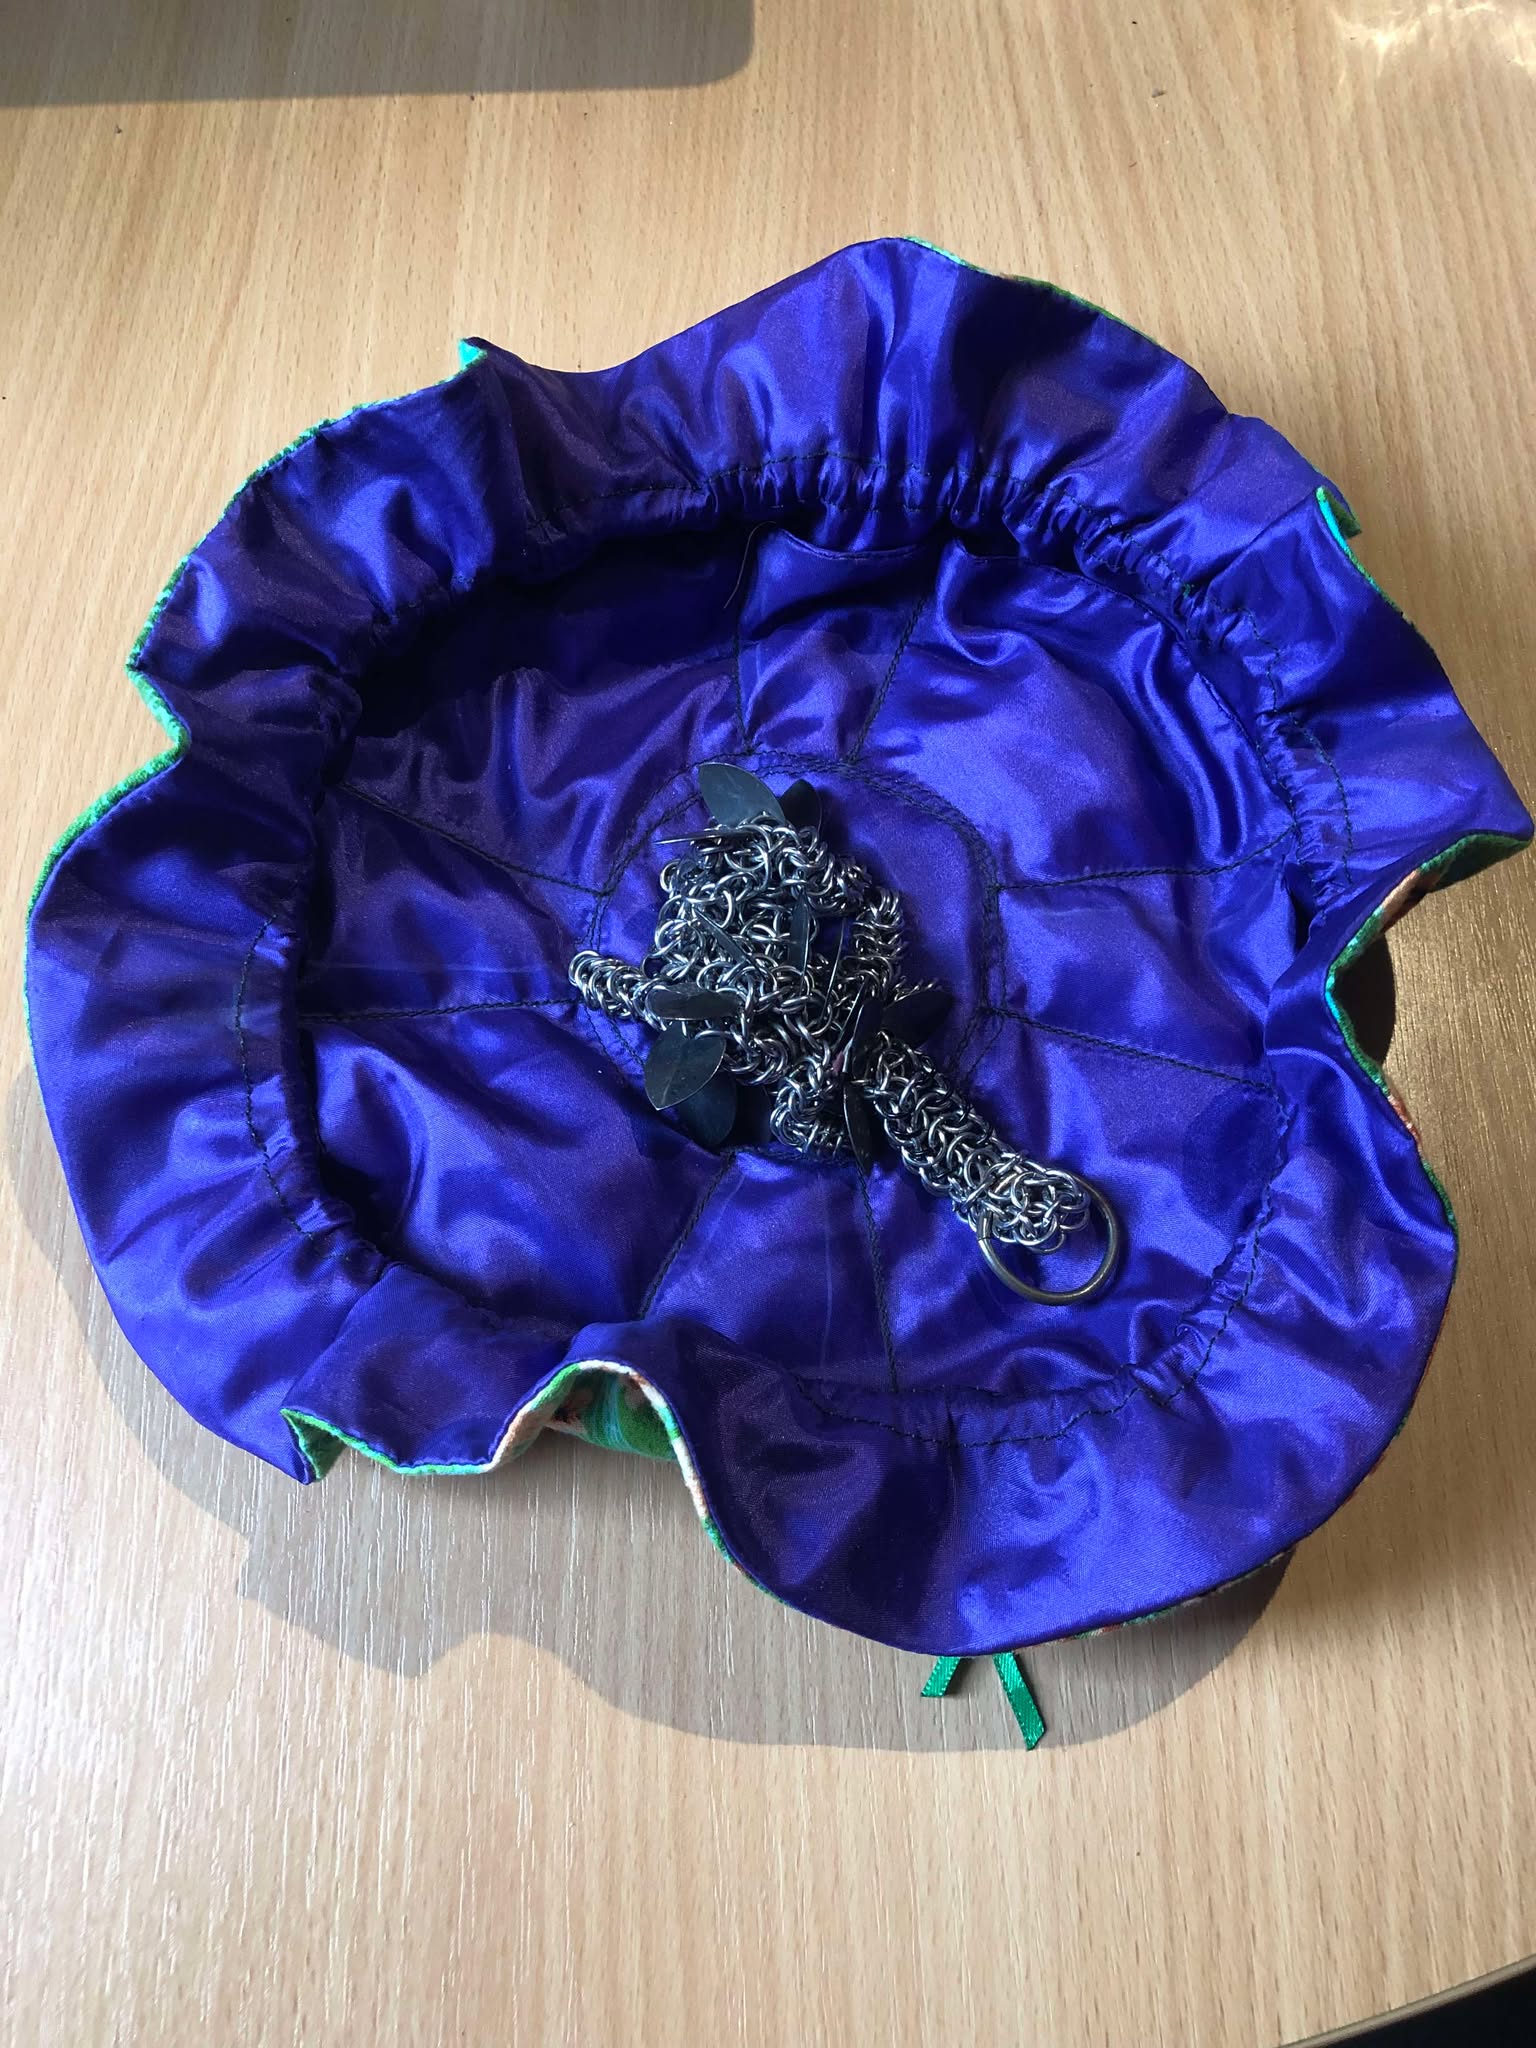
The green zipper was added to the tiny underside circle, to make a tiny pouch for half-size business cards, just enough for a QR code on one side, and contact information on the other. I'll be making those by just having the same design twice across one business card template and cutting them in half, and that circle was sewn into the center of the large green circle. The two large circles were then sewn together inside-out, leaving a small opening to be able to pull it rightside-in, and a hidden stitch put in to close the last bit. Finally, the drawstring slot was sewn by picking a distance a few centimeters out from the central circle, and then using the width of the sewing machine foot to make the second circle for it, and the eye-holes being stitched around for strength.
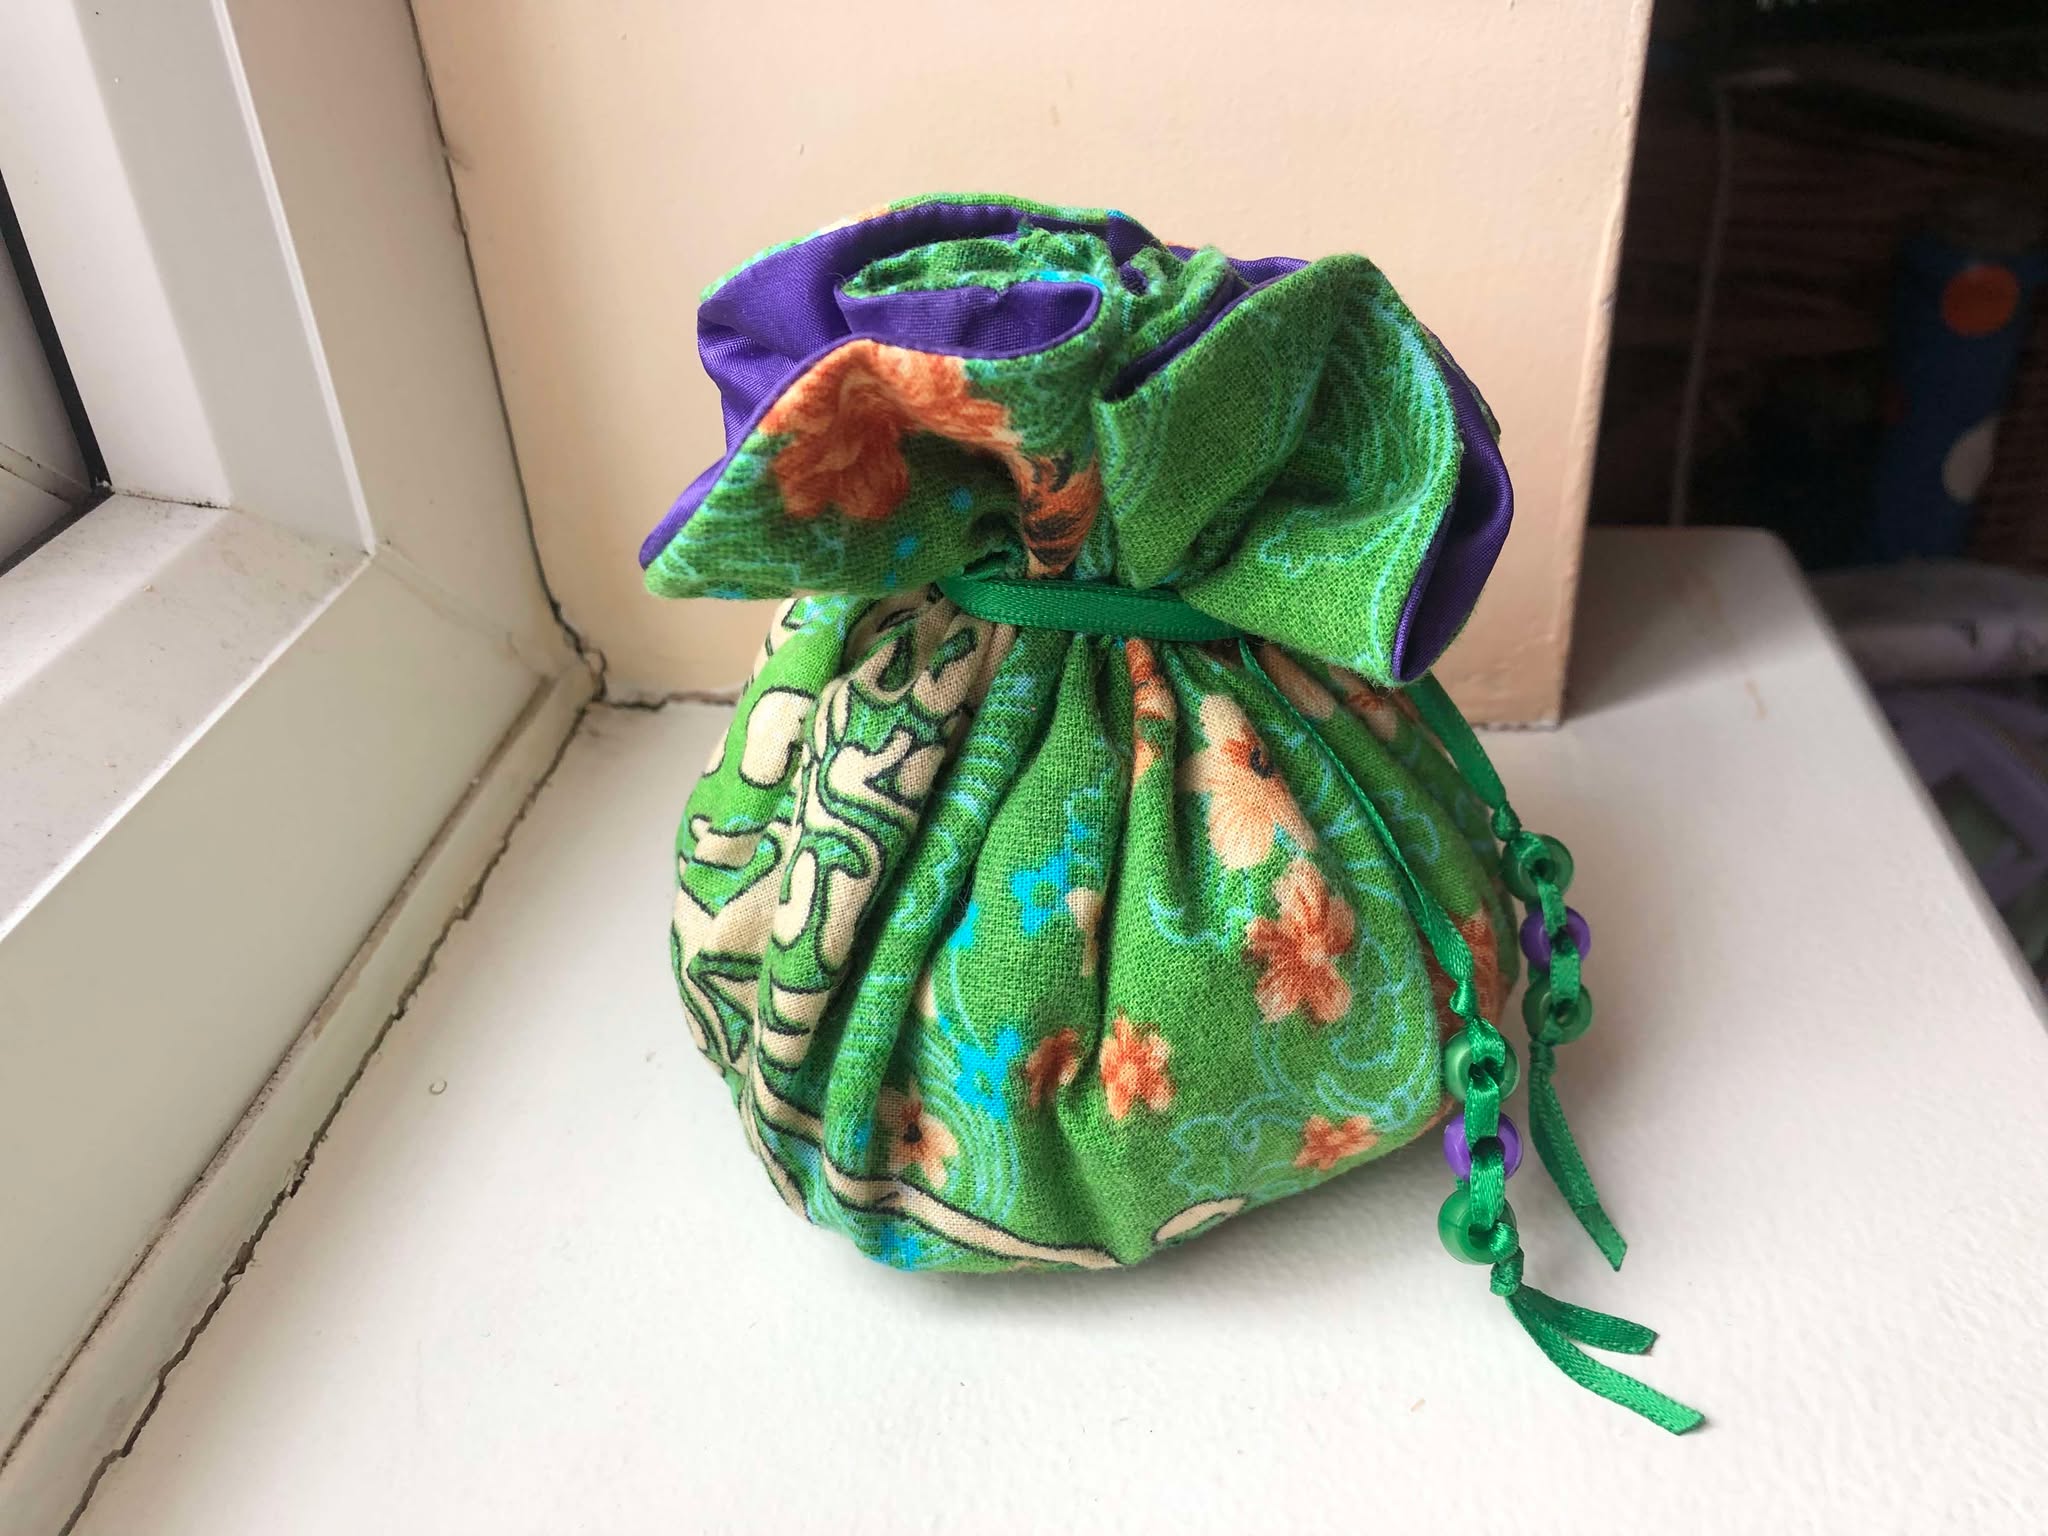
We'd picked up a thin, high-quality cloth ribbon for the drawstring, and decided to add some beads to the end of the drawstring to keep the knot from pulling into the pouch slot, and doing a green purple green pattern looks pretty good on them. Gotta say, the purple green combo looks incredible, and I am really happy with how it came out. And with Hazel nesting in the central pouch as the salesdragon, and several earrings added to the side pockets, the merchant bag was complete!
Finished February 15, 2025
Note: I know the adoption scroll won't be with me, the concept is that I can mail it to them after they contact me, or they give me their address then and there after buying the dragon.
