
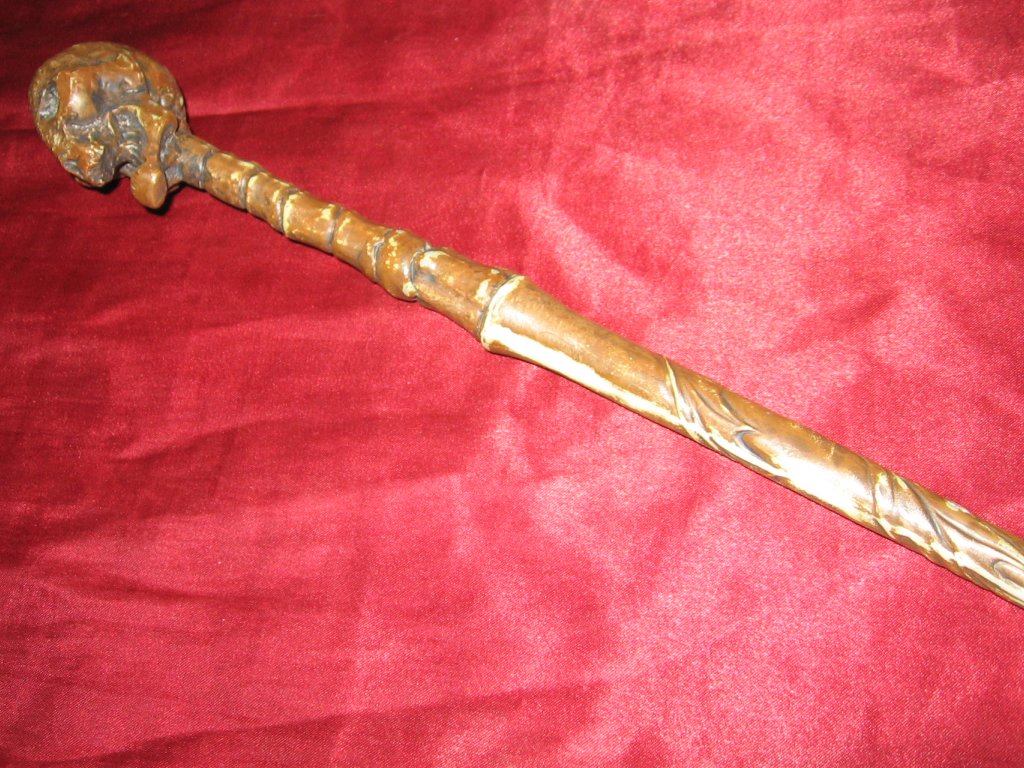
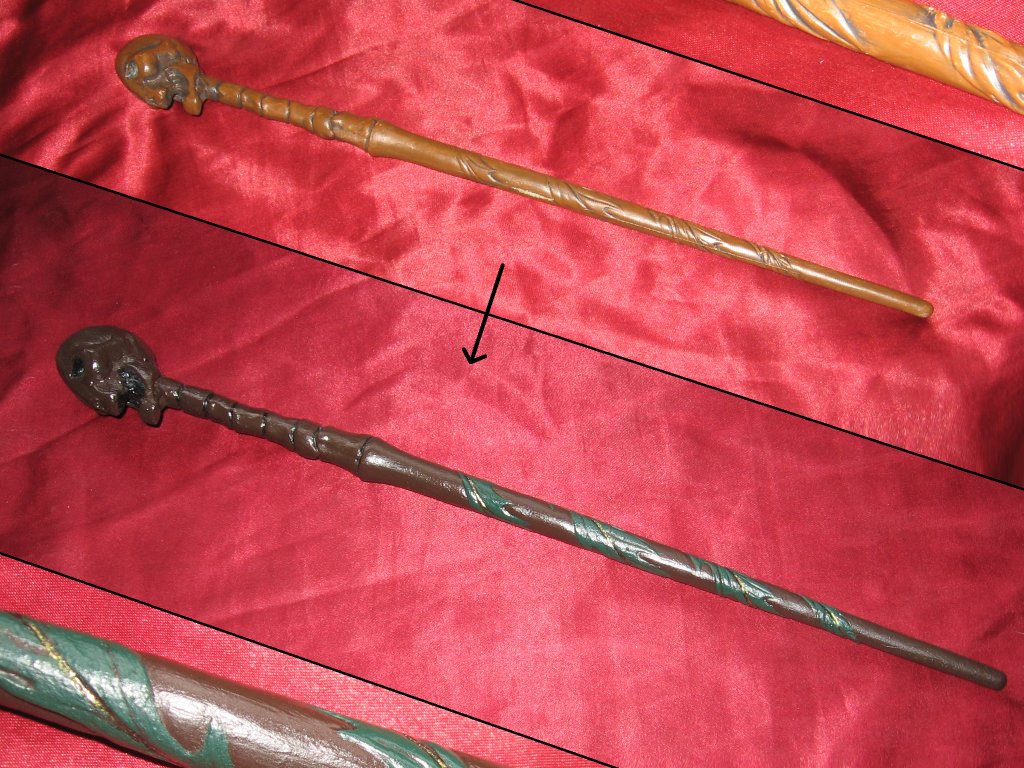
| Quick backstory, in November of 2013 I was on vacation with my wife's family in Florida, and we visited Universal Studios and Disneyworld while down there. At Universal, we visited the Harry Potter section, at which point I just had to pick up the obligatory wand. Now, if you were wondering why the title of this page is "The conducting wand", during say... Disney movies, or anything with orchestrated music, I've found it amusing to play with that wand and pretend I'm conducting the orchestra. All that said... this is what the wand looks like when you first get it. Some minor shading, but essentially it's pretty rough, form-molded plastic. The seams are clearly visible, and the shading is minimal at best. | |
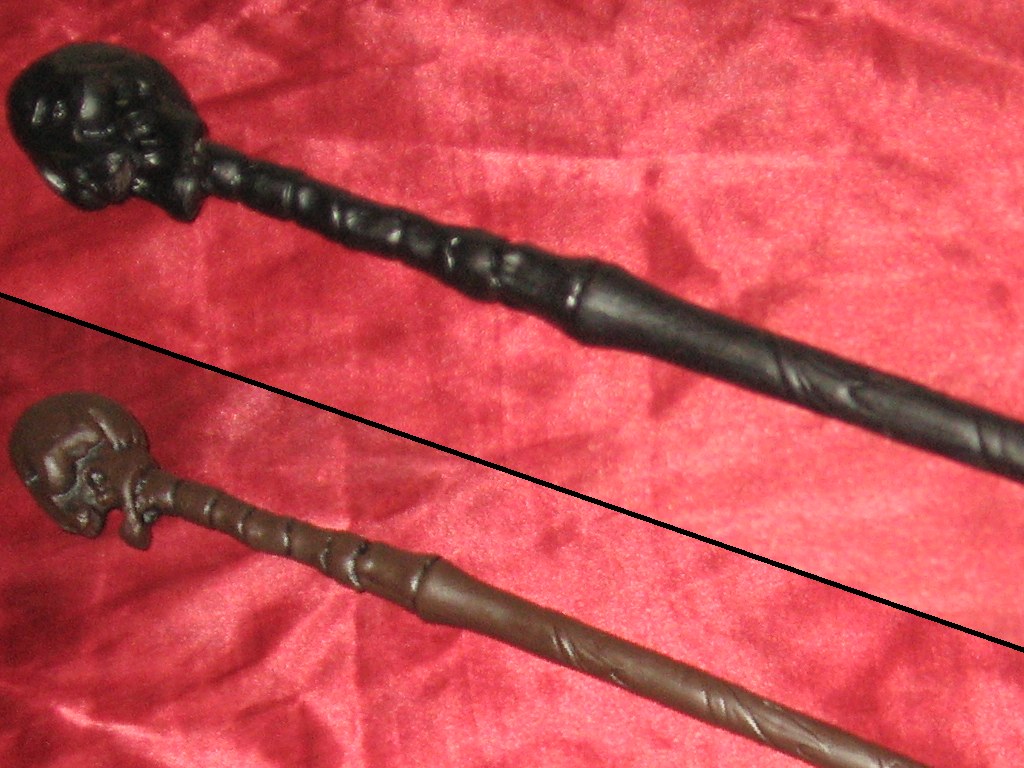
| The first step was getting rid of those awful form-molding seams. Using some 800 grit wet/dry sandpaper, I smoothed out all of the seams, and generally gave the entire surface a quick once-over. It's not particularly visible, but I actually did attempt to go over every part of the surface. The reason I did this was to twofold... first, to give the initial primer coat a better surface to adhere to, and secondly to attempt to give the surface a bit more of a wood-grain texture. I attempted to do all of my sanding strictly vertically, so that when the paint was dry it would still retain the slight ridges from both the sanding, as well as the coat of primer which was applied vertically with a somewhat coarser-haired brush (an endeavour which ended up only mildly successful). | |
| The first layer was a coat of black primer, which as I said I attempted to apply entirely vertically with a coarser-haired brush, and same with the (initial, as it ended up being) brown coat. Unfortunately the pics didn't come out as clear as I would have liked, but no matter... the attempt at texturing was extremely minimal at best, and in the long run I ended up having to do another coat of brown anyway, all but completely eliminating any attempt at making a woodgrain look to it. No matter, this is for all intents and purposes my first foray into any kind of model painting, so given a complete lack of training or experience, I'm still fairly happy with the eventual outcome. Although it's probably for the best that these were mediocre pictures, since it was a pretty piss-poor job anyway. I think I was at the time attempting to make it look used and worn... which from a distance it did, however up close it's utter crap. | |
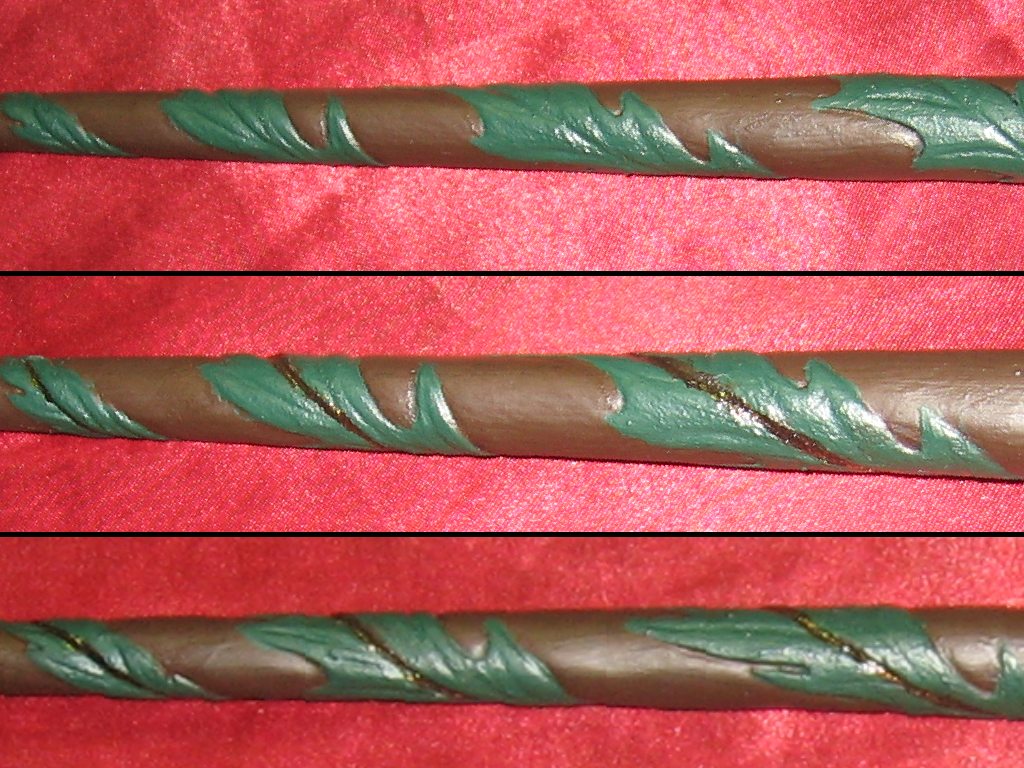
| Here we can see (aside from the poor quality of the bottom third) where my complete lack of knowing what I'm doing becomes visible. On the top third, the leaves were given a coat of green. It looks not bad at first glance, but on closer inspection (which I didn't even think to do much prior to midway through the stems) you can lots of imperfections. On the top, it's not so bad. However, I hadn't even thought about how long to let the paint dry, and was generally just running with 'if it isn't sticky, it's fine'. I quickly discovered that 'not sticky' does not also mean 'not soft enough to take your fingerprint', and you can see the remnants of some fingerprints here and there (it's more visible in other places, but these are the pics I have to work with). It's hard to tell, but on the bottom third I added sparkles to the main stem down the center of the leaf pattern. | |
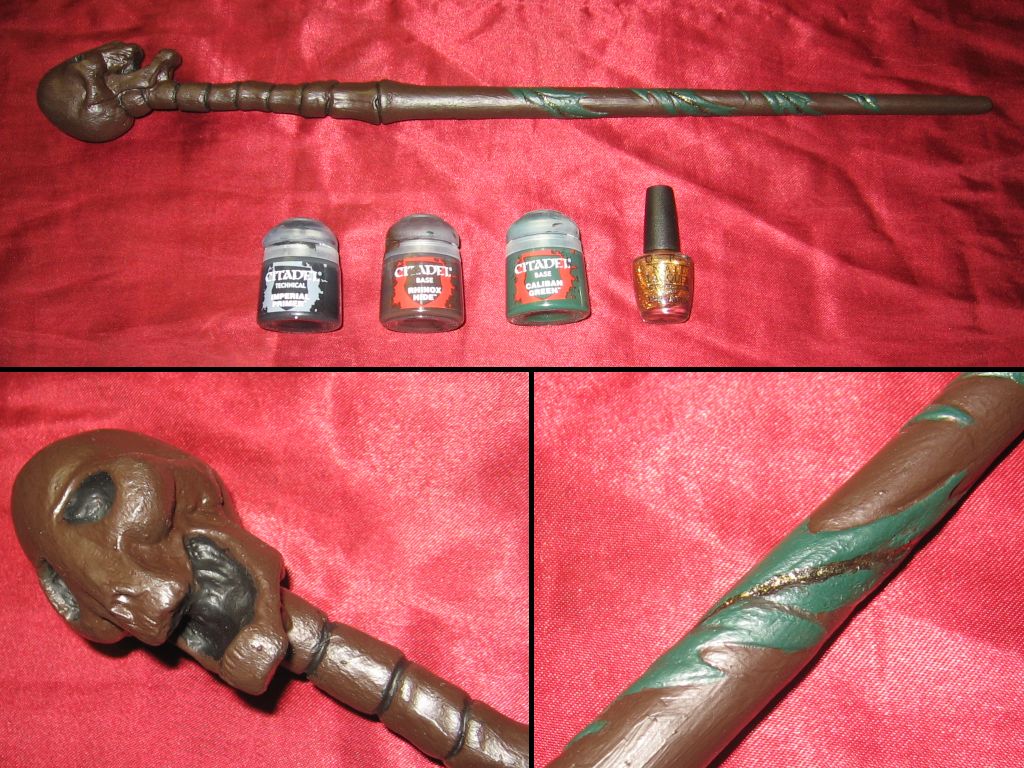
| The paints I used were Citadel brand, using Citadel Imperial primer as the black (and obviously primer), Rhinox hide, and Caliban green. My wife Laura had the excellent idea of using O.P.I. gold sparkle nail lacquer to add a bit of magic along the stem. I had contemplated doing the stem in a gold paint, but this is far better since it's sparkly, and leaves the black/brown of the stem visible behind the sparkles instead of completely coating it. I got as detailed as I was capable of, fixing up the edges of the leaves, a slightly darker green for the veins of the leaf, and general cleanup. This however eliminated that attempt I once had at a woodgrain texture, but in the end I'm quite pleased at how it turned out. | |
| As I had said, since I enjoy using this like a conductor's baton, I gave the wand a coat of spray varnish to protect it since it may spend a lot of time in my hand depending on the movie I'm watching. All in all, I actually taught myself quite a bit about model painting that will help me should I do any more in the future. Simple things such as what order to paint (backgrounds first, then foreground items), and just common-sense things like that which I didn't think about at the start of this. Hopefully whatever I do in the future will go a lot smoother, and turn out a lot nicer. I wish the sparkles showed up on camera better though... in person, it's actually really awesome looking with gold sparkles. It may not seem like the most Death Eater thing, but it's magical! | |
